Live streaming has become essential for many brands to promote their products on a large scale. They use different tools to integrate live stream features with social media platforms. Among all the available options, OBS Studio is one such streaming software that provides a cross-platform approach. You can easily use this open-source tool to stream on Facebook Live.
This article provides sufficient information about OBS and Facebook. It also solves the query about how to start OBS Facebook live streaming with proper guidelines. Moreover, you can find an AI-powered tool that intensifies your live streaming experience.

In this article
Part 1. A Brief Overview of OBS and Facebook
According to a Statista report, Facebook is the most-used social network, with over 3 billion monthly visitors. Almost everyone knows about Facebook, but most people are unfamiliar with OBS Studio. This section intends to provide essential information about OBS and its compatibility with Facebook Live:
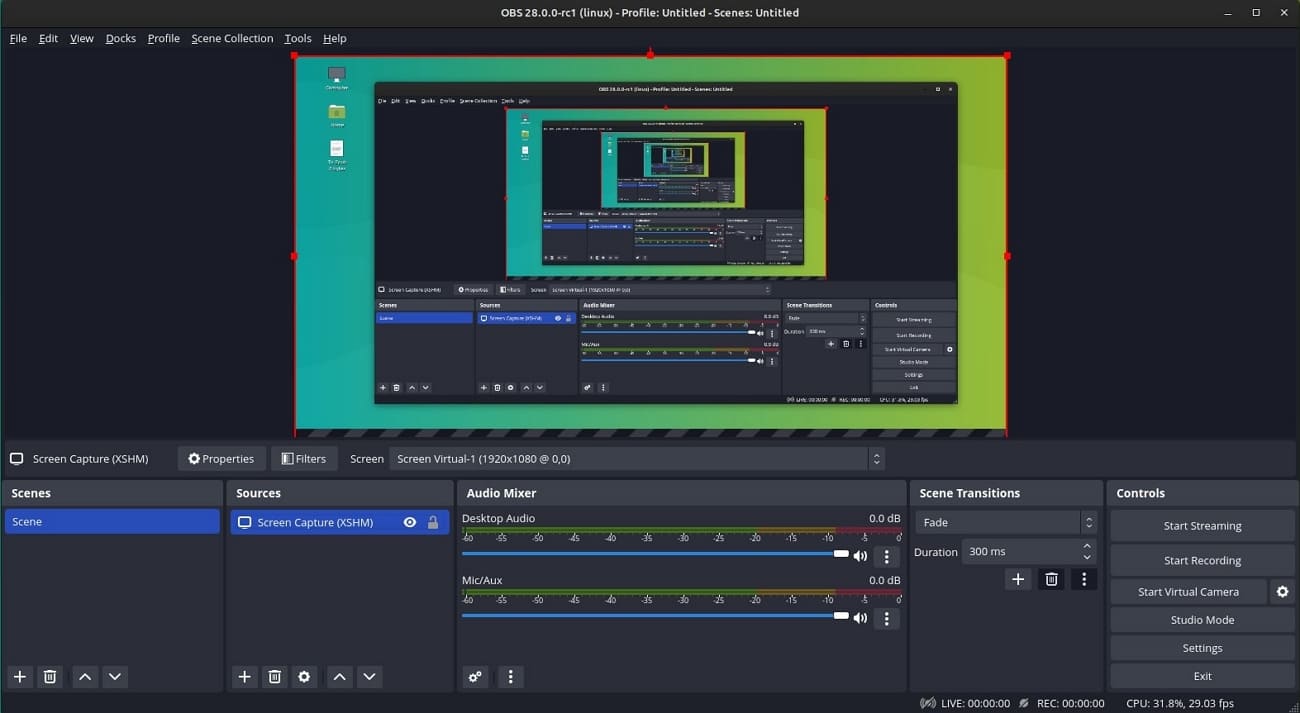
OBS Studio
OBS Studio is an open-source and free software for streaming and screen casting. Its initial version was released in 2012. Now, this tool is available for macOS, Windows, BSD, and Linux distributions. It helps to record, encode, capture, and broadcast through RTMP, WebRTC, and other protocols. Moreover, OBS Studio supports multiple plug-ins to provide more functions.
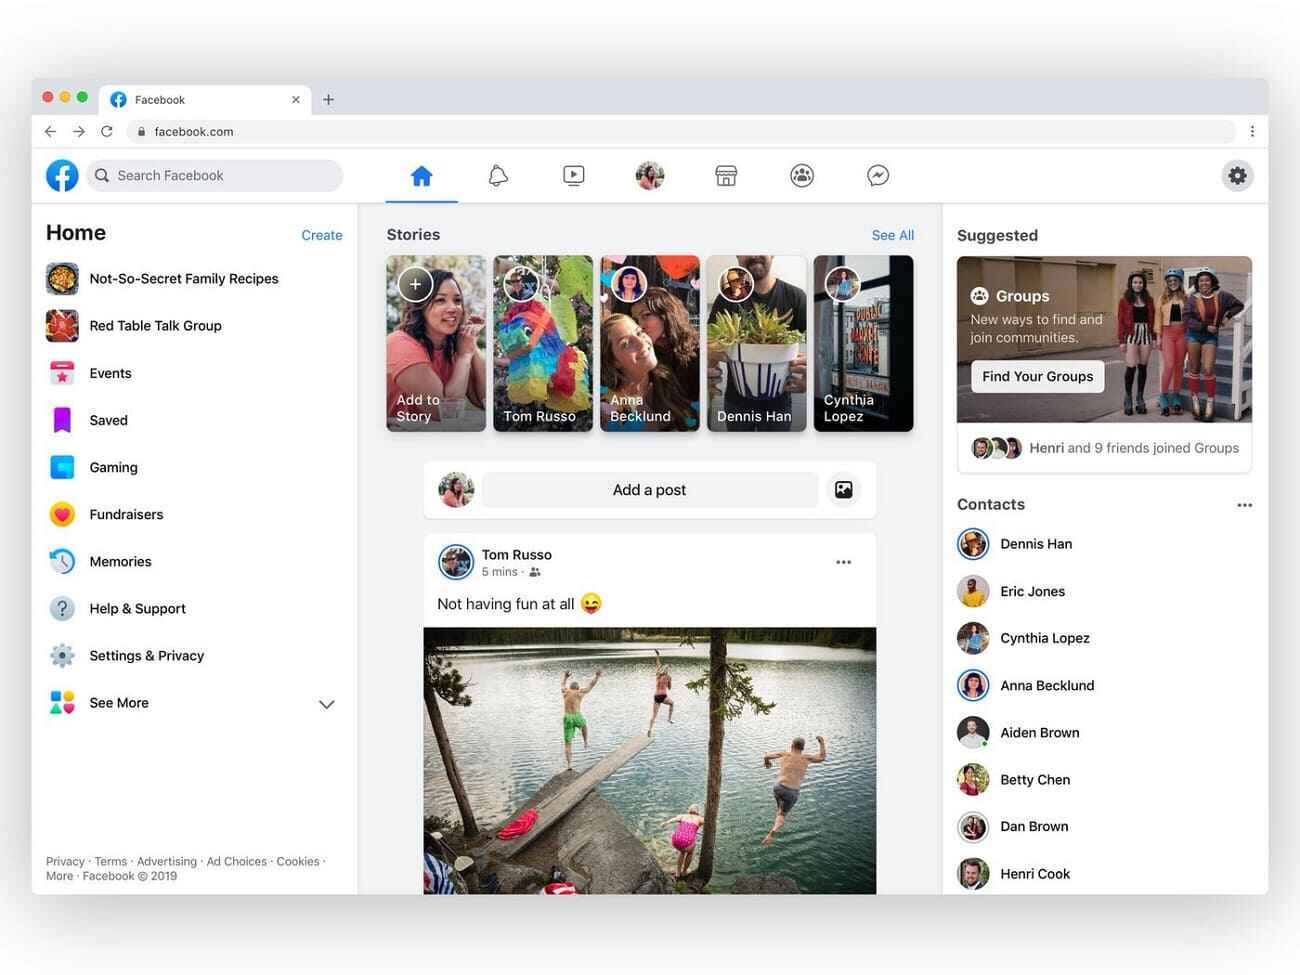
Mark Zuckerberg launched Facebook to help users connect globally. People started to use it for various purposes because of its extended functionality. Currently, it is helping individuals and companies to do wonders together. Many brands are using it for marketing and generating leads. Moreover, Facebook has even established its position as one of the finest live-selling platforms.
Part 2. How To Stream to Facebook With OBS Studio: A Simple Guide
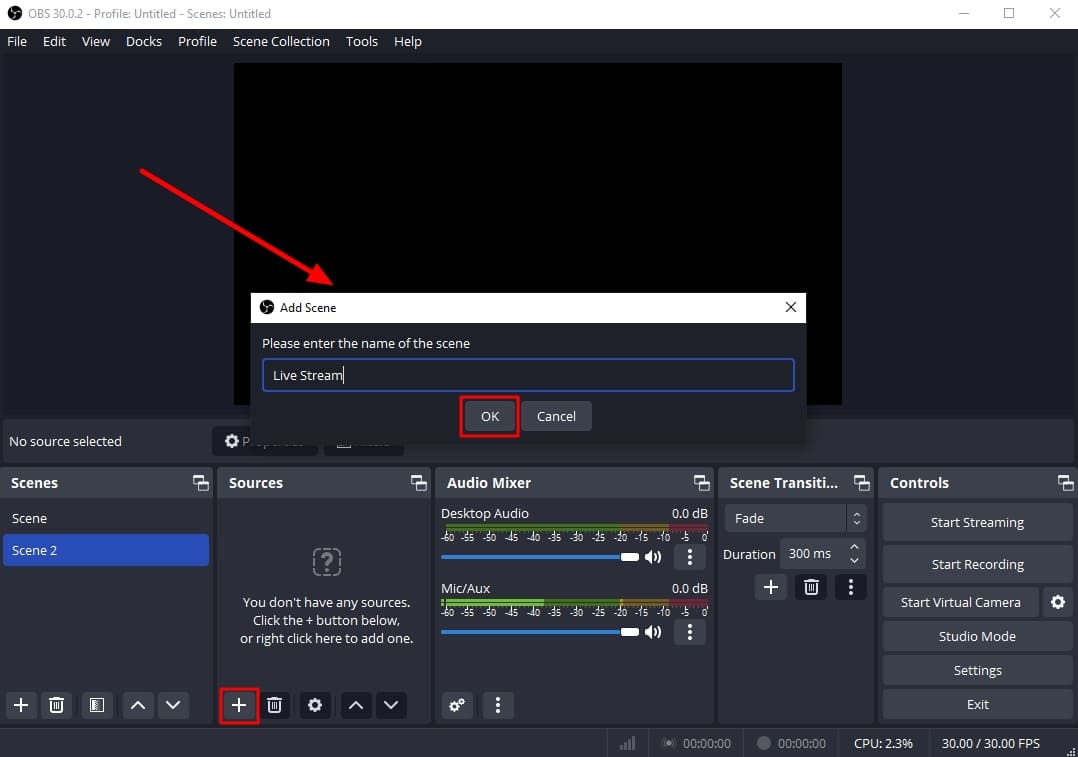
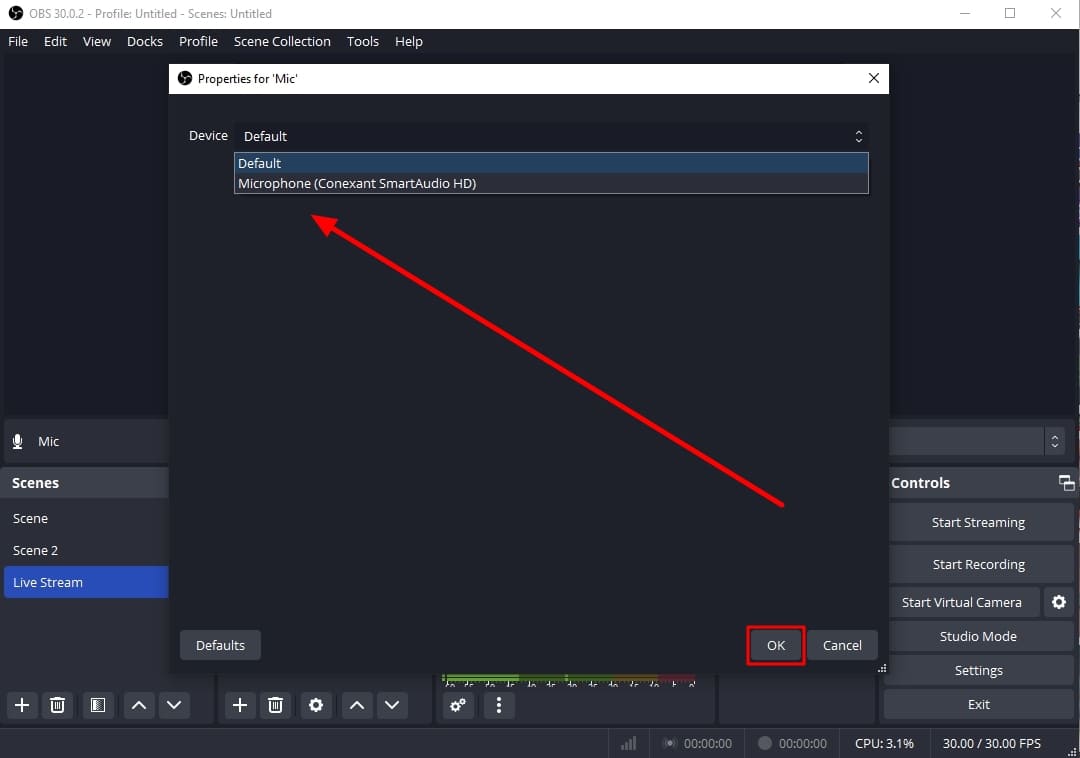
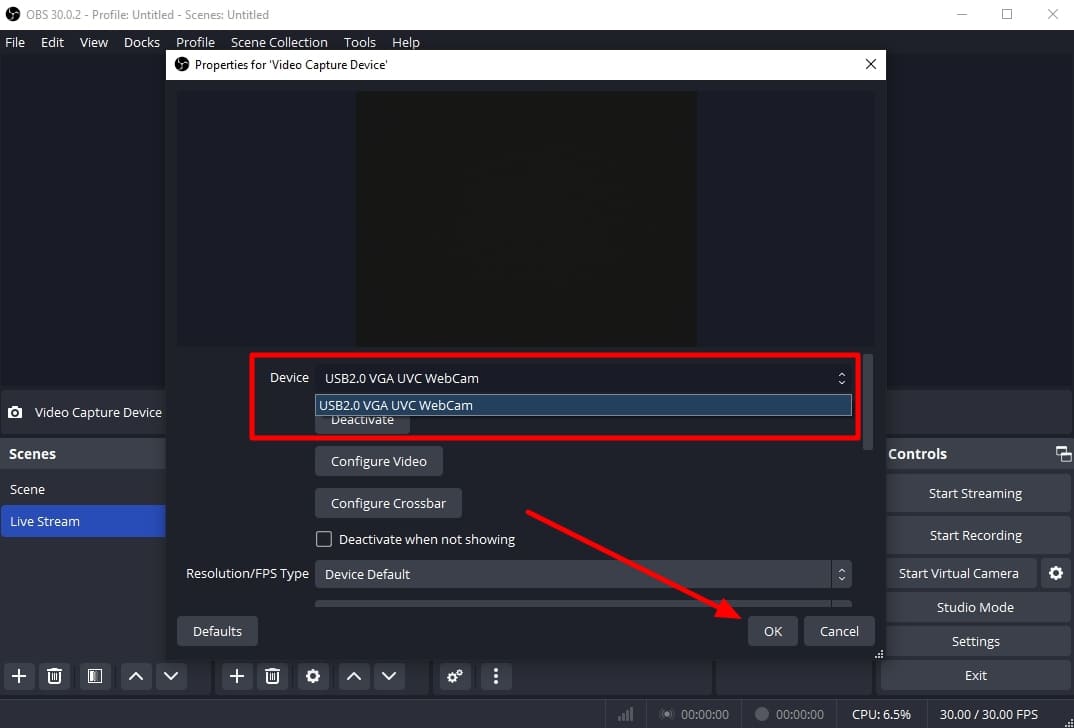
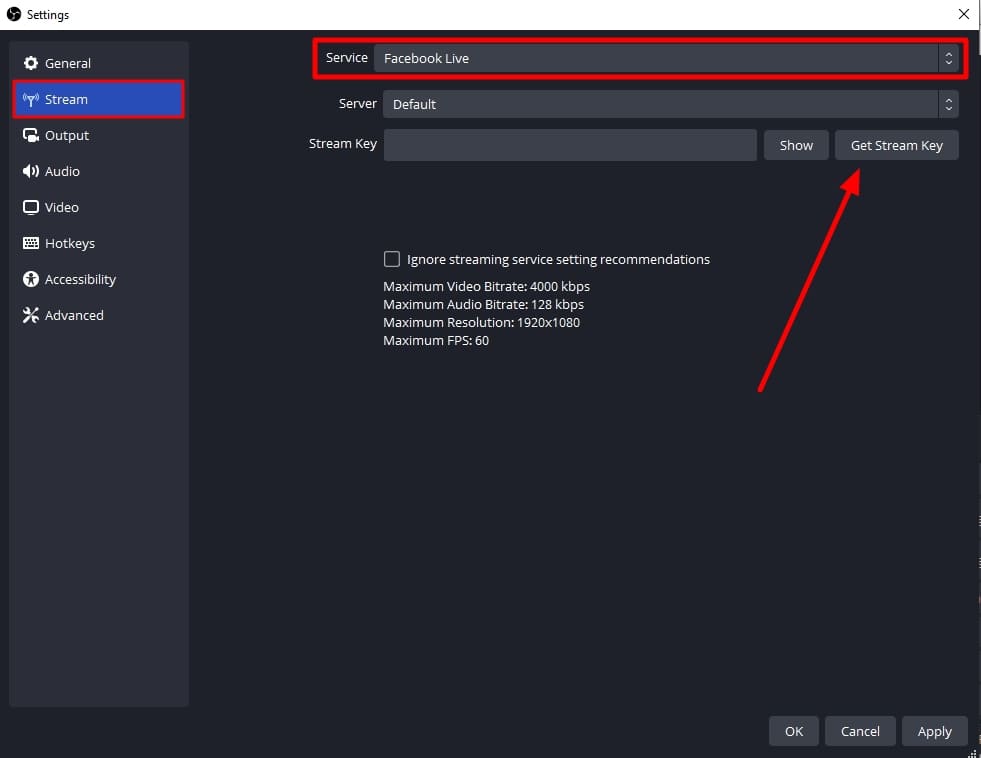
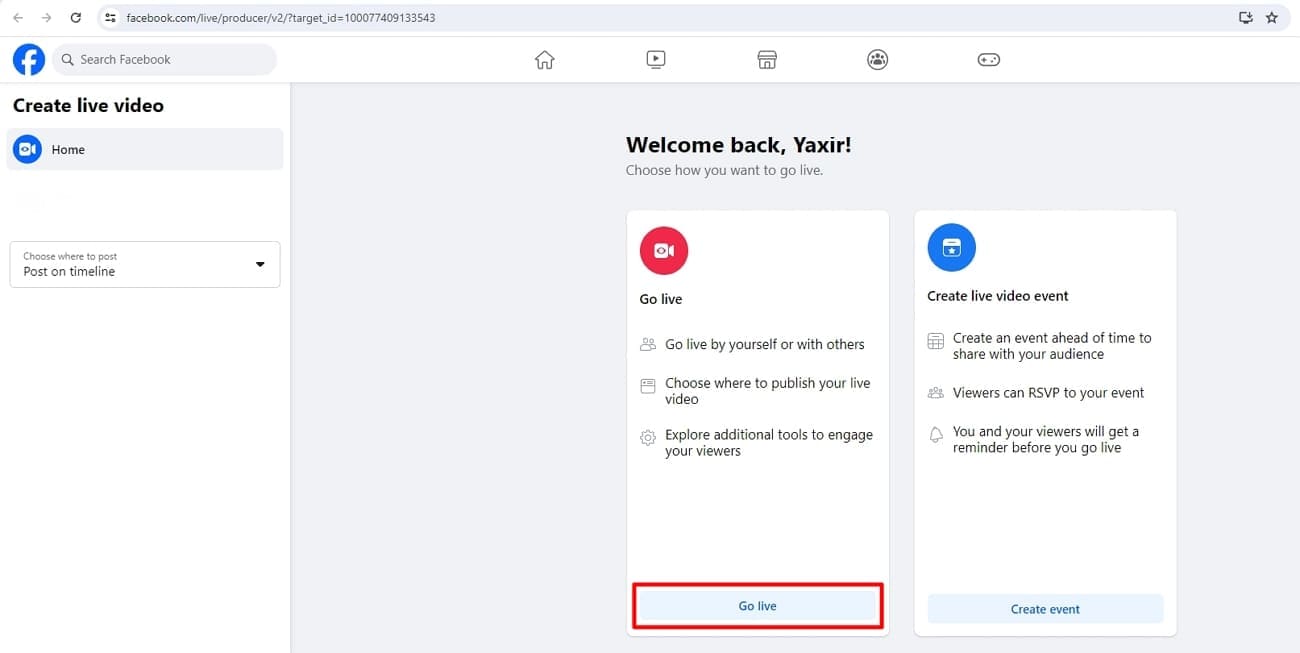
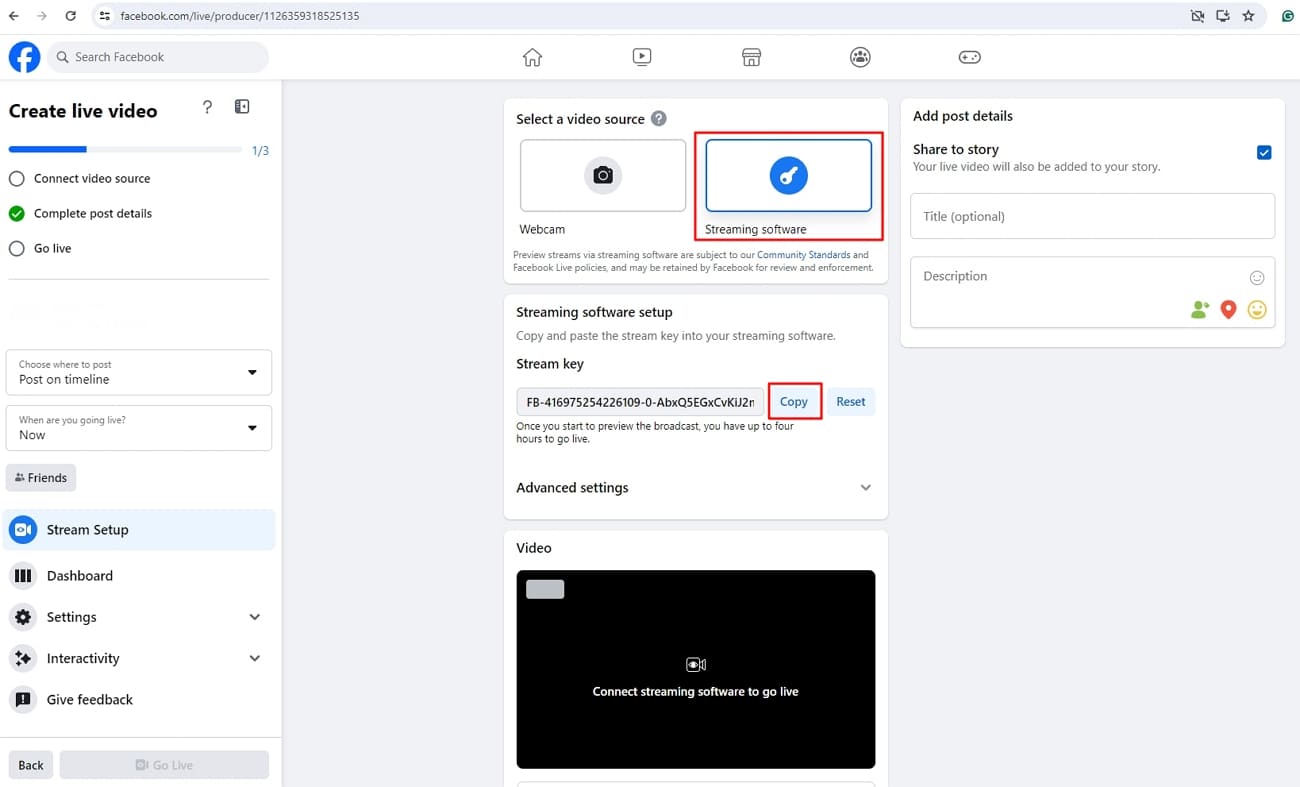
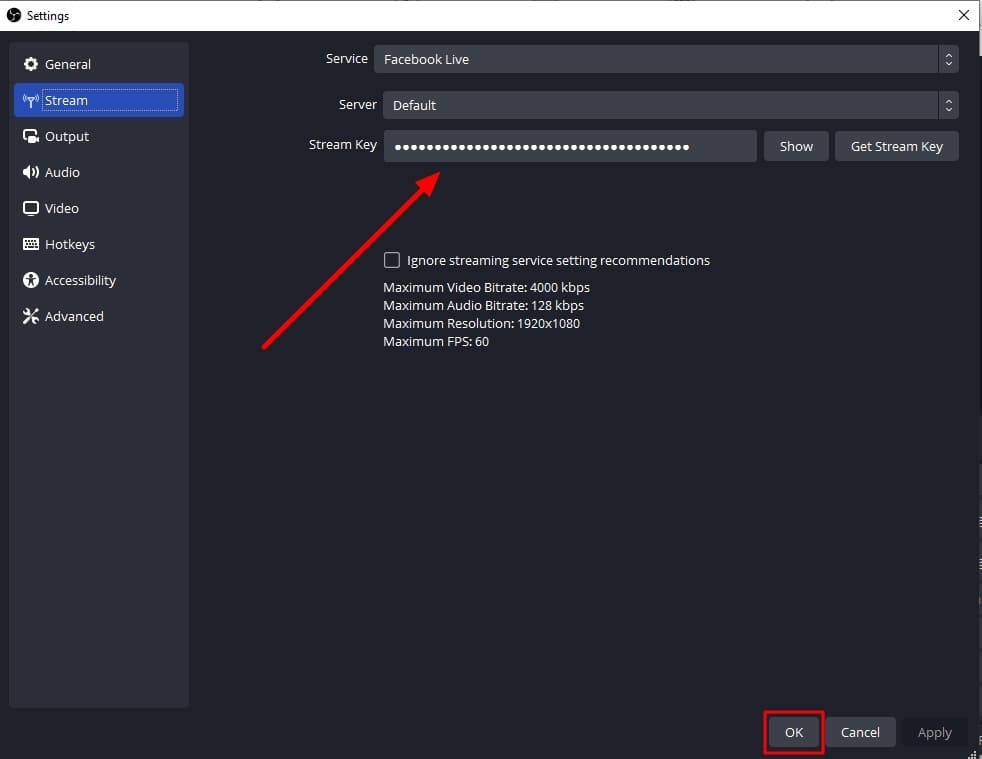
Streaming live on Facebook provides capabilities to reach global audiences and share content. At the same time, you need an efficient tool like OBS to stream live on this largest social network. Due to some complex options, steamers are still confused about how to use OBS for Facebook Live effectively. In this regard, the following steps make it easy for them to stream to Facebook with OBS Studio.

Part 3. How To Attract More Live Audiences When Streaming to Facebook With OBS Studio?
As we have mentioned, there are many live-streaming tools in the market. These streaming platforms offer handy features that help users to stream simple content. For instance, OBS is helpful but inefficient enough to produce creative live streams. For this, you need a powerful tool with complete customization options. Wondershare Virbo Live is a well-designed tool to tailor your live streams perfectly.
Interestingly, this tool's AI Smart Script feature helps generate scripts for marketing streams in instant prompts. You can change the live stream template and background according to your desire. Also, there is a range of AI Avatars with different ethnicities, outfits, and poses for all occasions. Moreover, you can use the tool without downloading it because it offers cloud-based support.
Features of Wondershare Virbo Live To Consider
- Wondershare Virbo Live has an AI Streamer that provides dubbing in different languages and accents. You can also generate AI voices according to your audience.
- This cost-efficient tool offers a seamless streaming experience 24/7. Thus, it helps to boost the revenue of your live selling on social platforms.
- You can customize the size and placement of objects or text on live streams. Also, it helps to use stickers that catch the interest of viewers.
Comprehensive Steps To Create a Streaming Room Using Wondershare Virbo Live
Virbo Live would be a perfect solution for creating customized live-stream rooms. It provides intuitive controls with AI-powered features. Here's how you can make your streaming room step-by-step with this efficient live-streaming tool.
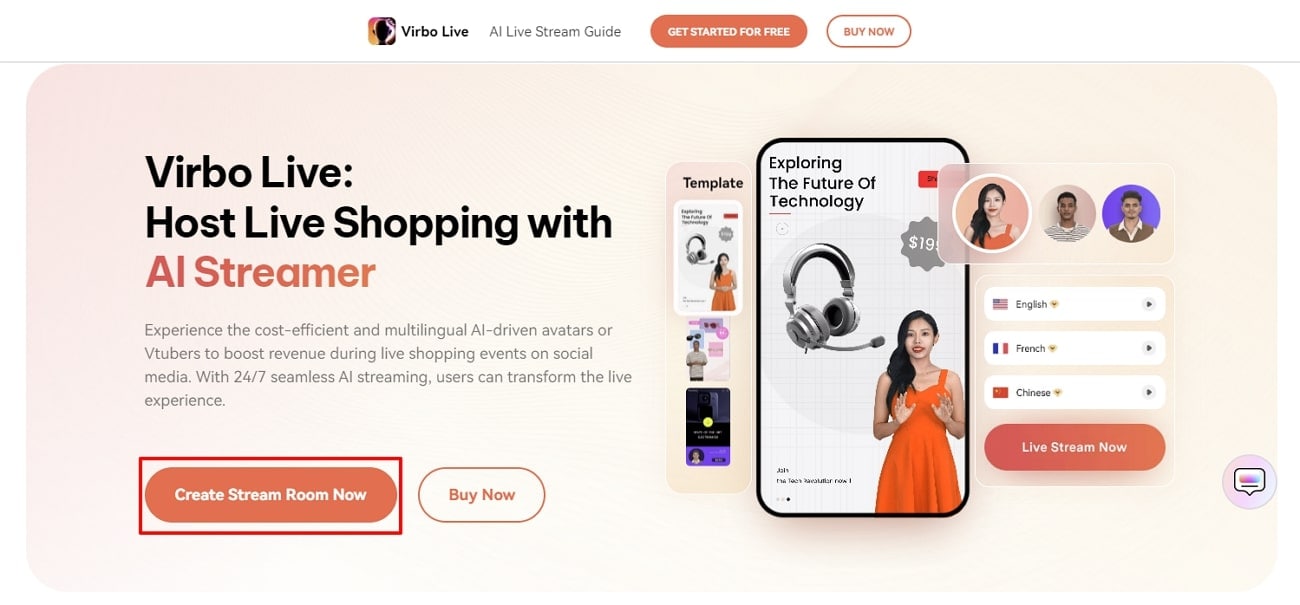
Initially, visit the official site of Wondershare Virbo Live and navigate on the main interface. Move slightly down and click the “Create Stream Room Now” option. Afterward, it will take you to the main panel of the tool.
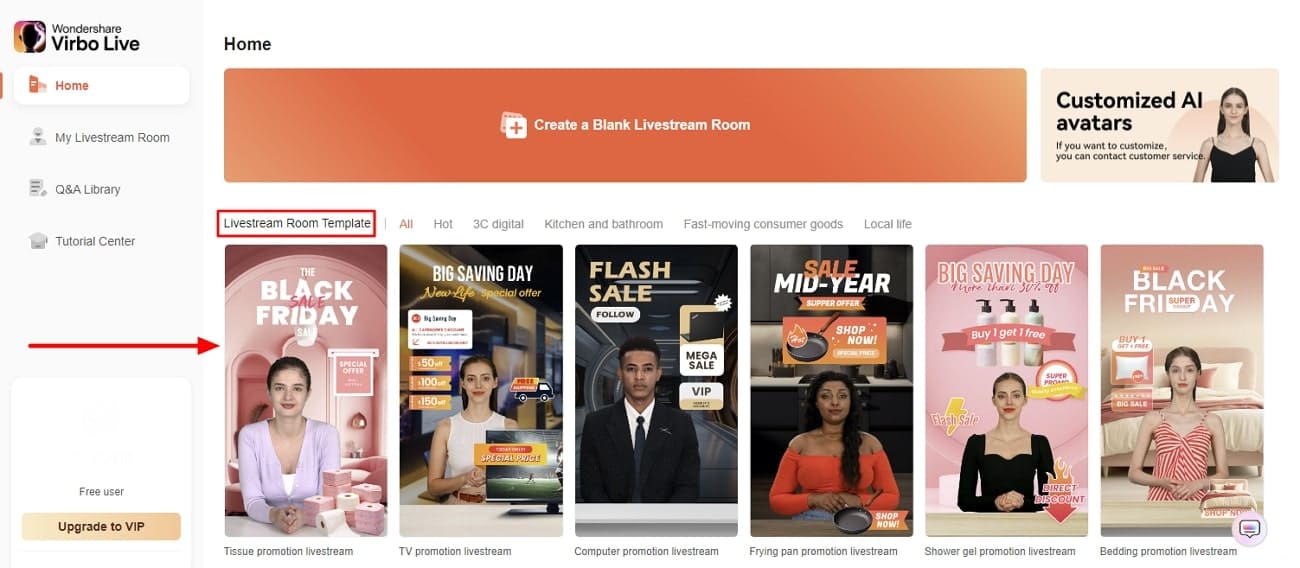
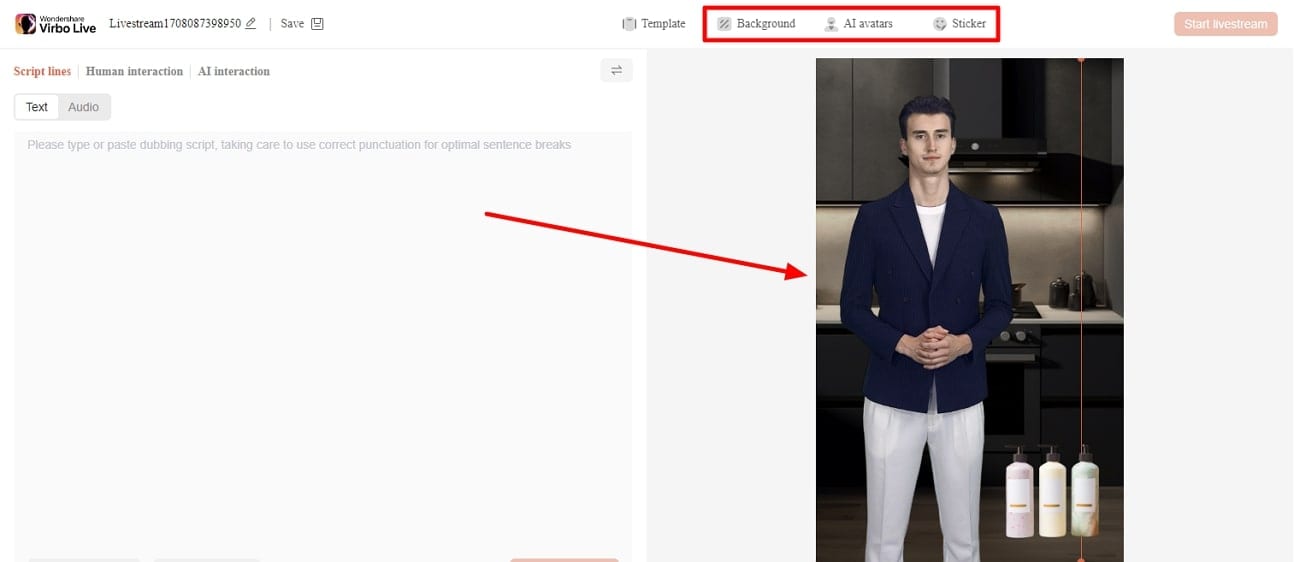
To start the customization process, pick the best template from the different choices under the “Livestream Room Template” section. After selecting the template, the window opens and displays the template on the right side of the screen.
You can customize the template on the same screen by dragging text or objects. Then, you can select creative avatars from the “AI avatars” tab for your live event. Apart from that, open the “Background” tab to choose stunning backgrounds. Plus, you can introduce “Sticker” based on the requirements of your stream.
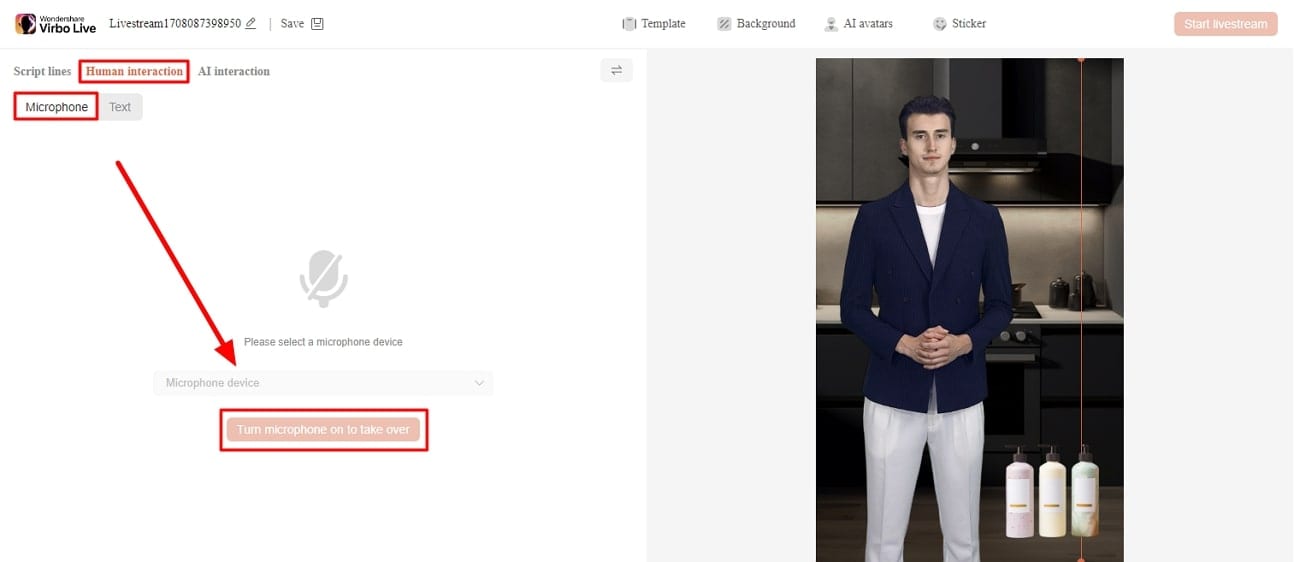
After taking care of visuals, hit the “Human interaction” tab from the display's top left and select the “Microphone” option. Upon doing this, click the “Turn microphone on to take over” button to provide access to your local microphone. After that, you can interact with the audience live when livestreaming on Facebook.
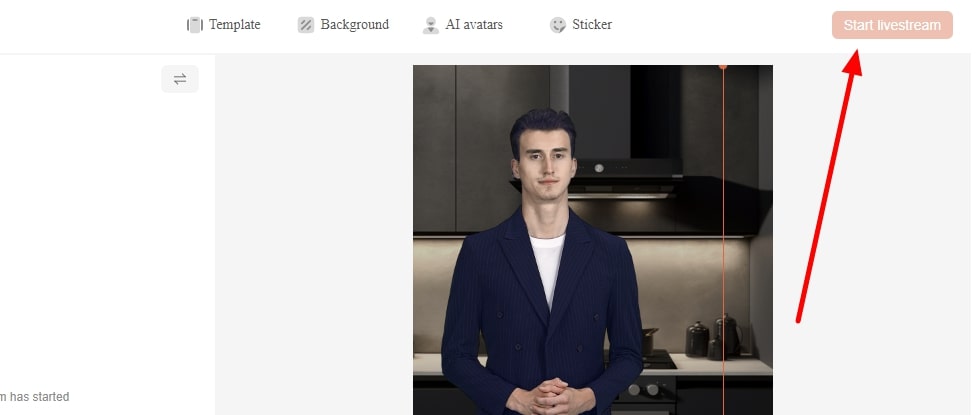
After finalizing all the selections, you can start live streaming. For that, hit the “Start livestream” button given at the top right corner of the screen. The tool instantly starts your live stream with customized features.
Conclusion
Conclusively, we have presented a detailed overview of OBS Studio and its integration with Facebook Live. You can benefit from simple instructions on how to use OBS Studio for Facebook Live. Wondershare Virbo Live provides innovative functions with AI technology to make your live streams even more exciting. Amazingly, users can seamlessly integrate this tool with all major social networks for live streaming.