YouTube and fortune don’t go along for many. Still, many creators do make money on YouTube and they do it with a simple strategy: work smarter, not harder. Of course, if you are new to YouTube, sure, the path to success can feel like an uphill battle. Maybe you're unsure where to start, your channel's growth has stalled, or the thought of being on camera sends shivers down your spine. But that’s where YouTube automation comes in — YouTube automation could be the game-changer for you.
In this article, we will guide you through how to automate your YouTube uploads. From the video creation process with AI-powered tools like Virbo to seamlessly scheduling and uploading them using platforms like Zapier and TubeRanker.
In this article
Part 1: What Is YouTube Upload Automation
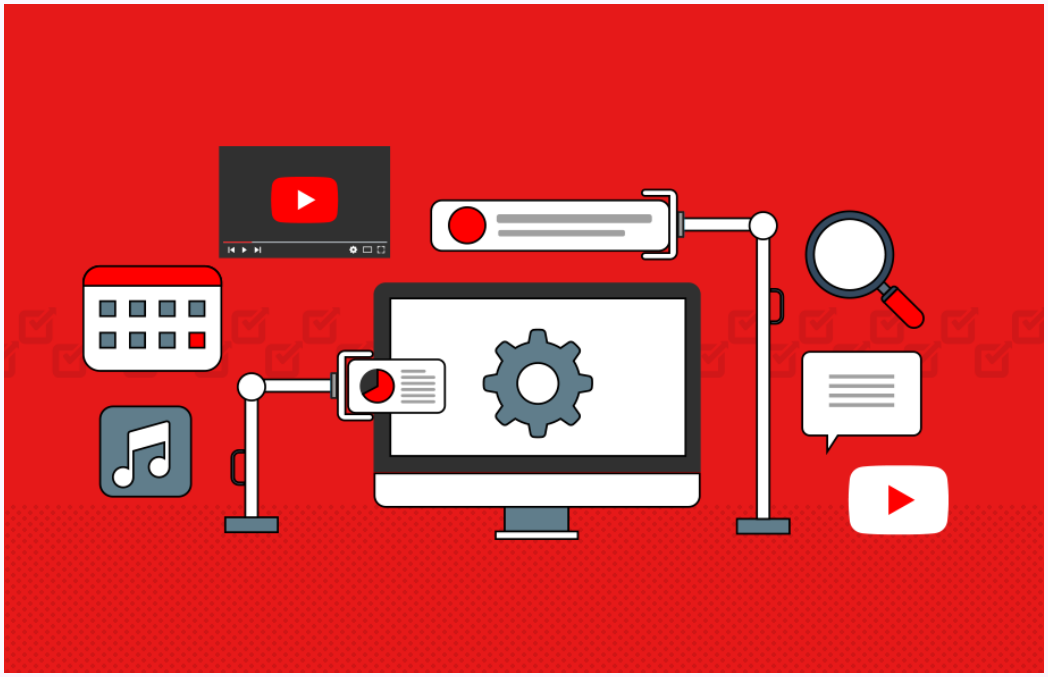
Put simply, YouTube Automation streamlines your video creation workflow. For instance, you can use a tool to create a YouTube video and then use various tools and software to handle the repetitive tasks involved in getting your videos from your computer to your audience’s screen. From uploading to optimizing titles and descriptions to adding tags, and even scheduling your videos for release at the perfect time — automation allows you to do all these easily.
What this means is instead of manually uploading it to YouTube, filling in all the details, and figuring out the best time to publish, you simply click a button, and the software takes care of everything. Your video is uploaded, optimized, and scheduled to go live at the optimal time for maximum visibility.
What Tasks Can You Automate?
YouTube upload automation isn't a one-size-fits-all concept. There are different levels of automation, and it ultimately depends on how much of the process you want to streamline. As I will discuss, you can automate everything, right from creating your video with tools like Virbo to scheduling its release using platforms like TubeBuddy. Here's what you need to know:
- Video Creation: Yes, you read that right! With tools like Virbo, you can even automate the video creation process itself. Virbo's AI-powered script generation, templates, and vast asset library make it possible to create professional-looking videos in minutes, even if you have no prior video editing experience.
- Uploading Videos: Automatically transfer your video files from your computer to your YouTube channel.
- Optimizing for Search: Fill in titles, descriptions, tags, and other metadata to help your videos rank higher in search results.
- Adding End Screens and Cards: Encourage viewers to watch more of your content or subscribe to your channel.
- Scheduling Uploads: The platforms allow you to choose the best time for your videos and upload accordingly to maximize views and engagement.
Part 2: Why Should You Automate YouTube Uploads
Automating your YouTube upload process isn't just about saving time; it's about unlocking a range of benefits that can significantly impact your channel's growth:
- Time is Your Most Valuable Asset: Manually creating videos with tools like Virbo, crafting SEO-optimized descriptions with TubeRanker, and scheduling uploads with TubeBuddy can be time-consuming.
- Consistency Builds an Audience: Regular uploads are key if you want to create a loyal audience base.
- Maximize Reach and Engagement: Tools like TubeBuddy can help you identify the optimal times to publish your videos for maximum visibility — and automate YouTube uploads accordingly.
- Avoid Mistakes and Streamline Your Workflow: Manual uploads mean there can be errors; however, there will be no incorrect settings, nor miss deadlines with automated uploads.
- Scale Your Channel: As your channel grows, the workload increases — and automation will save you a ton of time.
Part 3: How to Automate YouTube Upload
Step 1: Create a YouTube Video With a Professional AI tool
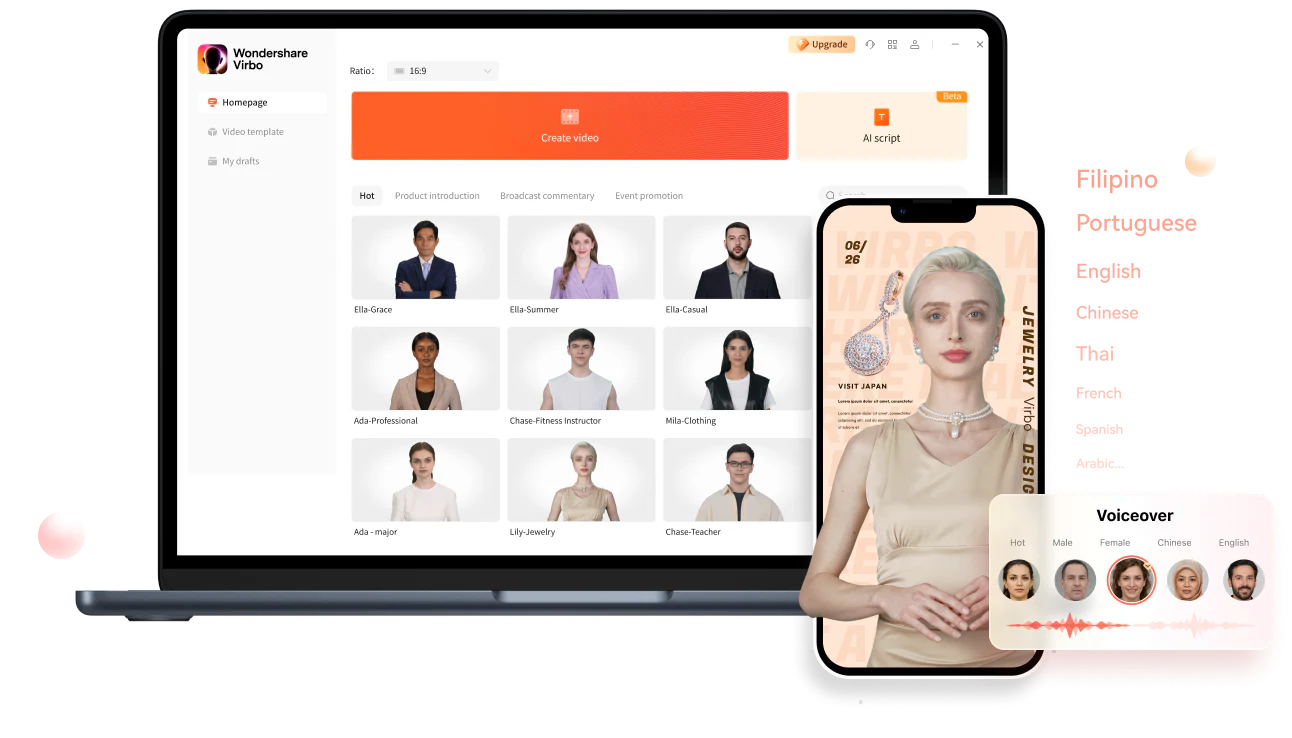
With hundreds of templates, over 300 natural-sounding voiceovers, and an extensive library of free (and editable) assets, images, and stock footage, Wondershare Virbo makes it a breeze to create visually stunning videos that resonate with your audience.
Why Virbo Stands Out
- Vast Asset Library: a large collection of free templates, images, and stock footage to personalize your videos.
- Powerful AI: Let Virbo's AI engine work its magic behind the scenes, arranging your chosen elements into a seamless and professional final product.
- Versatile Video Creation: Create a wide range of YouTube content, including tutorials, marketing videos, educational content, product reviews, vlogs, travel videos, and much more.
- Realistic AI Avatars: Choose from over 300+ lifelike avatars to add a human touch to your videos, even if you prefer to stay behind the camera.
- User-Friendly Interface: Virbo's intuitive interface makes video creation a breeze, even for beginners.
Here’s how to create YouTube Video with Virbo
Step 1: Head to the Wondershare Virbo web app or download the tool on your computer by clicking the buttons below (available for Windows, Mac, iOS, and Android).
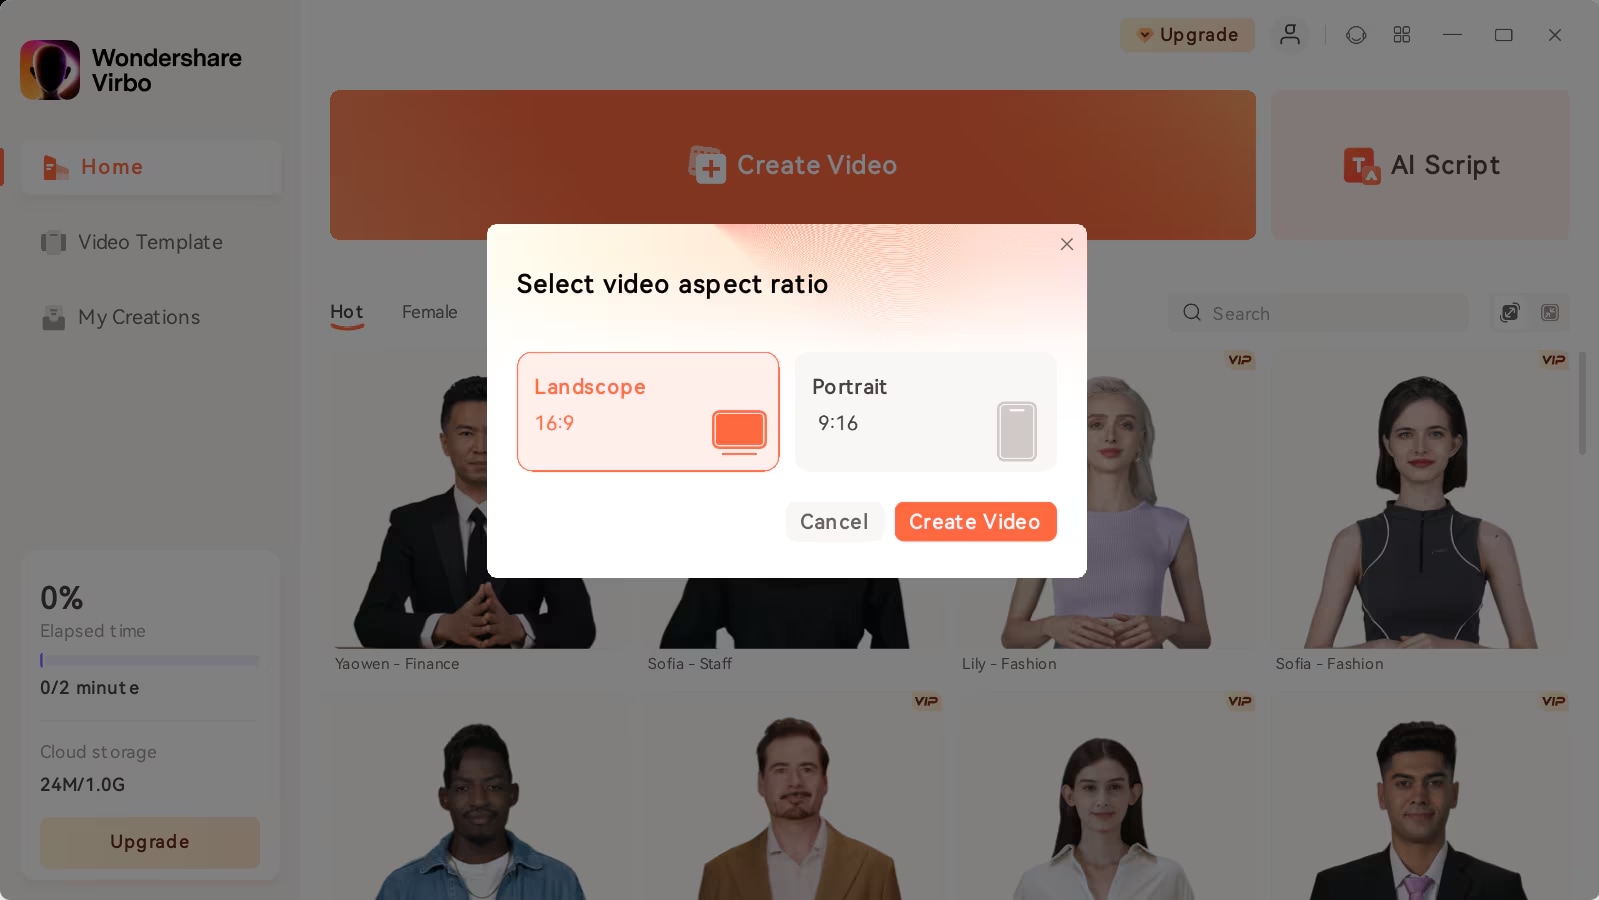
- From the main interface, click "Create Video."
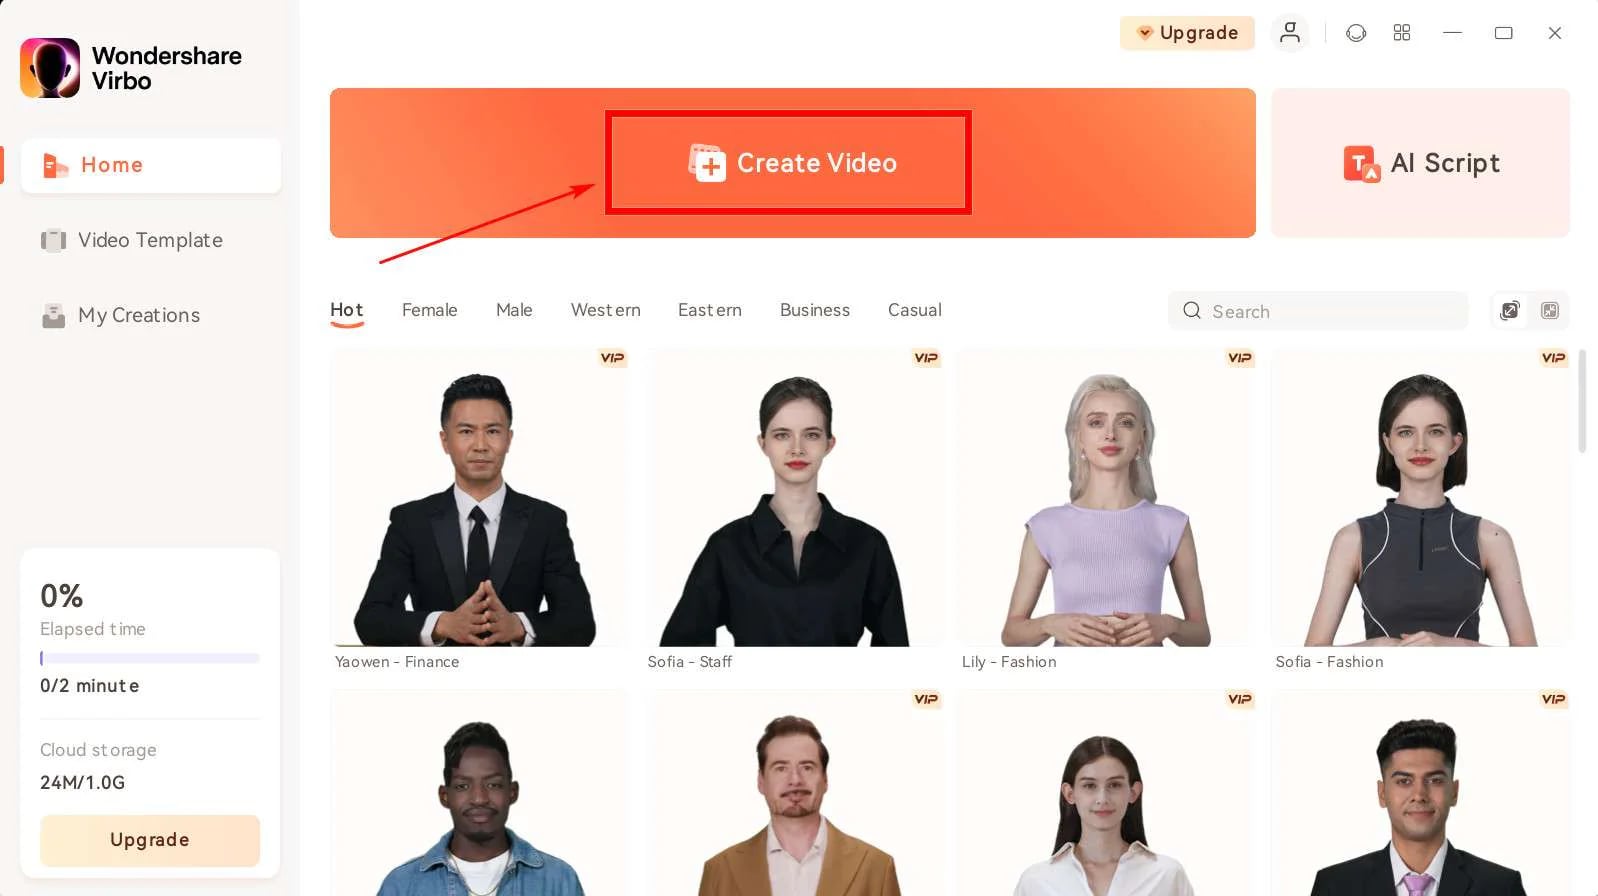
Choose the aspect ratio that matches your content:
- Landscape (16:9): Ideal for standard YouTube videos.
- Portrait (9:16): Perfect for YouTube Shorts.
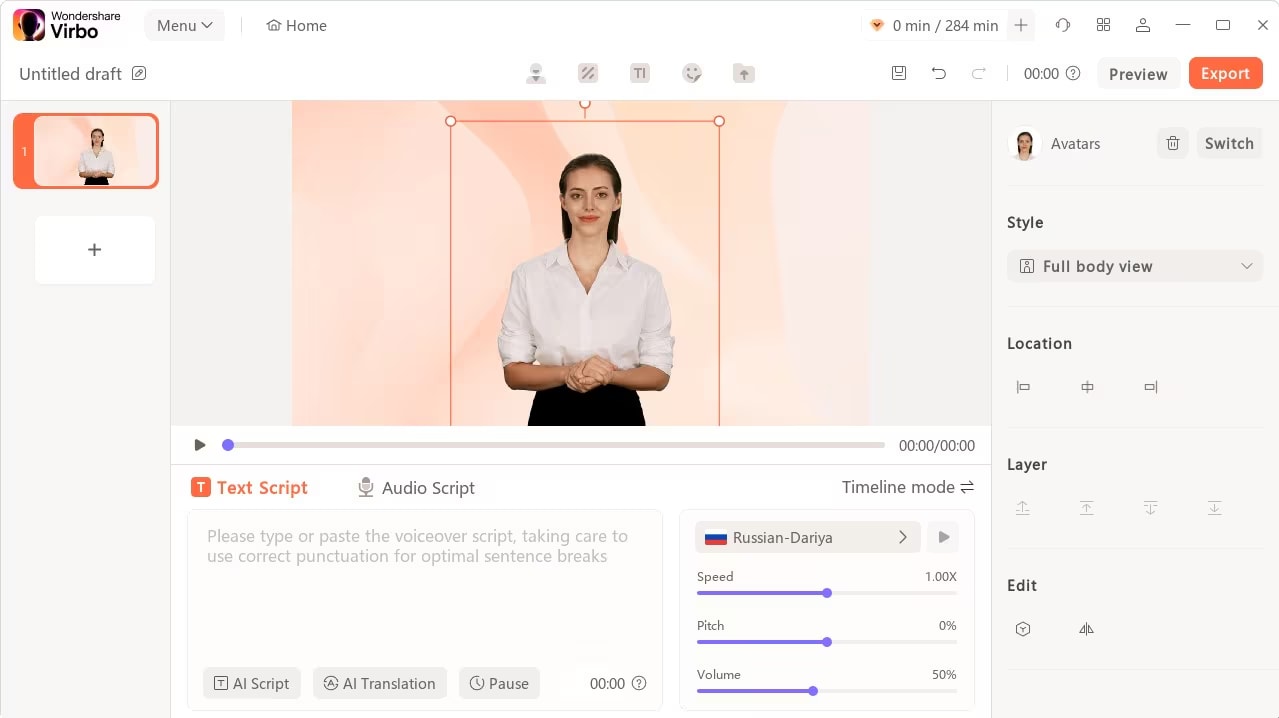
Step 2: Click "Avatars" and select a character that aligns with your brand or content style.
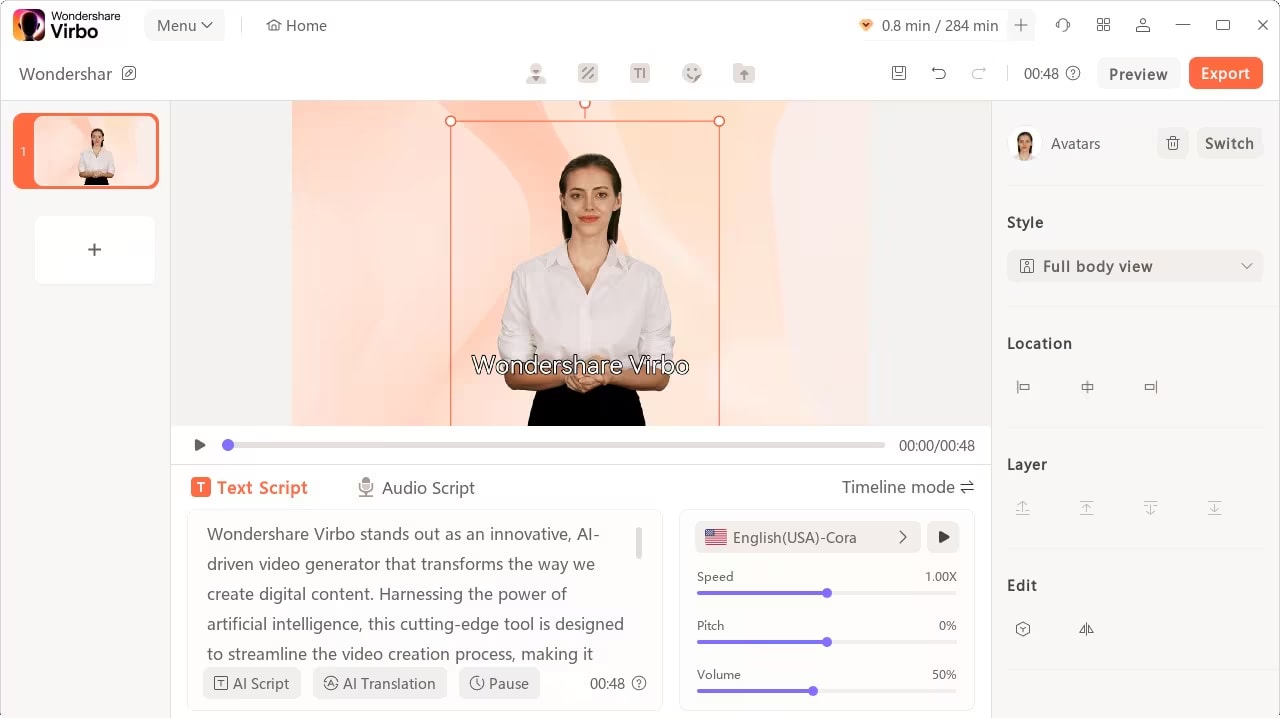
Step 3: You can enter your script directly or let Virbo's AI generate one based on your topic or keywords.
- Adjust the avatar's voice speed, pitch, and volume for the perfect delivery.
- Click "Play Script" or "Preview" to see your video in action.
Step 4: Choose a visually appealing background for your YouTube video.
- Add text overlays and stickers if you want to.
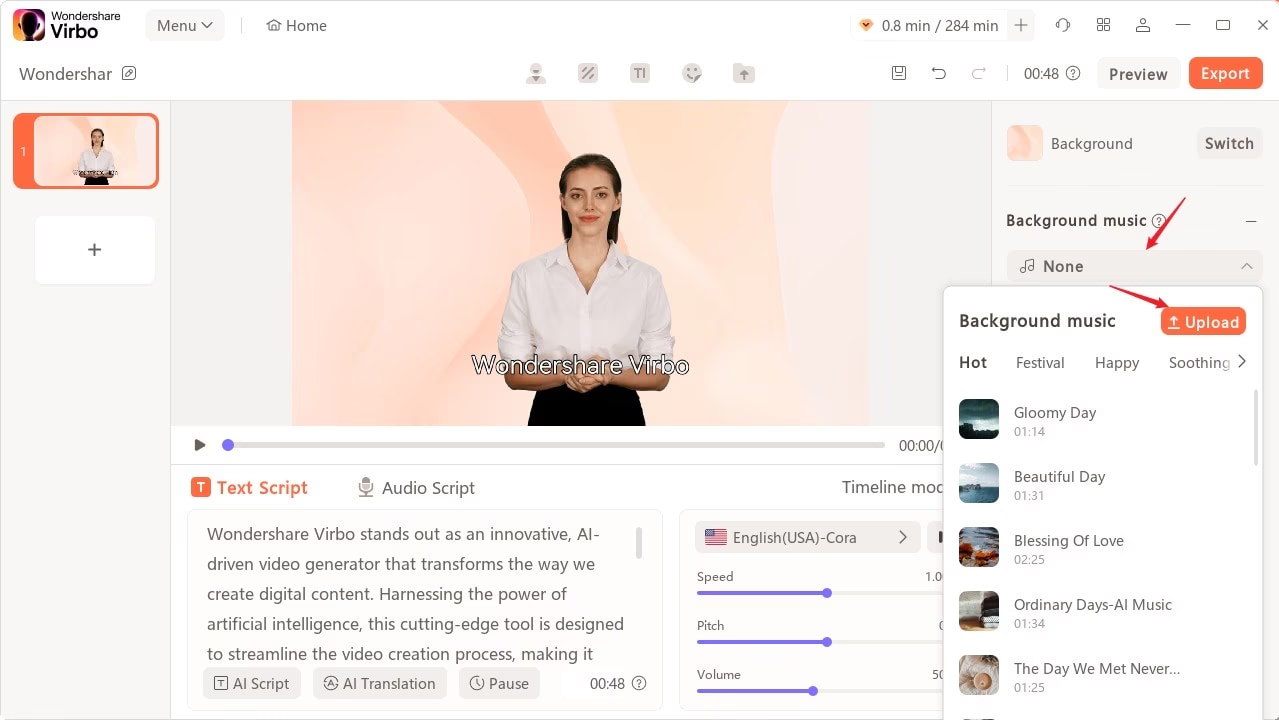
- Select background music from Virbo's library or upload your own track.
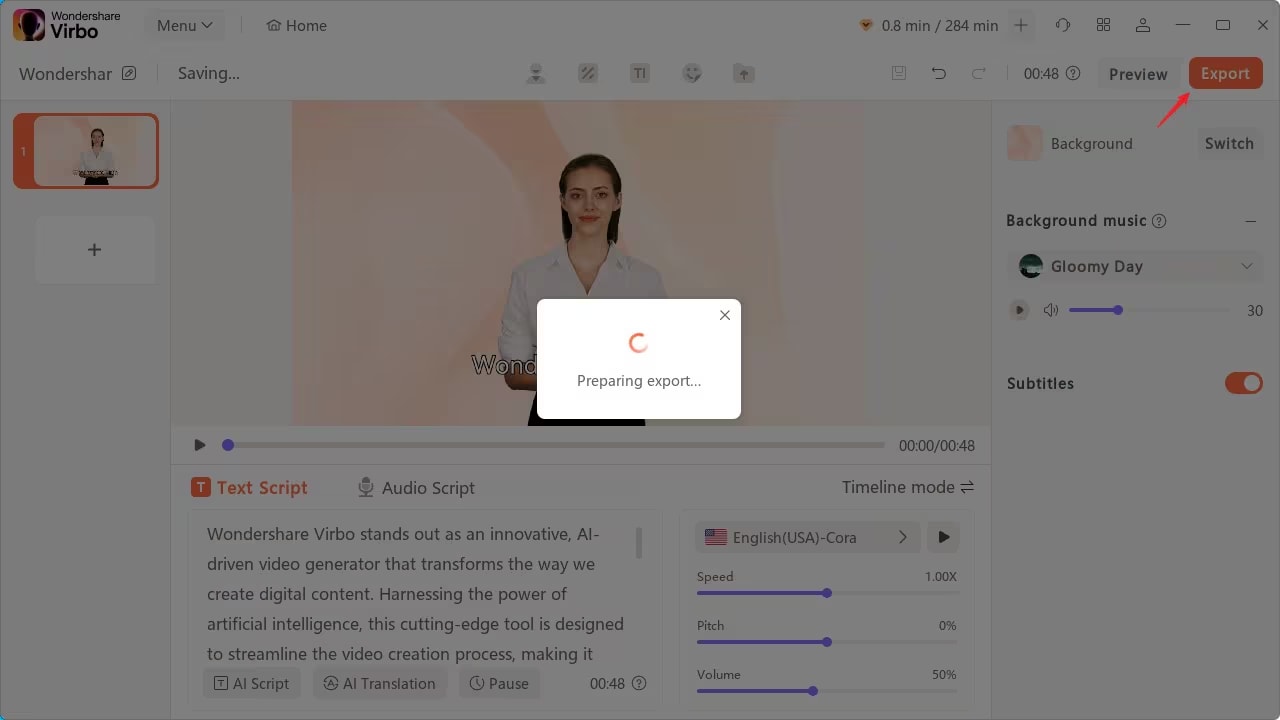
Step 5: Once you're happy with your YouTube video, click "Export" to generate the final video file.
Step 2: Automatically Upload Video to YouTube
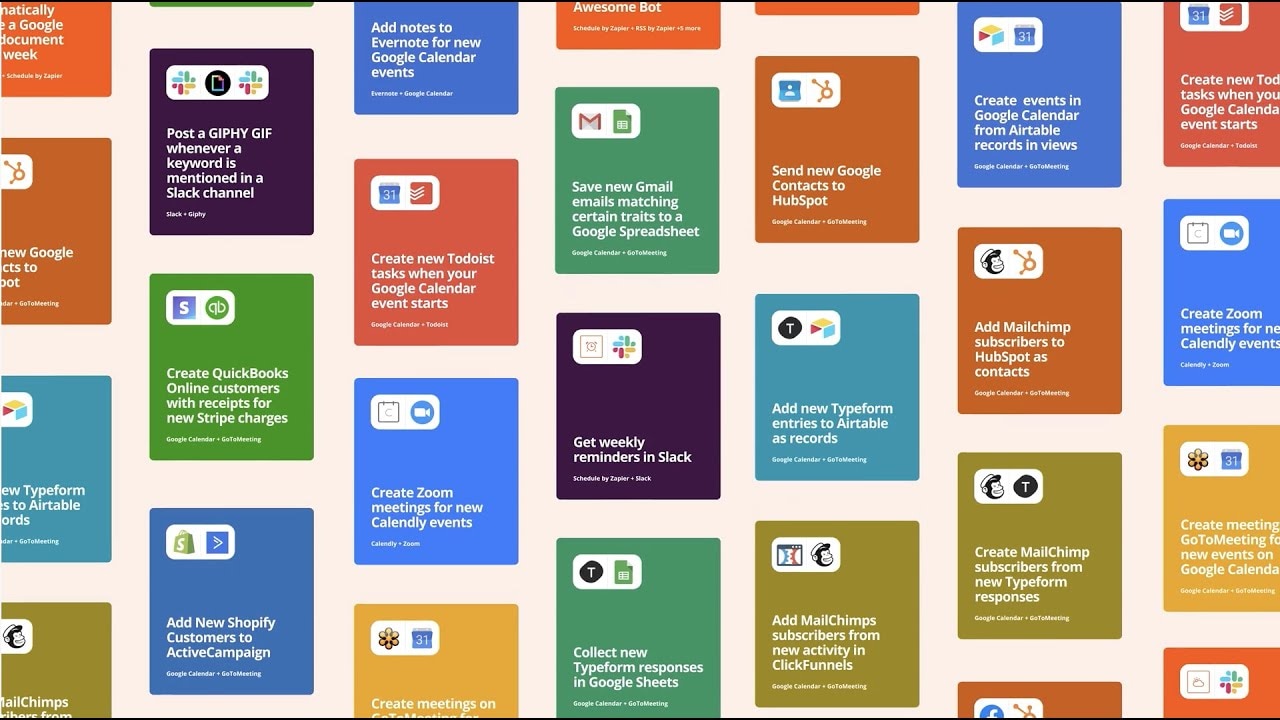
Once you've downloaded your masterpiece from Virbo, it's time to streamline your uploading process using Zapier - an automation platform that connects your favorite apps and services, allowing them to work together effortlessly.
Zapier will act as a bridge between your video creation tool (Virbo) and YouTube. All you have to do is create a simple automation workflow called a “Zap,” then you can set up a seamless connection that will automatically upload your newly created Virbo videos to your YouTube channel.
How to Automate YouTube Uploads with Zapier
Step 1: Connect Your Accounts: Sign up for a Zapier account (free or paid plans available). Connect your Virbo account and your YouTube channel to Zapier.
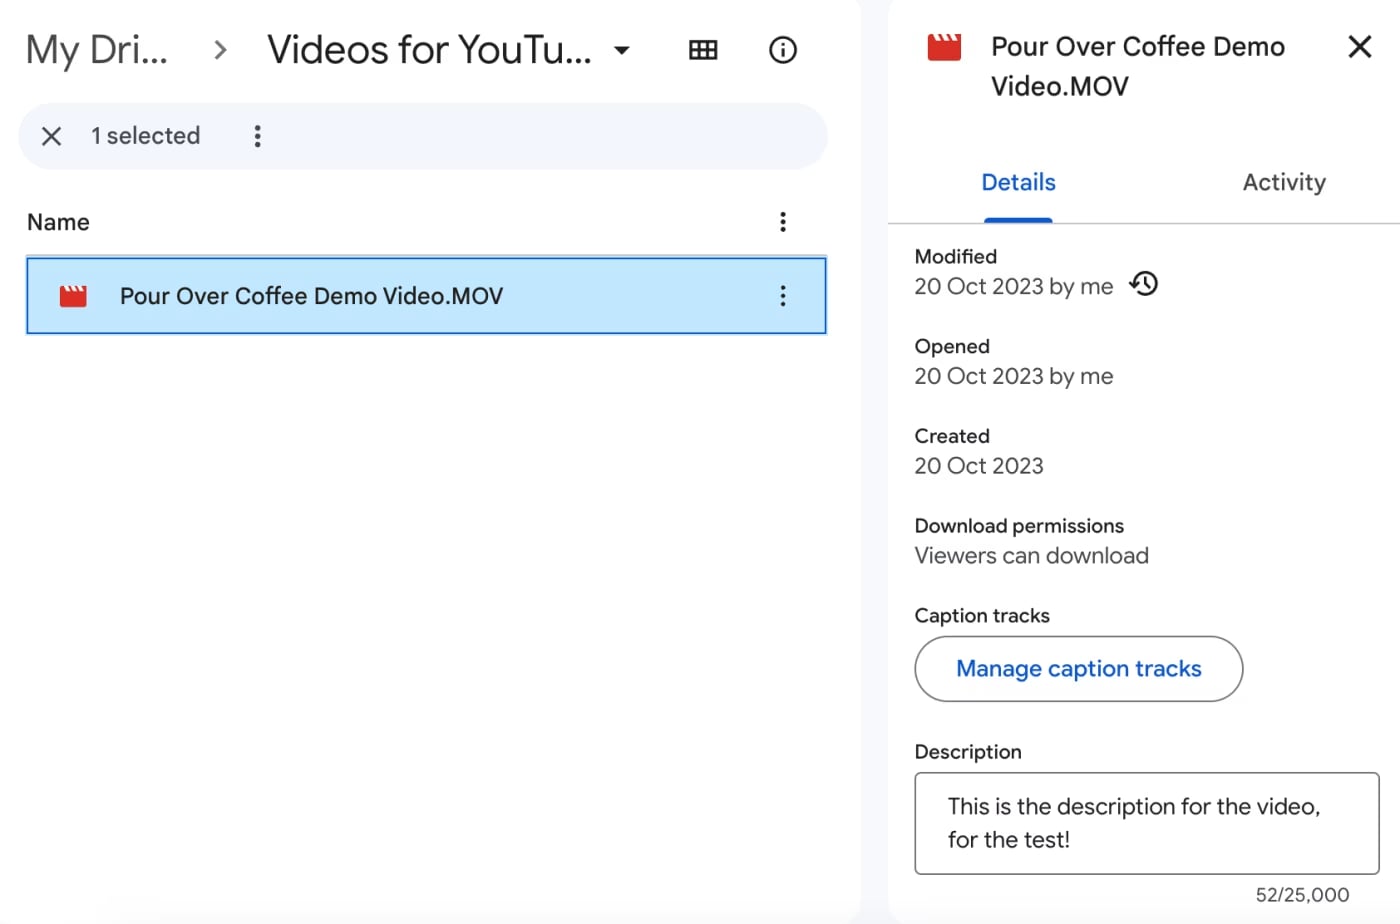
- Create a Zap: Choose Google Drive as the trigger app and YouTube as the action app. Select the "New Video in Google Drive" trigger and the "Upload Video" action.
Step 2: Customize Your Zap
Choose Your YouTube Channel: Select the channel where you want to upload your videos.
Video Details: Map the video title, description, and other details from Virbo to your YouTube upload. (If you are unsure about the right description and heading, scroll down to Step 3 to learn more).
Privacy Settings: Choose whether you want your video to be public, private, or unlisted.
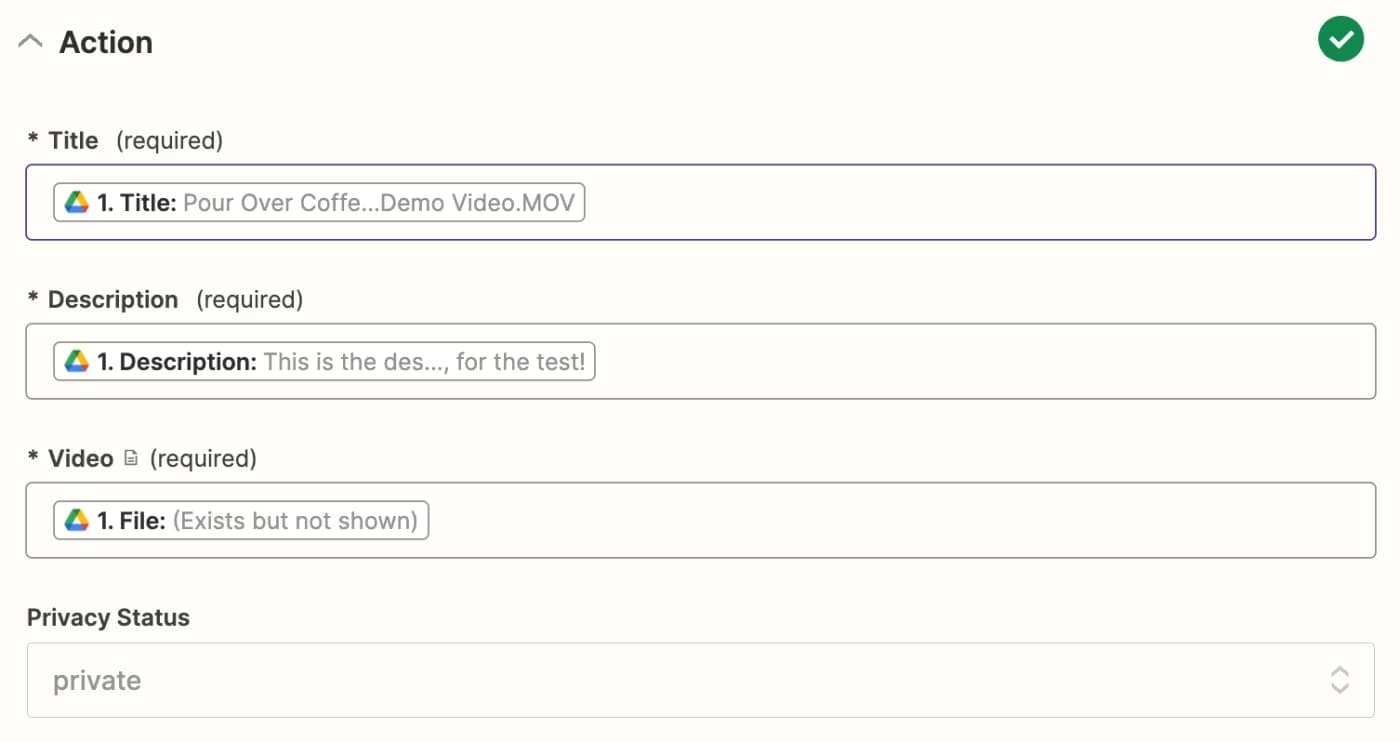
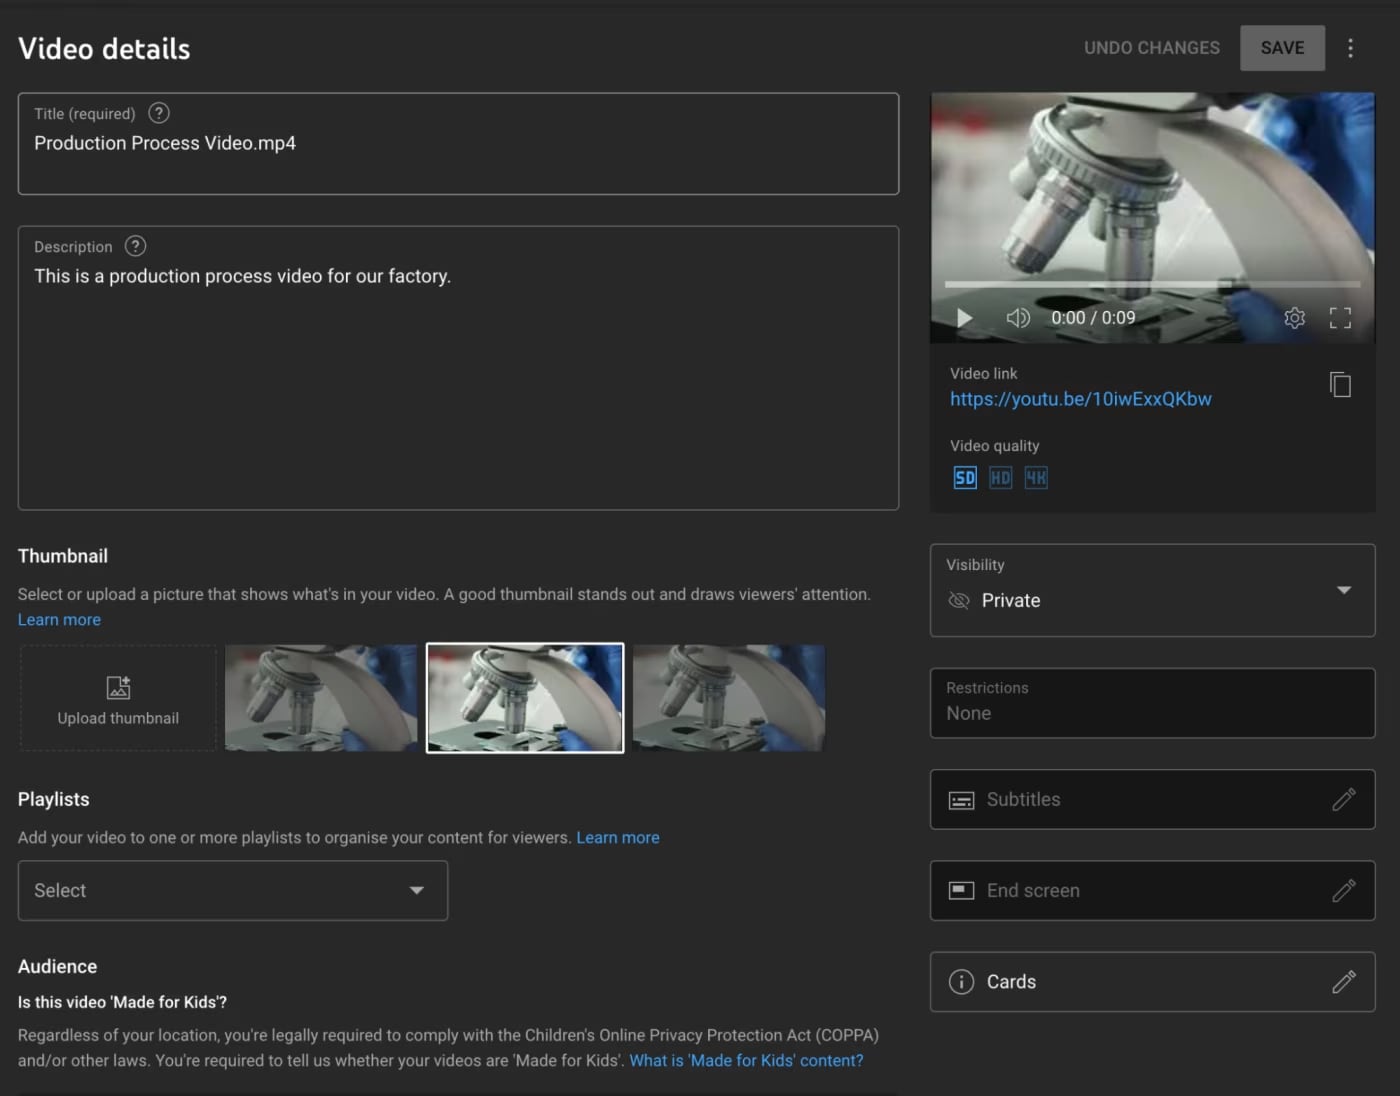
Step 3: Test and Activate: Run a test to ensure your Zap works correctly. Once you're satisfied, activate the Zap, and it will start working its magic. Here’s how it will look like:
Optional: Schedule YouTube Video Upload
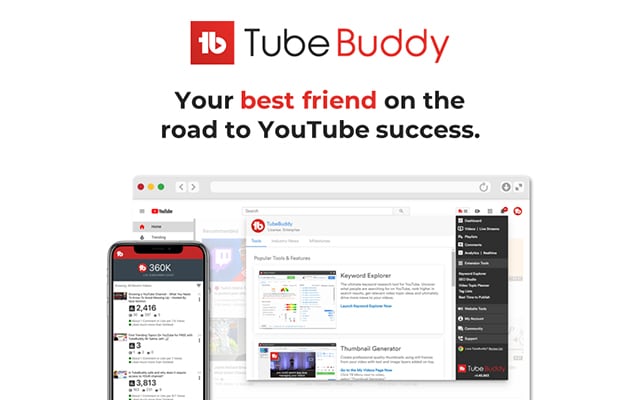
While Zapier is a versatile automation tool, it might not be the most intuitive option for creators focused solely on YouTube. However, if you are looking for a simpler tool — TubeBuddy is a fantastic alternative to Zapier — given it is specially made for YouTube automation and scheduling. TubeBuddy comes as a browser extension and seamlessly integrated with YouTube (with a simple user interface), and even offers a range of tools for managing your YouTube channel and video optimization.
How to Schedule YouTube Uploads with TubeBuddy
Step 1: Install TubeBuddy: Add the TubeBuddy extension to your browser or download the mobile app.
Step 2: Connect to YouTube: Link your YouTube channel to TubeBuddy.
Step 3: Upload Your Video: In the TubeBuddy dashboard, click "Upload" and select your Virbo-created video.
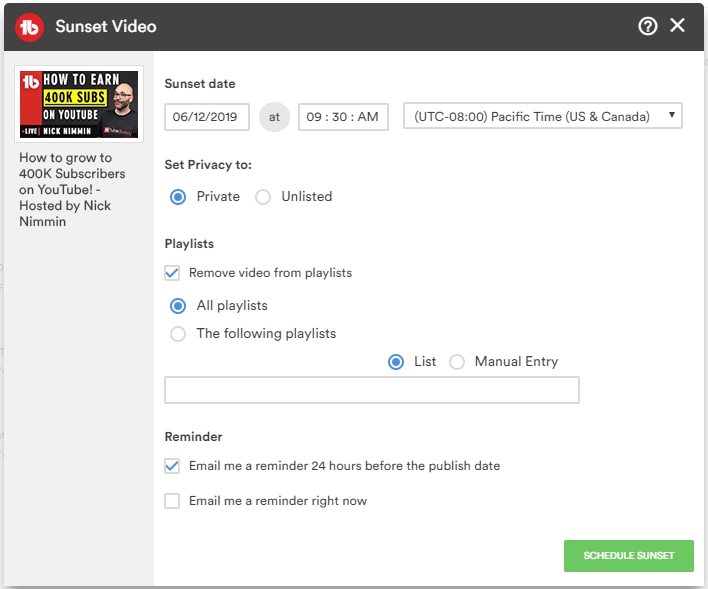
Step 4: Schedule Your Upload: Choose a date and time for your video to go live. TubeBuddy will automatically publish your video at the scheduled time.
Step 3: Generate YouTube Video Description
Virbo doesn’t just stop creating stunning YouTube videos, it will also allow you to craft a YouTube video description. You can use the AI-generated script as a basis for your description, but if you are uploading your own script to Virbo — you can try to create a custom Video description — then TubeMaster for crafting the “perfect SEO-optimized” video description.
TubeMaster uses advanced AI algorithms to analyze your video’s content and generate automated descriptions that are not only informative and engaging but also optimized for search engines.
How to Use TubeRanker
Step 1: Visit TubeRanker: Go to the TubeRanker website and find the YouTube Description Generator tool.
Step 2: Enter Video Details: Provide your video's title, a brief summary, and any relevant keywords.
Step 3: Generate Description: Click "Generate Description," and TubeRanker's AI will instantly create a compelling and SEO-optimized description.
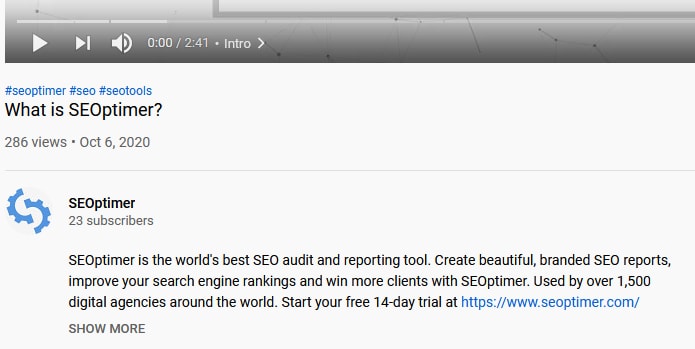
- Once you're happy, simply copy the description and paste it into your YouTube video's description box.
Step 4: Publish YouTube Video
With your video polished with Virbo and your description optimized using TubeRanker, it's time to share your creation with the world. Depending on your chosen method, here are the steps to automate your YouTube Video uploads:
Option 1: Zapier for Instant Uploads
If you've connected Zapier to your Virbo (via Google Drive) and YouTube accounts, your video will be automatically uploaded as soon as you've added your TubeRanker-generated description.
Option 2: TubeBuddy for Scheduled Uploads
If you prefer to strategically time your video releases, of course, the TubeBuddy's scheduling feature is your go-to tool. Once your video is finalized, simply schedule it through TubeBuddy, and it will automatically go live at your chosen date and time.
Review and Finalize
Before hitting that "Publish" button, double-check your video's title, description, tags, and thumbnail. And ensure that all elements align with your brand and message.
Conclusion
YouTube automation brings a level of efficiency and productivity that is unmatched, regardless of how many people you’ve on your team. Also, it is the ultimate method to guarantee success on the platform, especially if you work independently.
The tools recommended on this page allow you to easily automate YouTube upload: Virbo for video creation, Zapier for seamless uploads, and TubeRanker for optimized descriptions, you'll be able to streamline your workflow and reclaim valuable time.


