Virbo User Guide for Mobile

-
Get Started
-
Create AI Videos
-
Features
Create An AI Avatar
1. Create a New AI Avatar
Wondershare Virbo provides a system for the rapid generation of AI avatar videos through its multiple directions of creating new projects. You can create a new AI project on Virbo in the following ways:
- Creating an entirely new project.
- Creating a project with AI avatars.
- Creating a project with text-to-speech integration.
- Creating a project with AI script generation.
- Creating a project using AI-generated templates.
2. Editing the Video
The AI video generation tool can be utilized for enhancing videos by editing them through AI-generated scripts, AI avatars, voiceovers, and storyboarding. Learn how Virbo makes it easy to edit a video on the platform:
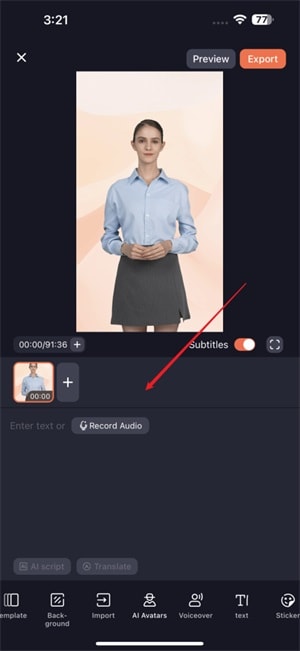
2.1 Input Scripts
Step 1: As you lead into the Video Creation page from the main screen of the tool, select the "Script" area appearing under the video. You will be directed into the "Text Editing Mod"e for the video.
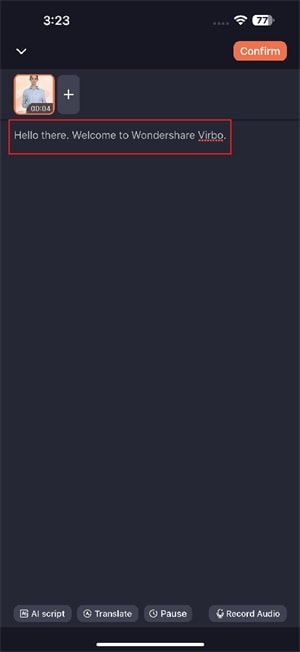
Step 2: Type in the text or paste it on the provided space that you want to be rehearsed by the AI Avatar.
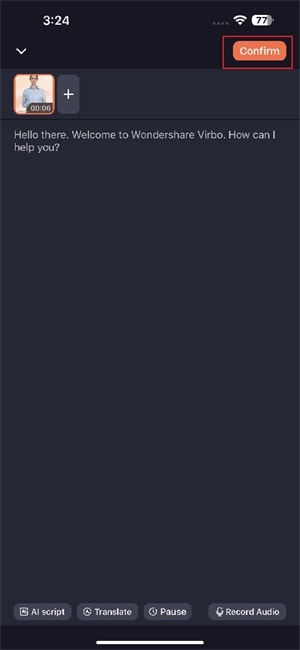
Step 3: As the text is added, tap the "Confirm" button on the top-right to exit the text editing mode.
2.2 Using AI Avatars
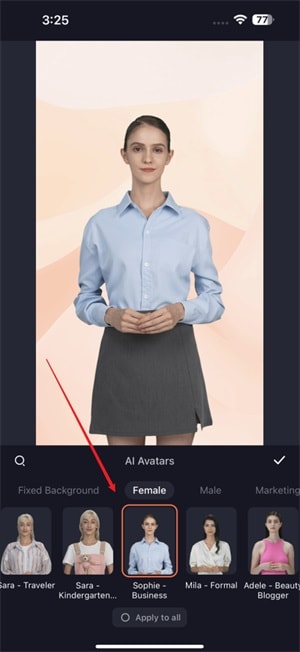
Step 1: Once you find yourselves on the video creation page, navigate to the "AI Avatars" section at the bottom of the screen.
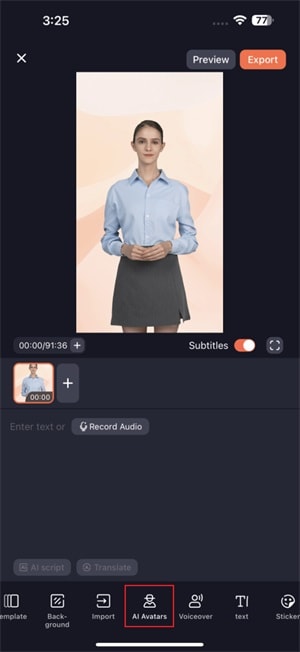
Step 2: You can navigate through the multiple categories available on the screen and select your desired AI avatar. This will help you preview the chosen AI avatar.
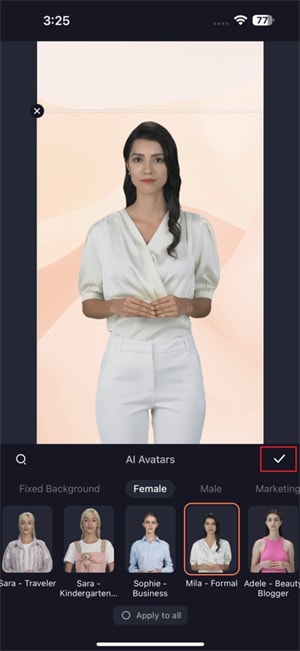
Step 3: As you are satisfied with your choice, tap the "tick" icon on the right side of the screen to apply the AI avatar to the video.
2.3 Adding Videos/Images
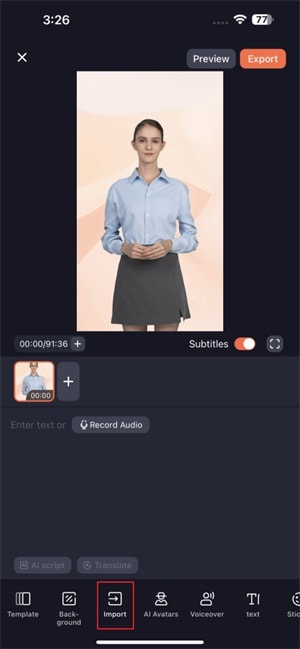
Step 1: If you intend to add any image or video to your video, select the "Import" icon on the bottom. You will be led into the media selection window, where you can select your required media.
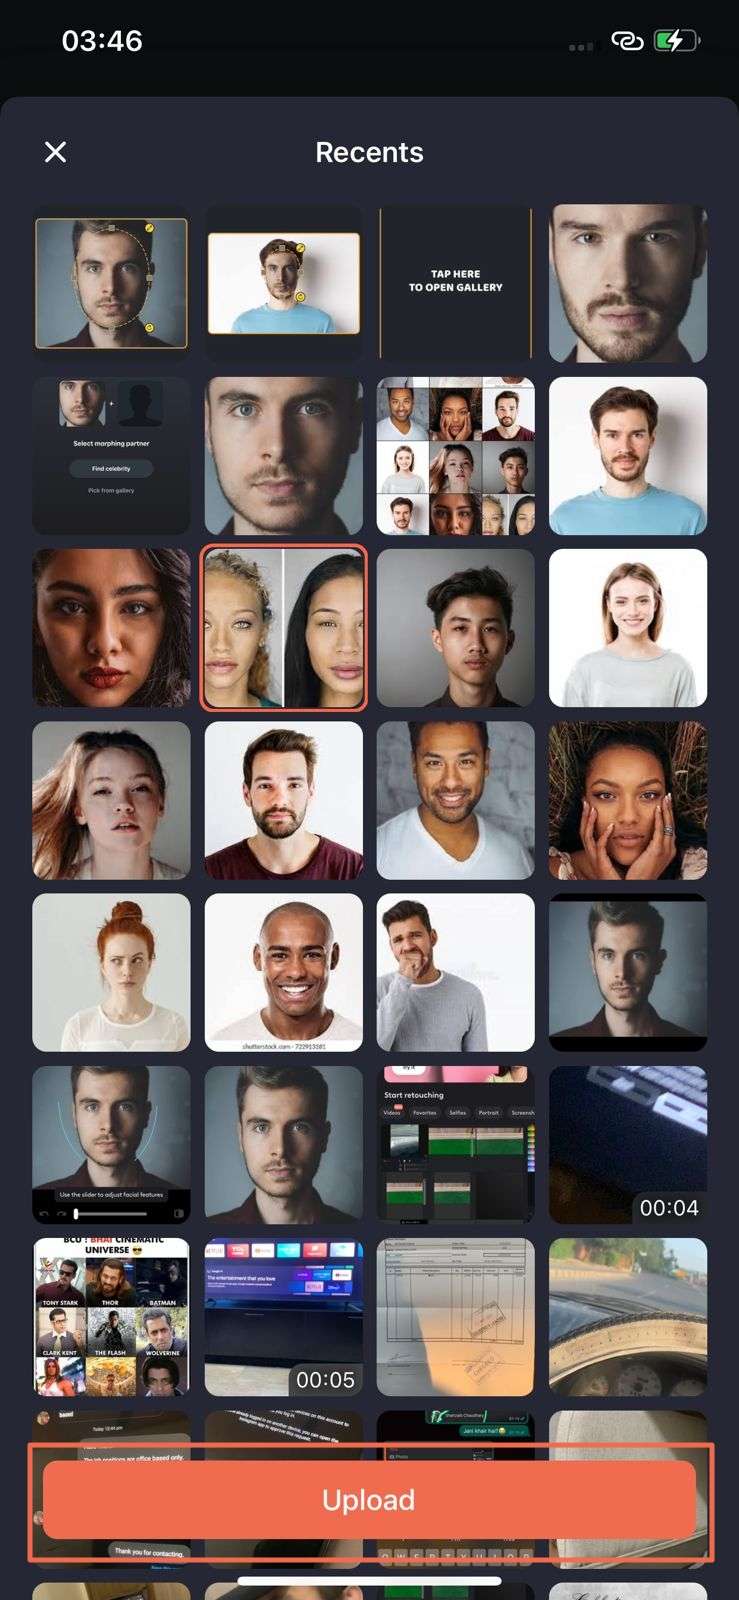
Step 2: As you select your respective media, select the "Upload" button for uploading it on the video panel.
2.4 Editing Storyboards
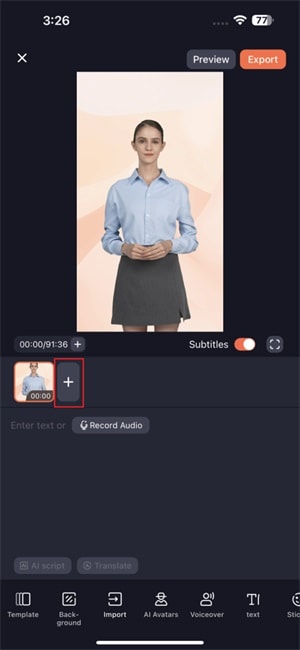
Step 1: For those who wish to add more storyboards to their video, select the "+" button on the video editing panel for adding a storyboard. After adding it, you can utilize the available digital characters, voiceovers, backgrounds, and other elements available.
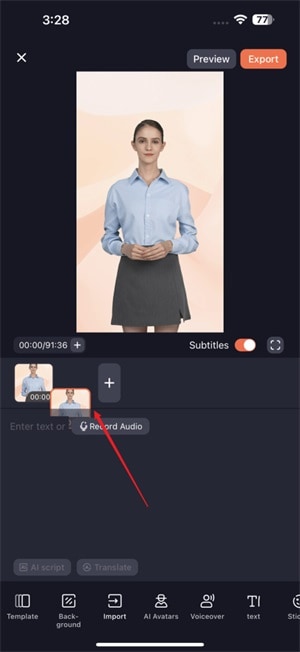
Step 2: If you want to make some particular edits to the storyboards, tap on a specific storyboard and select the option of "Copy" or "Delete."

Step 3: To change the sequence of the storyboards, press any storyboard to enter the adjusting mode. This helps you change the order of the added storyboards in the video.
3. Preview and Export Video
3.1 Previewing AI Video
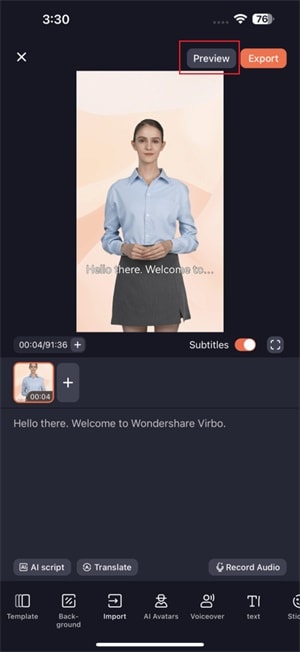
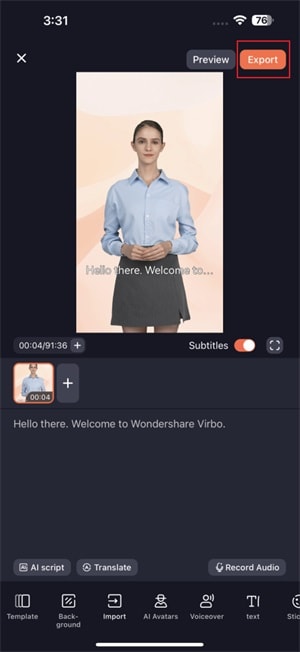
Step 1: After performing all respective edits on the video, you can have it previewed with the "Preview" button on the top-right corner.
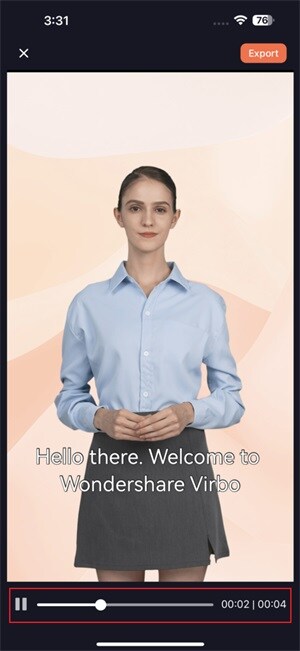
Step 2: For facilitating faster video previews, the AI model shows frames as images during the preview.
3.2 Exporting AI Video
Step 1: As you successfully preview the video, select the "Export" button on the top-right to proceed with saving the video.
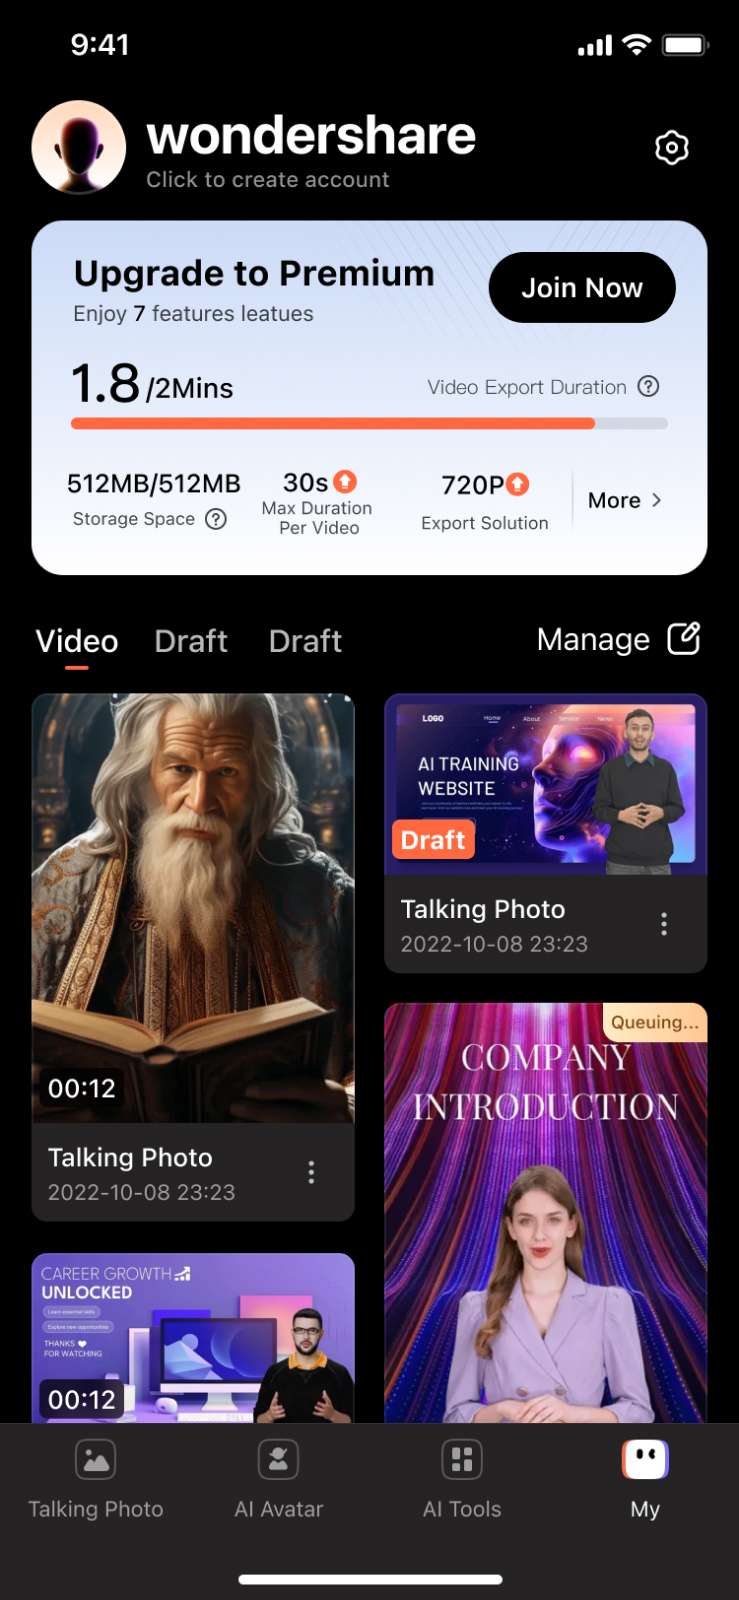
Step 2: Once the video is exported after a while, you can find it in the "Creation" section. Lead into the particular section from the home screen and lead into the "Video" tab. It can be viewed within the application or from the gallery of your smartphone.
 350+ realistic AI avatars and customizable "digital twins"
 Multilingual AI voiceovers that express genuine emotion
 Speak to everyone with instant AI video translation