
Dear user,
Since the launch of Virbo, we have been fortunate to share this journey with all of you. We want to express our gratitude for your trust, support, and love for Virbo. However, due to various unavoidable circumstances, we have made the difficult decision to discontinue Virbo's operations. We sincerely apologize for any inconvenience this may cause.
Wondershare Virbo will officially cease all services on 07, 30, 2026 (New York Time). Paid users can access the product as usual until this date.
Below are the details related to the service termination:
1
07, 16, 2026 (New York Time): All paid service channels, including auto-renewal options, will be deactivated.
2
07, 30, 2026 (New York Time): All product services will be completely discontinued, and the product will be taken offline.
Important Information
1
Data: After the service is terminated, all data and information associated with your Virbo account will be permanently deleted. This process will not affect any other Wondershare products. Please make sure to back up any important data before the service ends.
2
Refund Policy: If you have an active subscription that extends beyond the service discontinuation date, we will support an appropriate refund based on your remaining subscription period. For details on how to request a refund, please contact our customer support team.
3
Customer Support: Our customer support team will remain available to assist you until the service is completely discontinued. If you have any questions or need help, feel free to reach out to us anytime or visit https://support.wondershare.com/ for help.
4
The Virbo team reserves the right to make the final interpretation of this announcement, within applicable legal limits.
We sincerely thank you for your support of Virbo. We deeply apologize for any inconvenience this may cause and appreciate your understanding.
Wondershare Virbo Operations Team
07, 14, 2026
07, 14, 2026
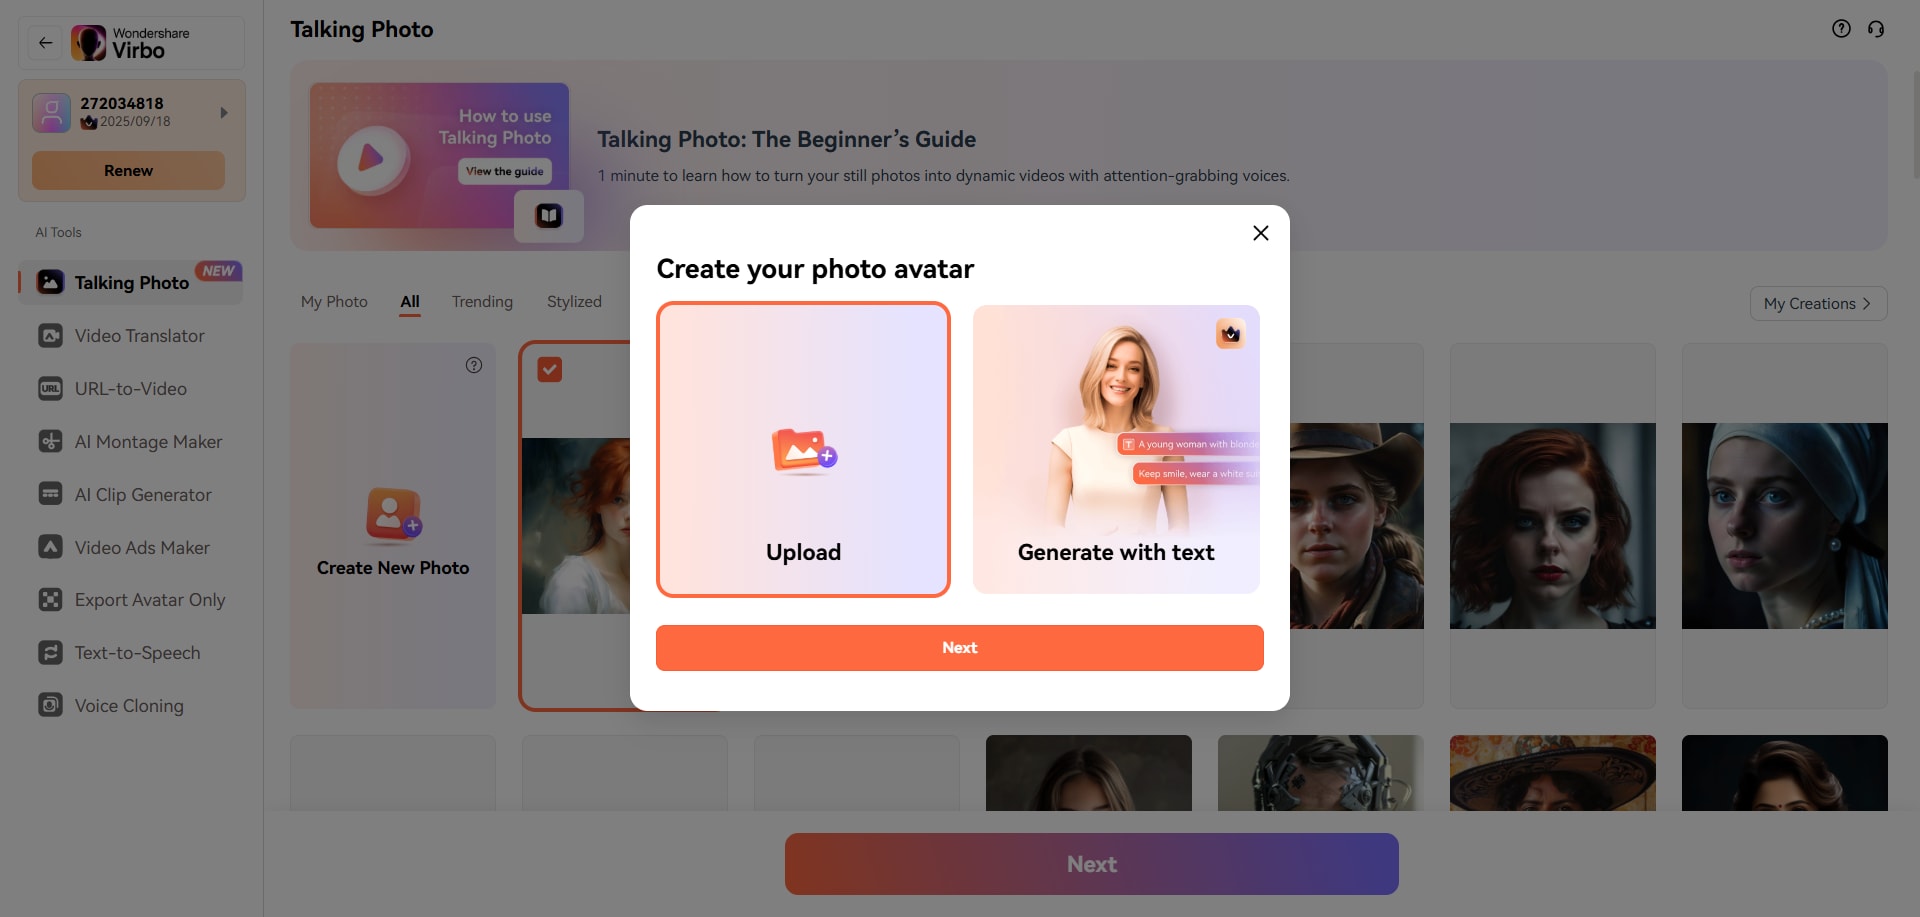
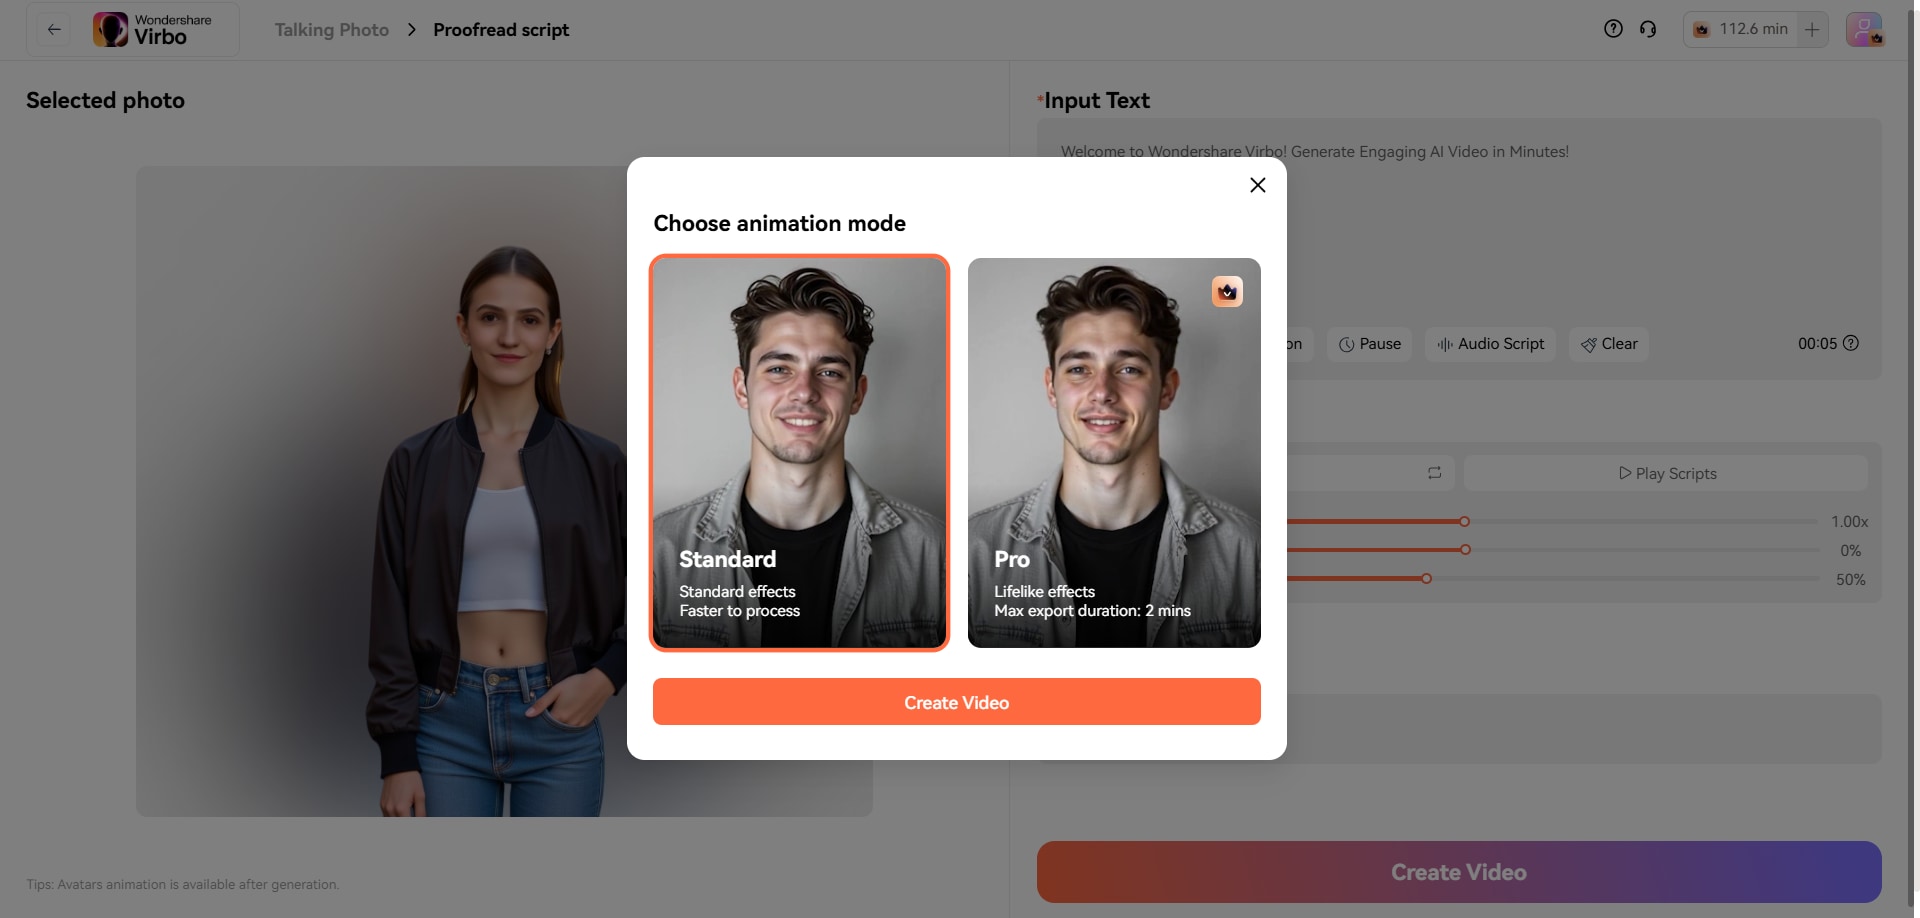
 350+ realistic AI avatars and customizable "digital twins"
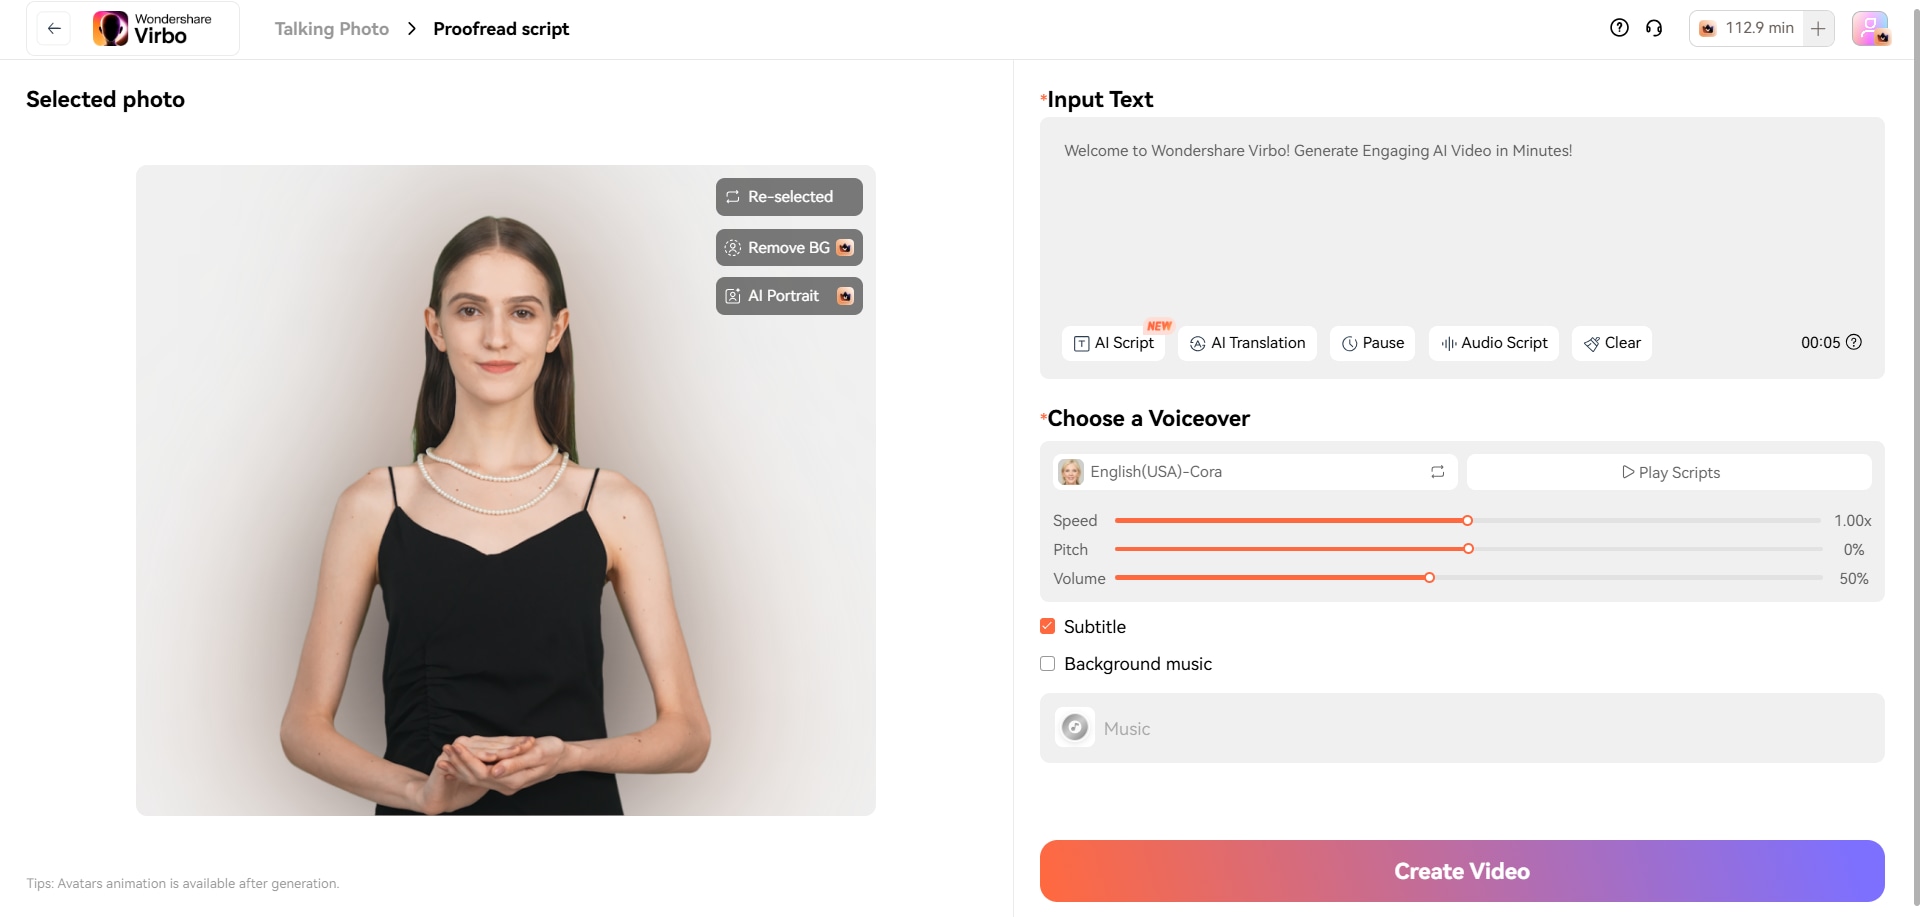
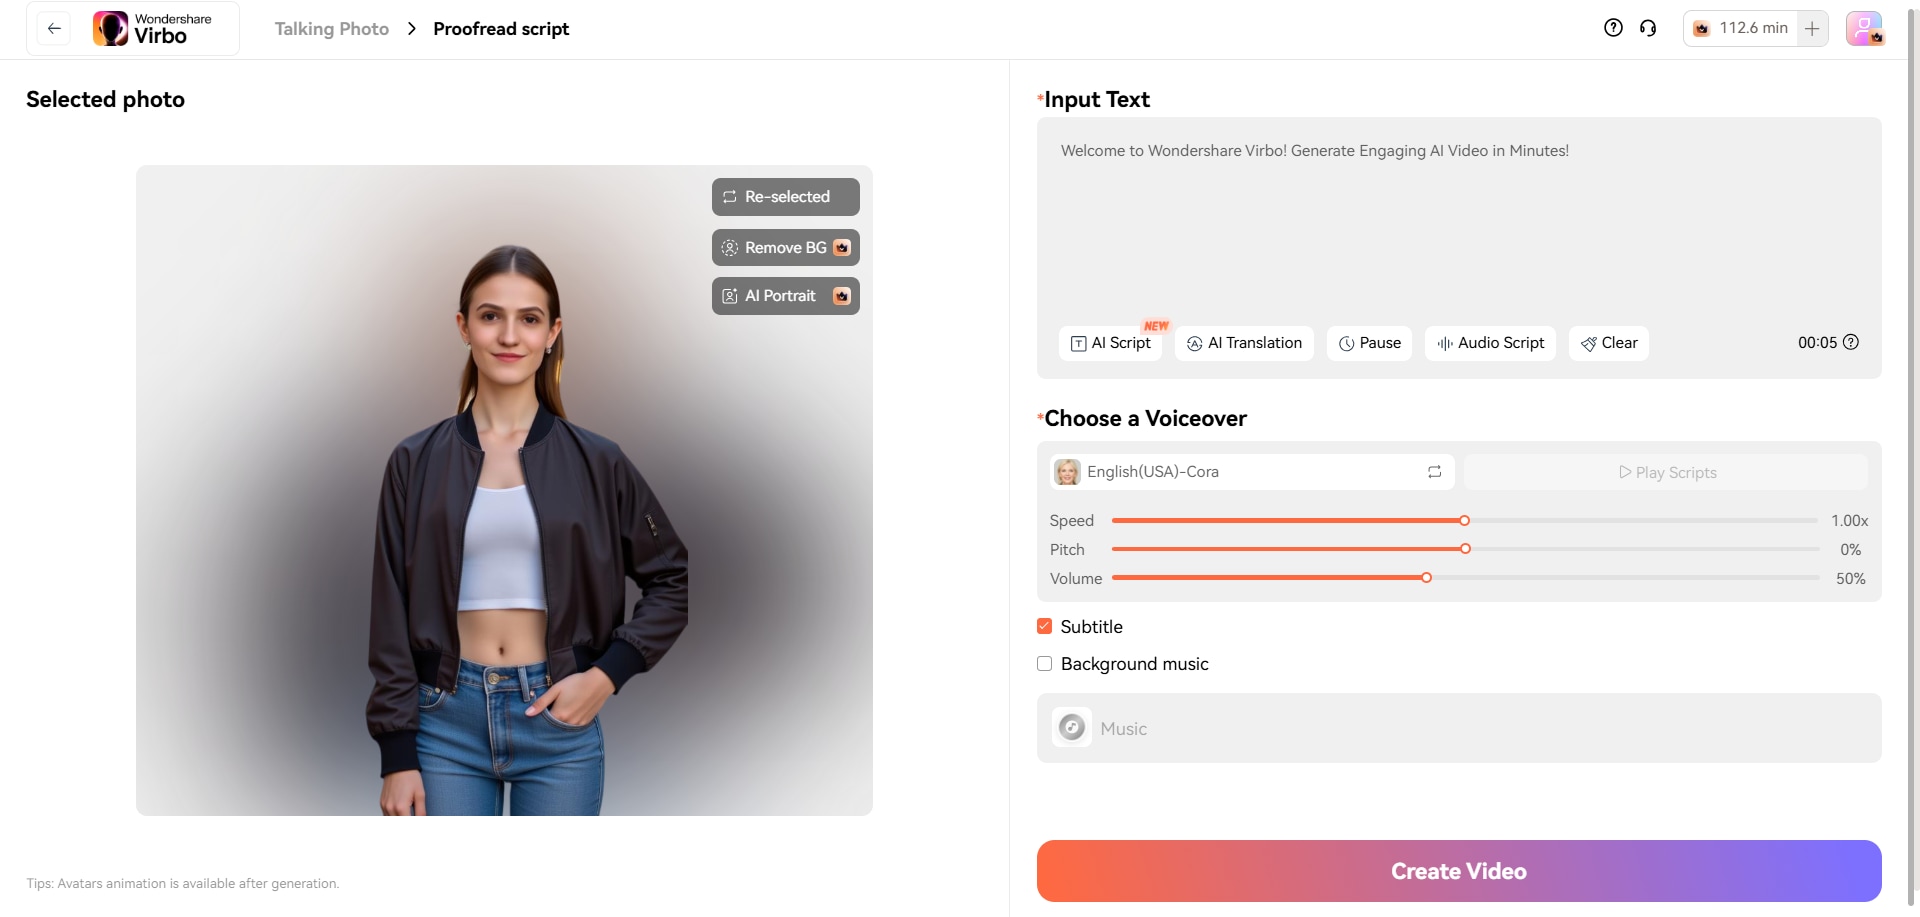
 Multilingual AI voiceovers that express genuine emotion
 Speak to everyone with instant AI video translation