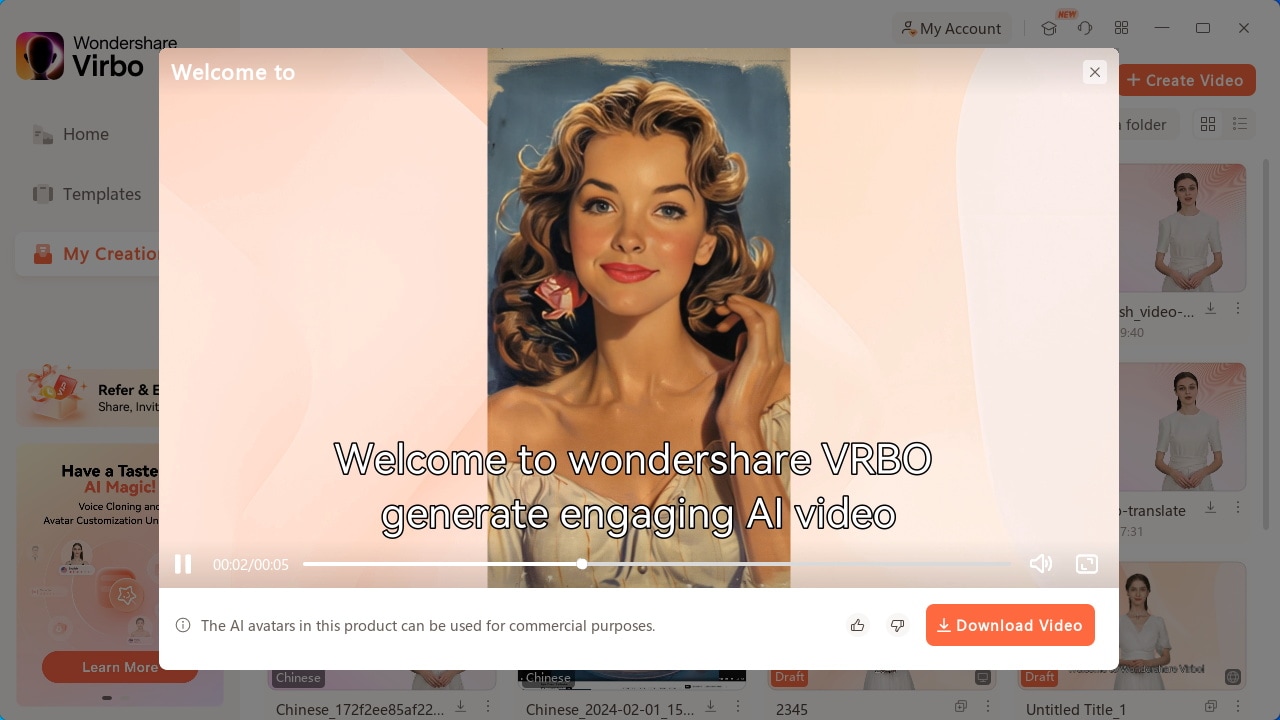
Virbo User Guide for Windows
Talking Photo
Have you ever wanted to create a video using your favorite photos to express your ideas? Virbo's Talking Photo can fulfill your wish! This feature allows you to make photos speaking or even generate videos using preset images or photos uploaded from your device. By following our instructions, you will quickly learn how to operate.
Way 1: Simply Bring Your Photos to Life with 3 Steps
Simply input your script (or use Virbo's AI feature to generate one), choose the voice-over, and export the video to achieve the desired effect! You can also record audio online or upload your own recordings to make your photos speak.
Step 1. Choose Talking Photo
Download and install Wondershare Virbo on your computer and click "Talking Photo" to bring photos to life.
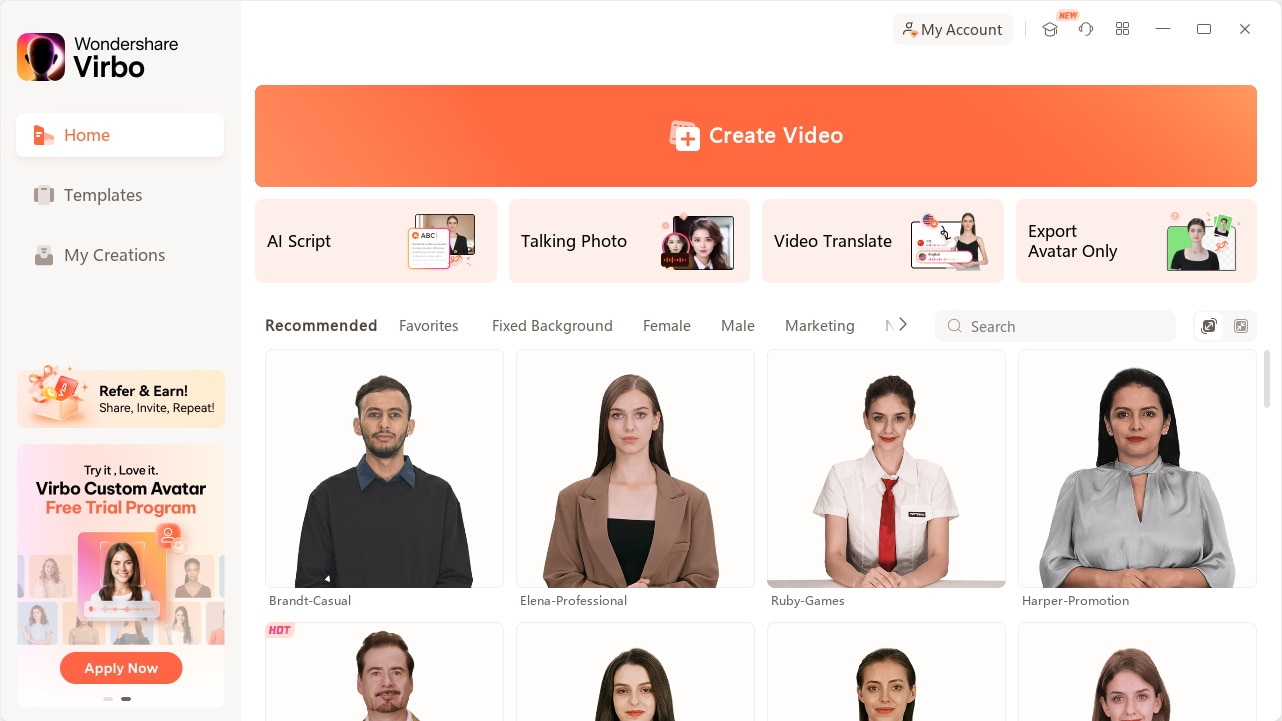
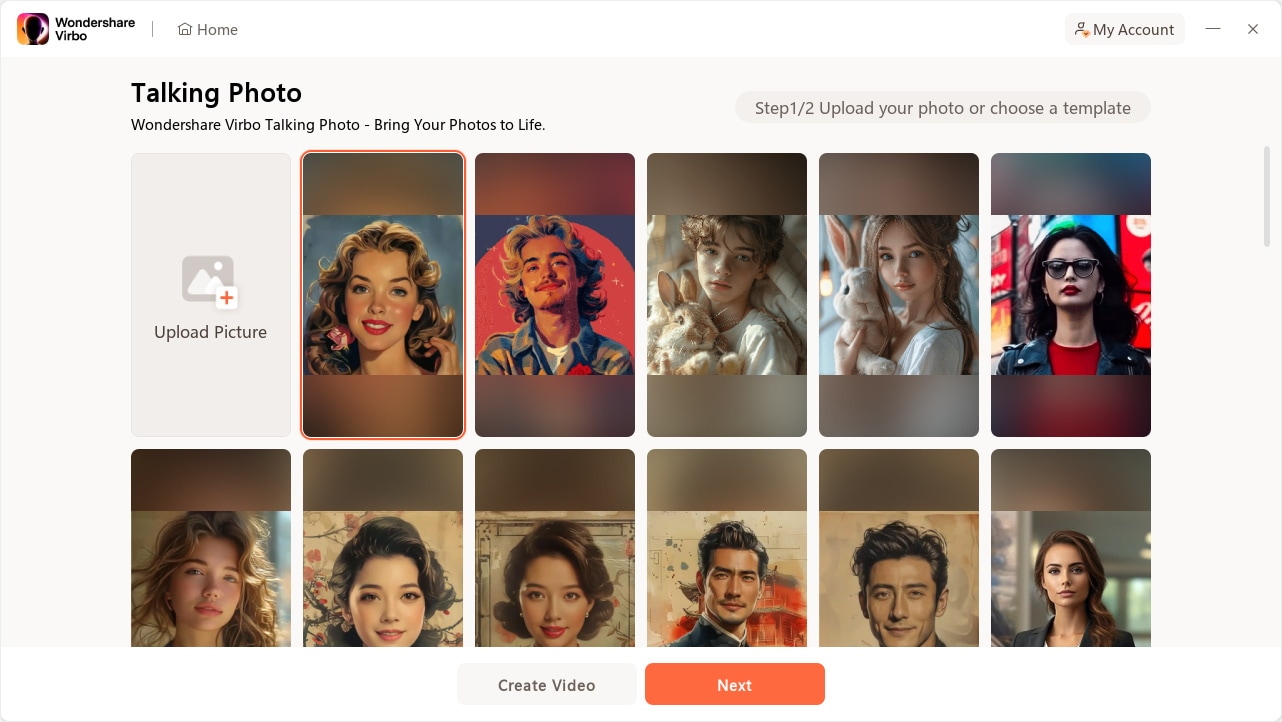
Pick a template or click "Upload Picture" to upload your own picture and tap “Next”.
Step 2. Input Text and Set A Voiceover
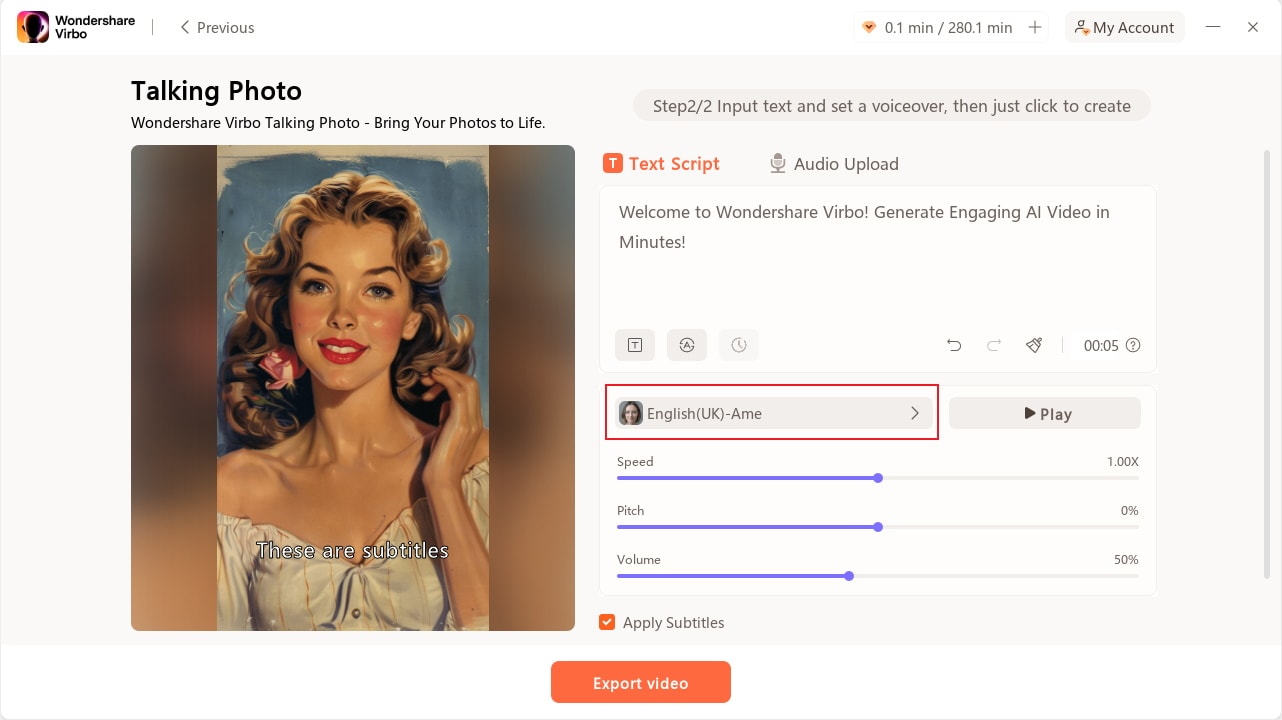
Enter your voiceover script or click the 'Audio Upload' to import an audio file as the voiceover.
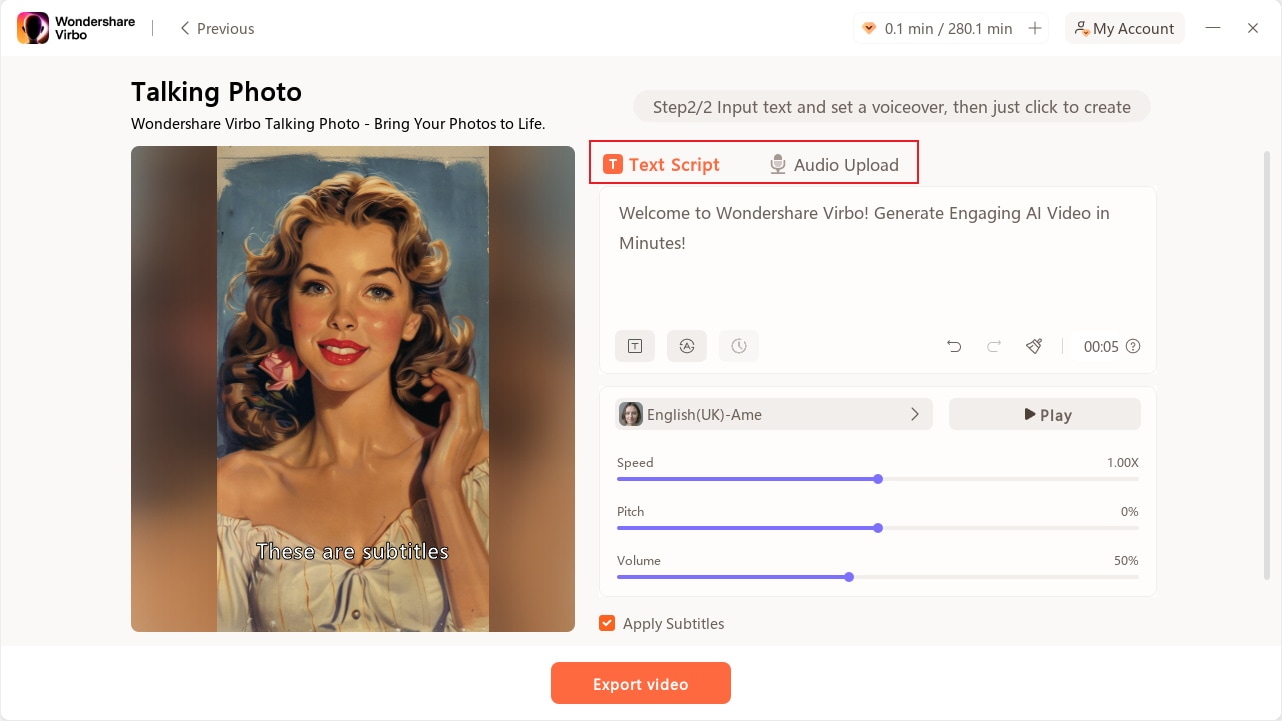
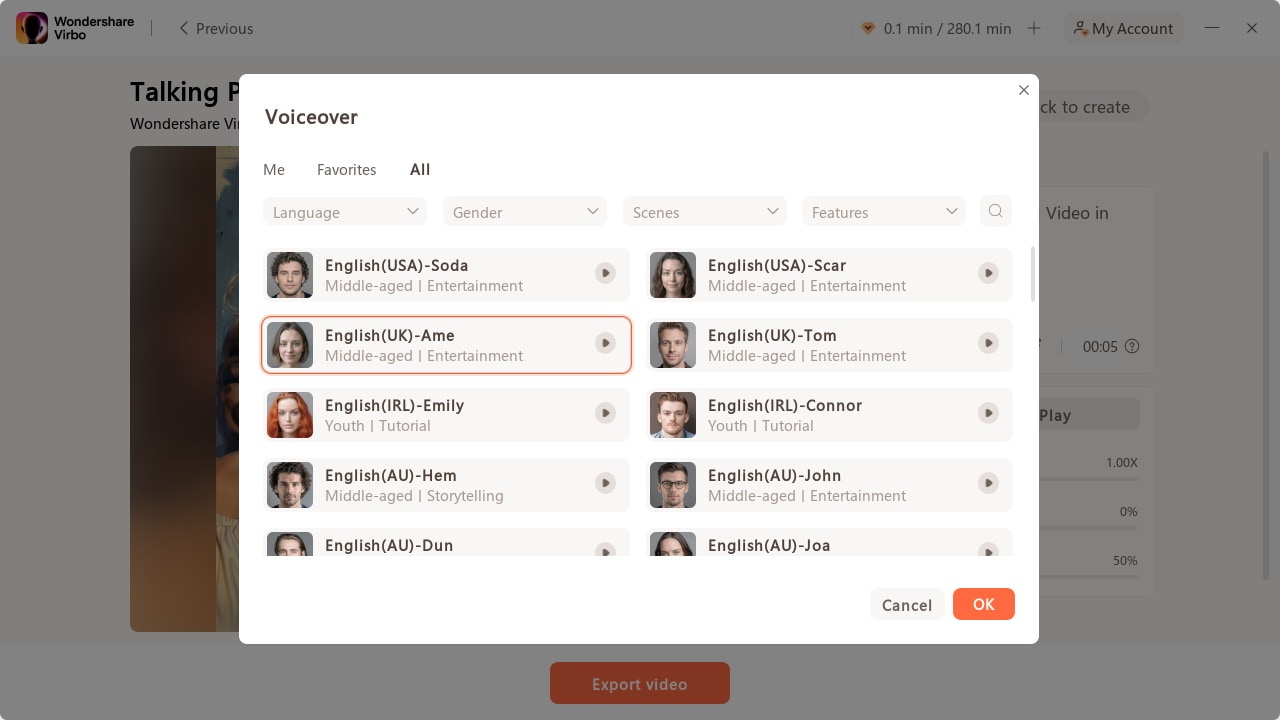
After entering your voiceover script, you can customize the language, and adjust playback speed, pitch, and volume.
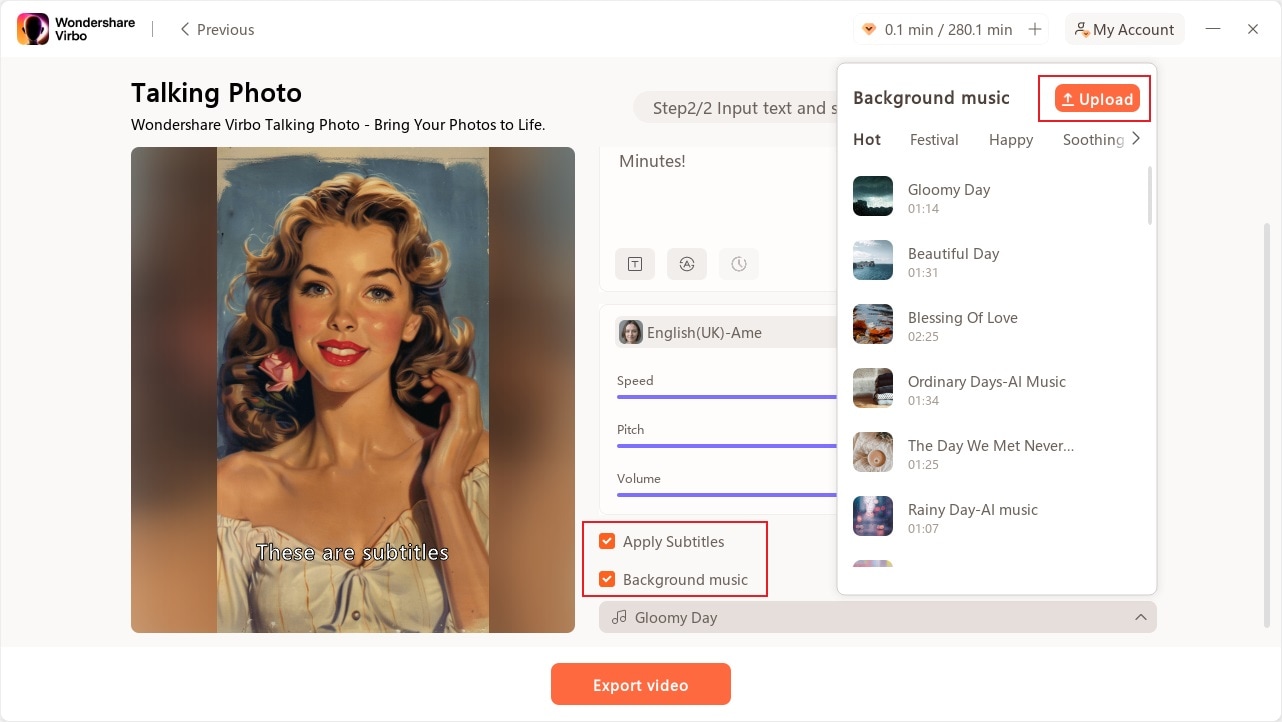
Check "Background Music" to add or upload background music, or add subtitles by checking "Apply Subtitles".
Step 3. Export Talking Photo
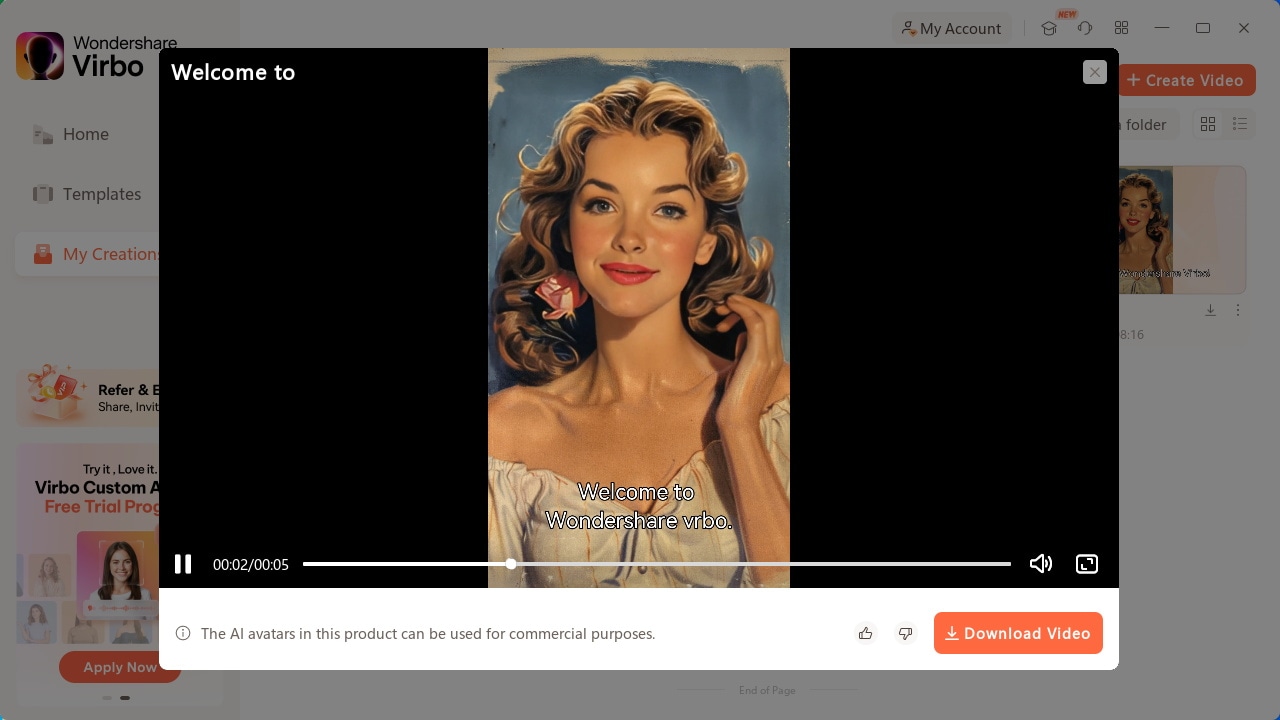
Now, you can click "Export Video" to export the talking photo. Wait for export successfully and then you will see it under "My Creations".
Way 2: Use Your Still Photos to Create Videos
Want to create videos with your photo? You can view the following steps:
Step 1. Create a project
After clicking "Talking Photo" on the homepage, pick an image you desire or click "+" to upload an image and tap “Create Video” to start creating a new video.

Step 2. Edit video
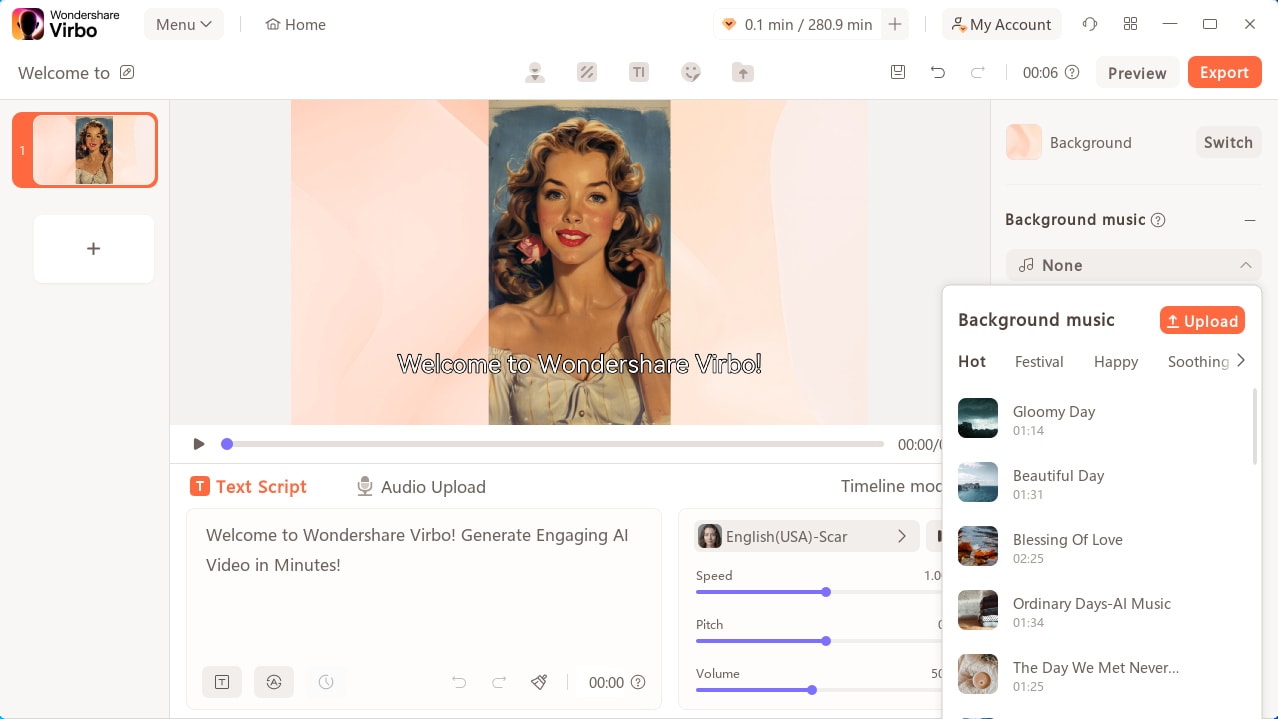
Type/paste your voiceover script or click "Audio Upload" to upload/extract/record the audio as video script. You can choose different languages and adjust speed, pitch, and volume at the operation bar. You can also switch the background, add background music, or add subtitles.
Step 3. Export video
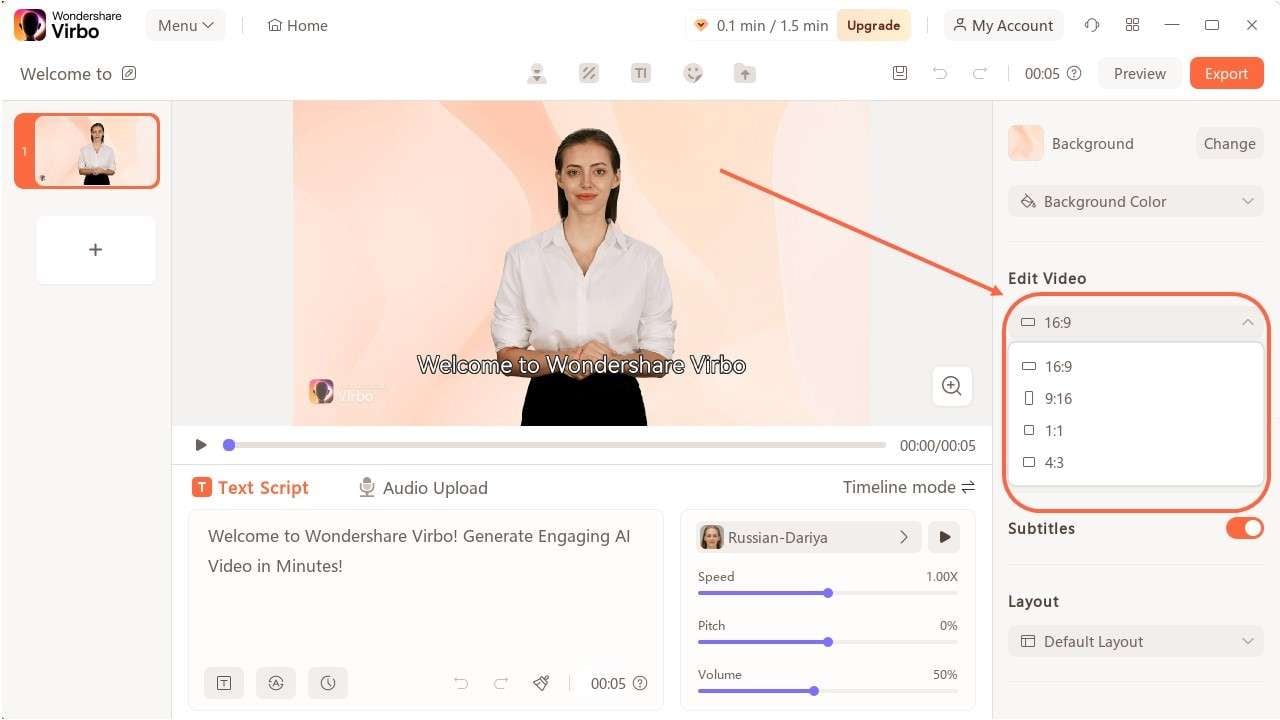
To change your video's aspect ratio before exporting, click on the “16:9” under "Edit Video" to open the dropdown menu. Choose from 16:9, 9:16, 1:1, or 4:3, and your video will automatically adjust to the selected ratio.
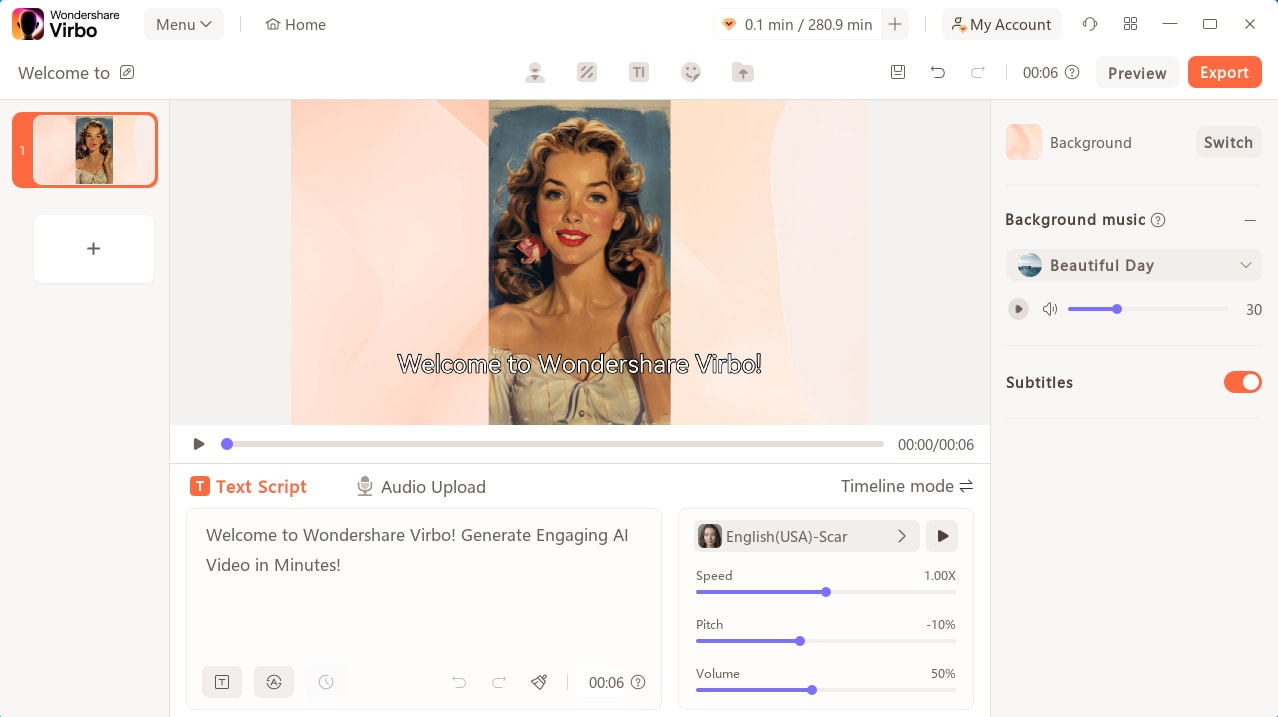
Click preview to check the effect of your video. Once you are satisfied with the whole video, click "Export" to generate the video.
The generated video will be shown on "My Creations". You can view it and click "Download Video" to save it to your computer.
