

At last, you’ve come up with a genius idea that will impress your colleagues and friends. Congrats! Now, you need to show it to the world, or maybe you want to use Microsoft PowerPoint to help your students or online audience visualize new and abstract concepts.
Microsoft’s classic presentation maker translates high-concept ideas into visual language by letting you insert interactive elements like transitions and effects. Today, we want to show you how to take this one step further. Here’s how to make a 3D PowerPoint presentation.
In this article
Two Options for Making 3D PowerPoint Presentations
Although it has been around for a long time, PowerPoint is still a powerful tool. The most recent version of the software offers not one but two options for making 3D presentations. As you will see in a minute, both ways are easy to use and provide infinite possibilities.
With some imagination and the proper tutorial, anyone can make magic with PowerPoint. Luckily, we made sure you have both. That’s how to make 3D animation in PowerPoint.
1. How to Make 3D PowerPoint Presentations Using Stock 3D Models
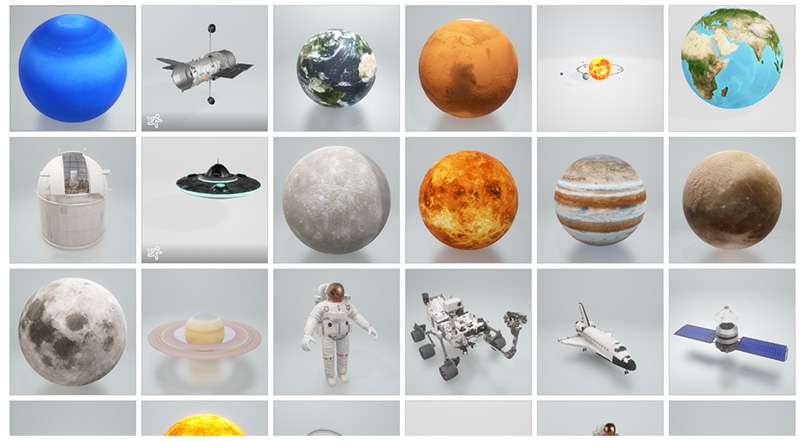
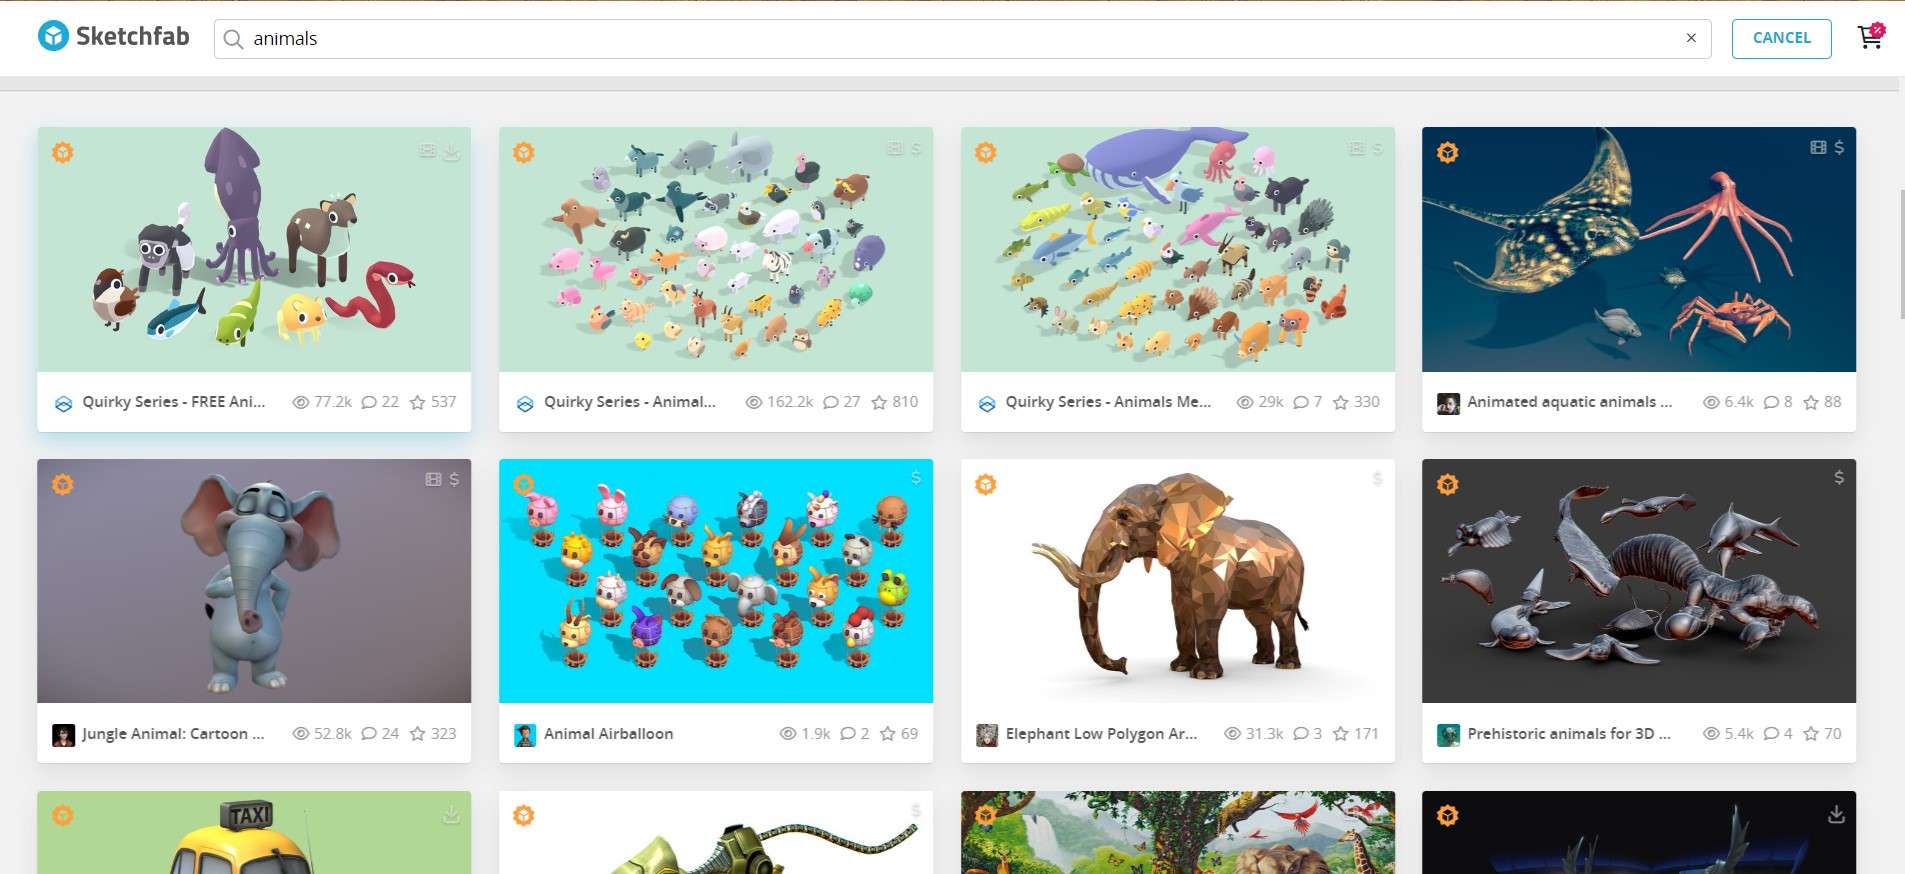
PowerPoint has an extensive gallery of 3D models for any use and creative domain. It seems like Microsoft has thought of everything (and everyone). The gallery is stocked with 3D models of animals, furniture, cookies, telescopes, clothing, flowers, tools, and more.
You can add any of these 3D models to your slides and customize them. As a pro tip, pay extra attention to 3D objects with an icon in the bottom left corner. It indicates that the 3D model is movable, allowing you to make countless animations with it.
Without further ado, here’s how to make a 3D PowerPoint presentation:
Step 1: Open PowerPoint and start a new project or choose an existing slide.
Step 2: Find the Insert tab at the top menu bar of your PowerPoint window.
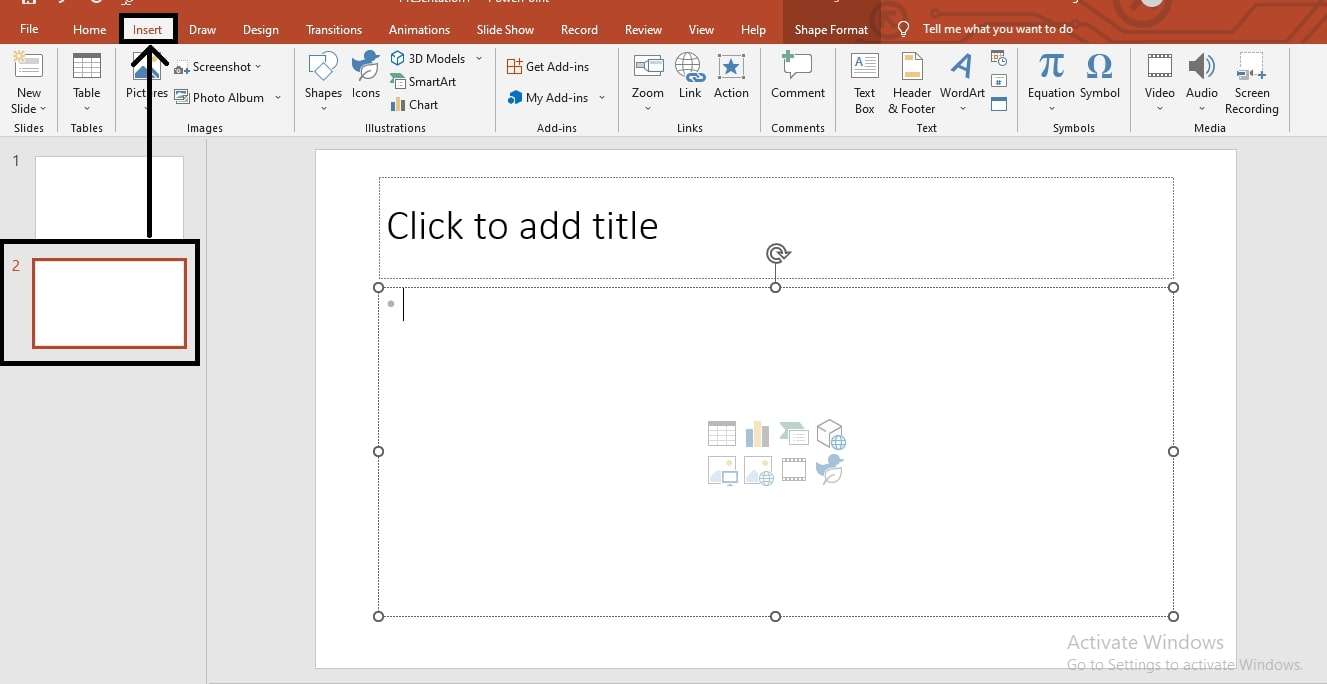
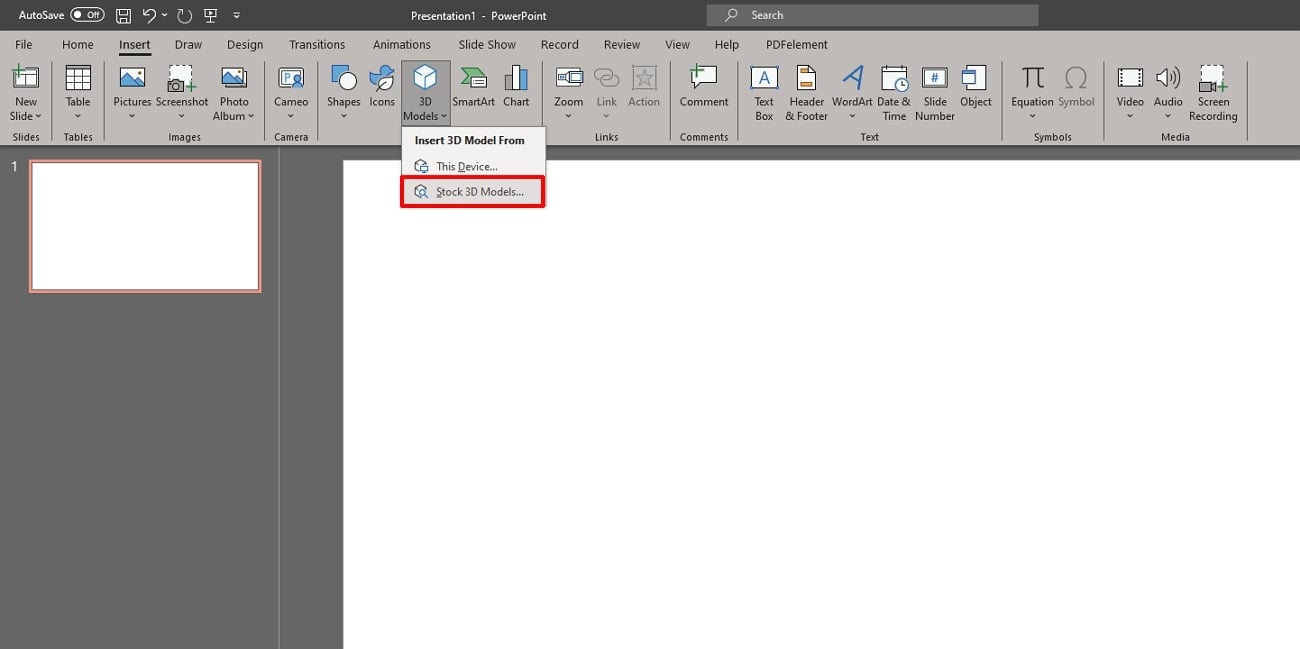
Step 3: Click the Insert tab and locate the Illustration category underneath.
Step 4: Right there, you’ll find the 3D Model menu. Click to reveal more options.
Step 5: In the drop-down menu, choose to insert models from Stock 3D Models…
As you can see, there are thousands of stock 3D models to choose from. If you can’t find what you need in any of the categories, you can use a keyword search. In case there’s nothing there that fits your vision, don’t worry. You can always use an inserted 3D model.
2. How to Make 3D PowerPoint Presentations Using Inserted 3D Models
You don’t have to be a graphic designer to use 3D models in everyday projects. However, if this is your first time, you could probably use some help finding the best resources. Excellent 3D models can be found on stock websites like Sketchfab, 3DExport, and Free3D.
Why do you need these resources? Because PowerPoint lets you import 3D models from third-party websites. To do this, it needs a 3D model file with one of the following extensions: .fbx, .obj, .3mf, and .stl. For any other format, you’ll have to convert it first.
Once you find the suitable 3D model in the correct format, open your PowerPoint and follow these steps. That’s how to make a 3D animated PPT using 3D stock models:
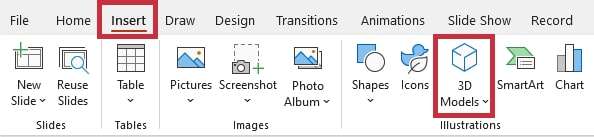
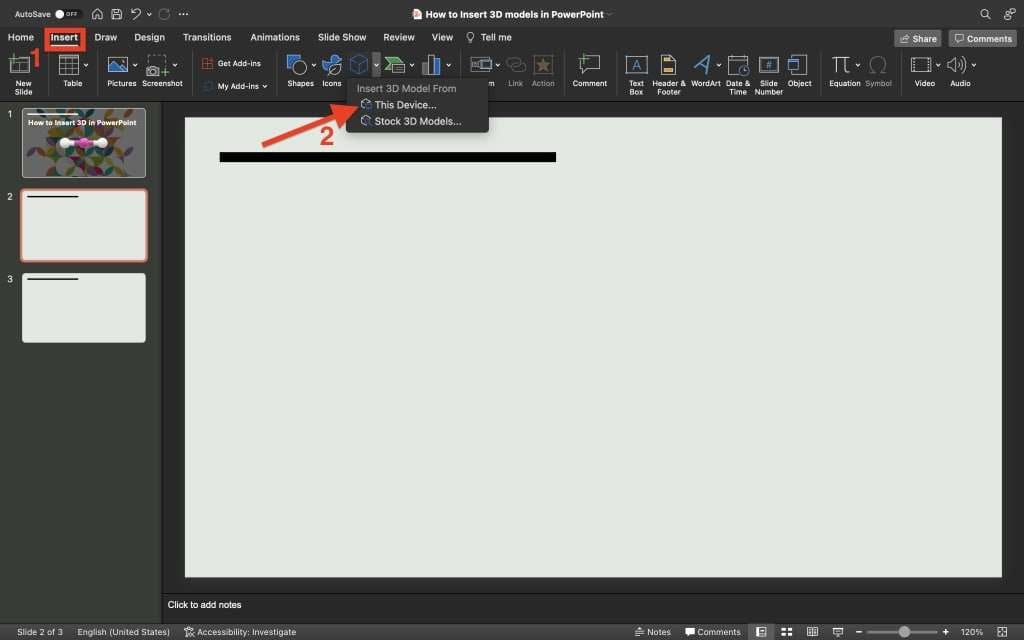
Step 1: Head to the menu bar at the top of the PowerPoint window and click the Insert tab.
Step 2: Find the 3D Models menu In the Illustrations category, just below the menu bar.
Step 3: Open the 3D Models drop-down menu and choose to insert models from This Device…
Step 4: Locate the 3D model on your computer and click Insert to add it to your target slide.
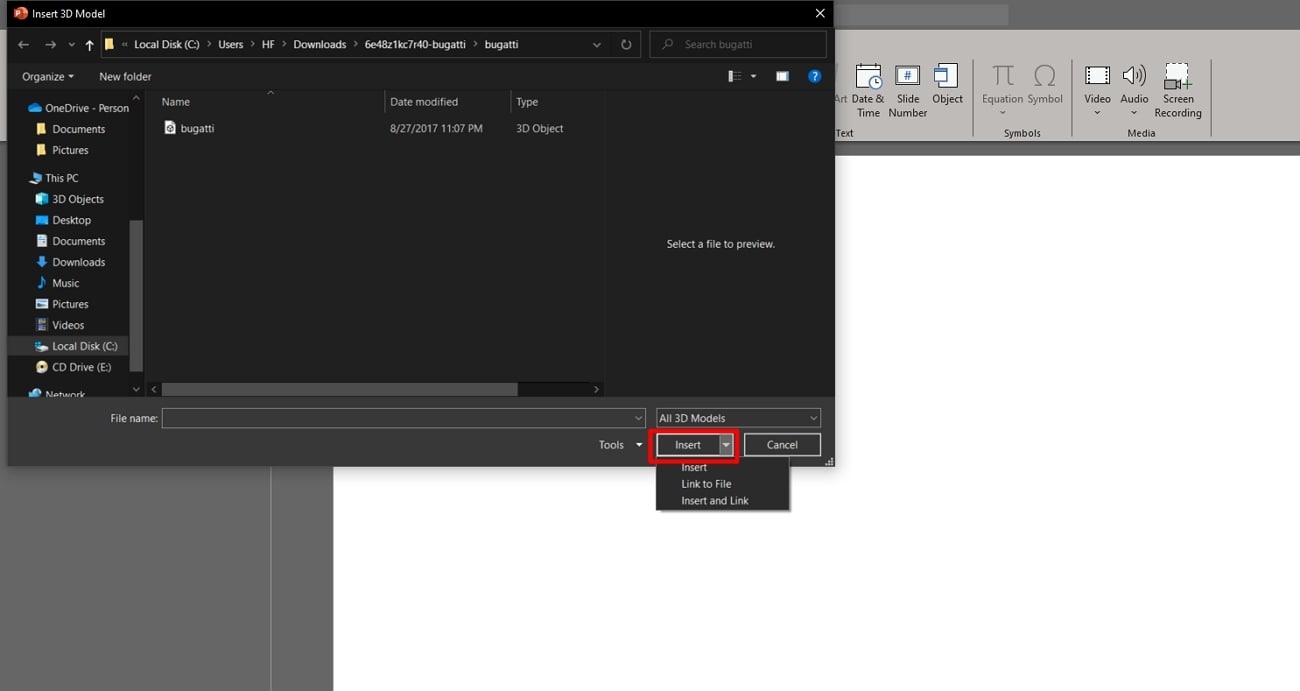
Step 5: Alternatively, you can find the 3D model file on your computer and drag and drop it to your PPT slide.
Next, you can continue to customize the inserted 3D model using PowerPoint tools. We have added a tutorial for that, as well as some helpful tips and tricks, so keep reading.
How to Customize 3D Models in PowerPoint
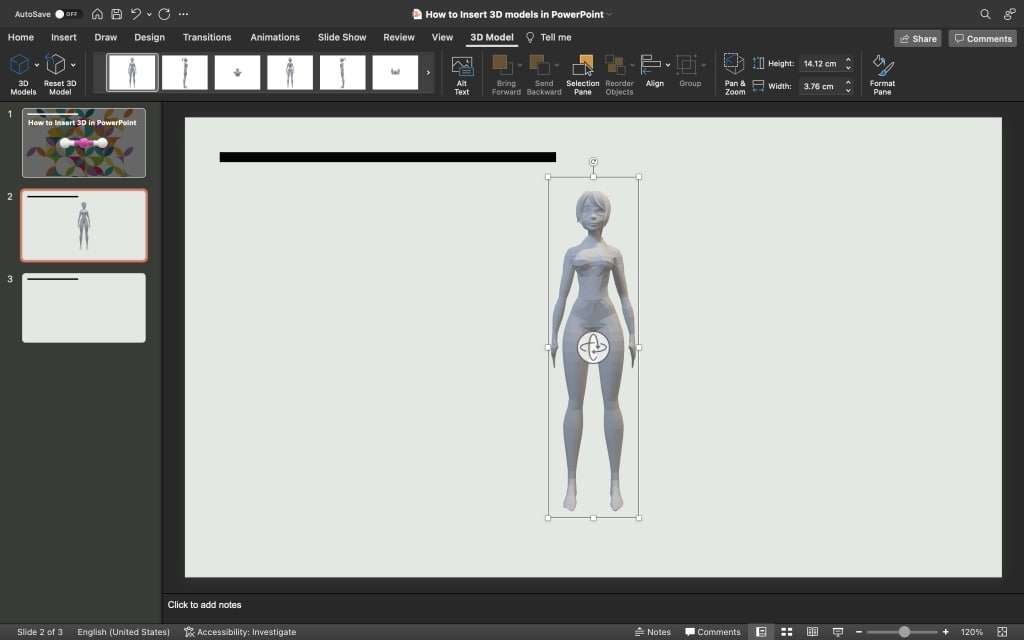
Now that you have a perfect 3D model for your presentation, it’s time to breathe some life into it. A great thing about PowerPoint is that it gives users limitless customization options. You can make your 3D object appear and disappear again, flip, jump, and turn, or actually move.
Here’s a step-by-step rundown of key 3D customization tools in PowerPoint.
Change Orientation and Edit 3D Models in PowerPoint
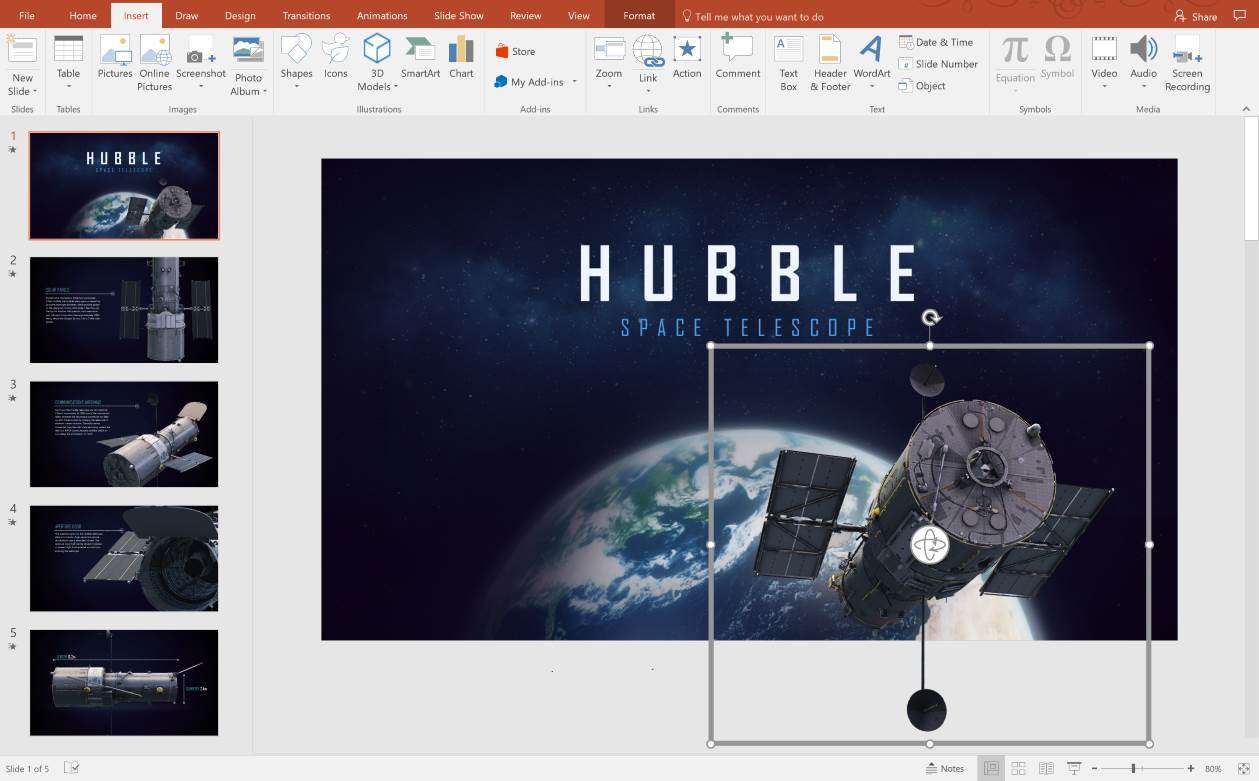
When adding 3D objects to PPT presentations, be careful not to make them purely decorative. They have a far more important role to play here. 3D objects can provide a context, illustrate a point, or help the viewer visualize an abstract concept, so don’t just let them sit there.
Step 1: Click on the model and hover over the center until your cursor changes.
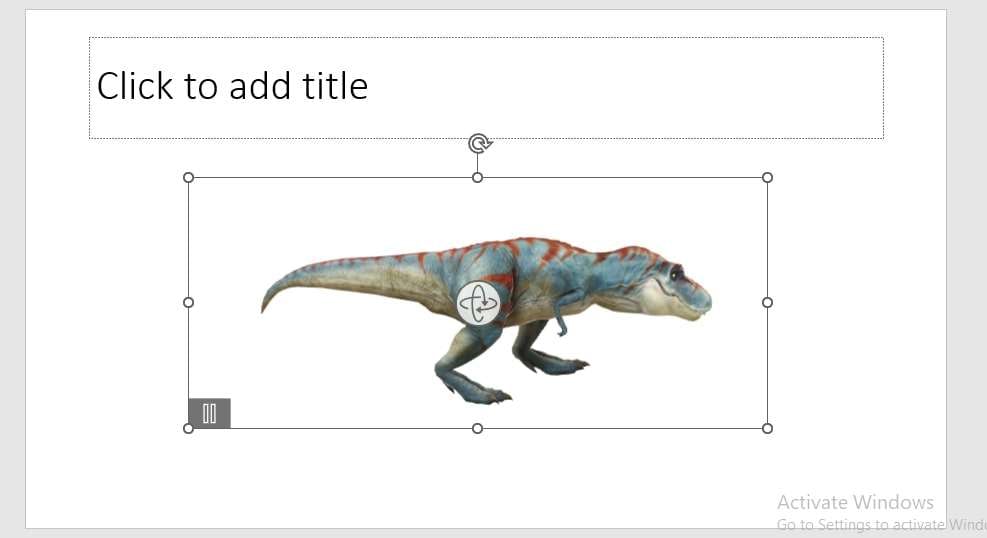
Step 2: Grab the model and move it around to see the object from different angles.
Step 3: Choose a preset view from a selection of 3D Model Views in the bar above.
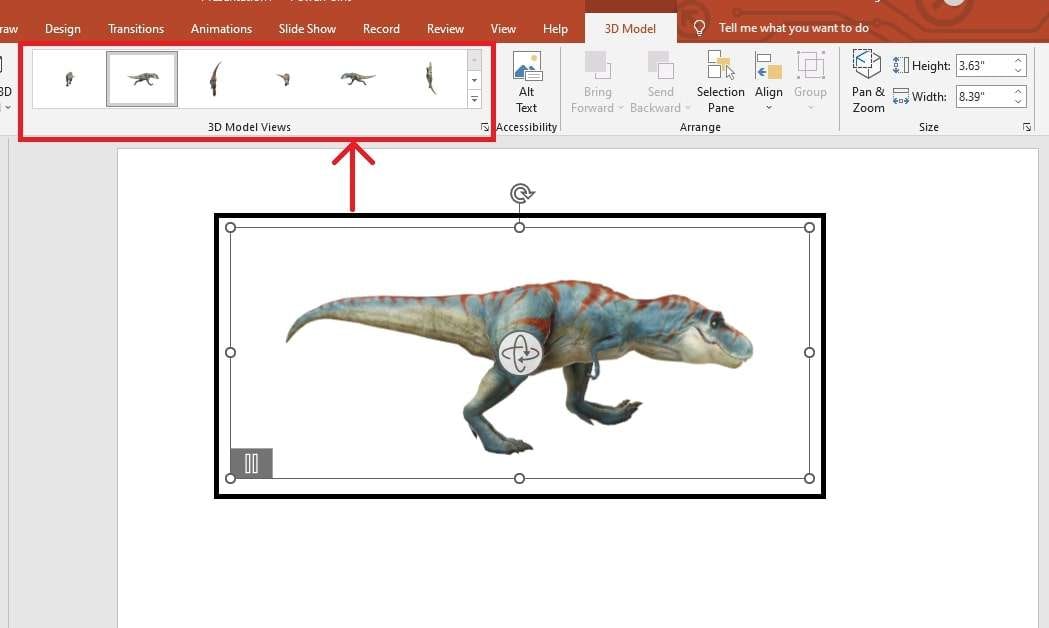
Step 4: You can bring the model forward or send it backward, change alignment, etc.
Step 5: Click Accessibility to adjust rotation, add a shadow, reflection, glow, and more.
Add Custom Animation to 3D Models in PowerPoint
If you choose a 3D object that doesn’t move, you can use PowerPoint’s Animation options to make it more dynamic. For example, when making a space or anatomy presentation, you can show planets orbiting around the Sun or present an organ in a 360-degree view.
Step 1: Click the Animations tab in the menu bar at the top of the PowerPoint window.
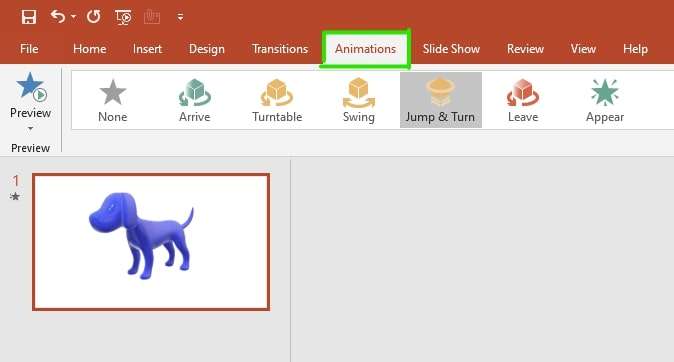
Step 2: Below, pick an animation style to make your object arrive, swing, jump, appear, etc.
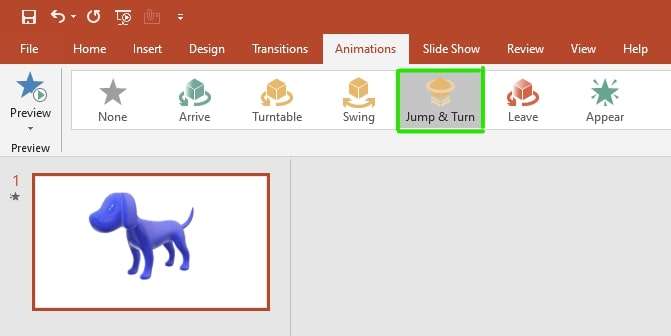
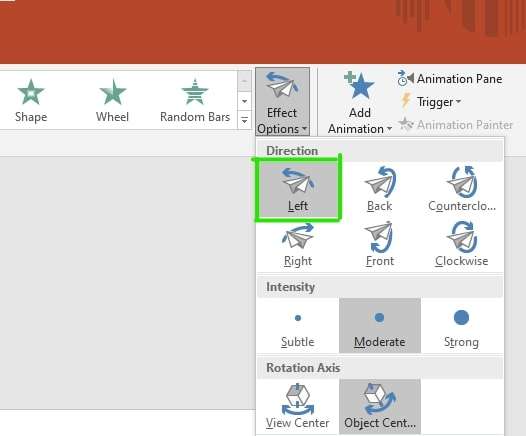
Step 3: Next, you can customize the animation style by clicking on Effect Options next to it.
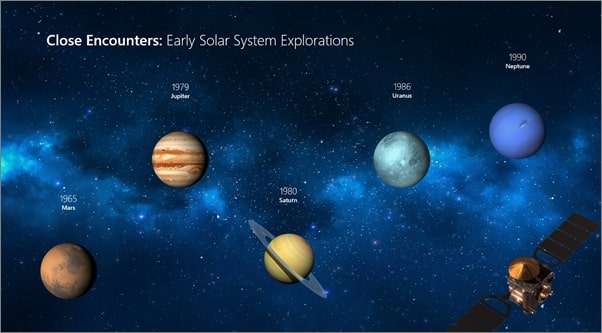
Use Transitions to Morph 3D Objects Between Slides
Transitions are a compelling addition to PowerPoint presentations because they help create the flow between individual slides. Why is this important? Think about it from the viewer’s perspective. Like stories, presentations need flow to keep viewers engaged and interested.
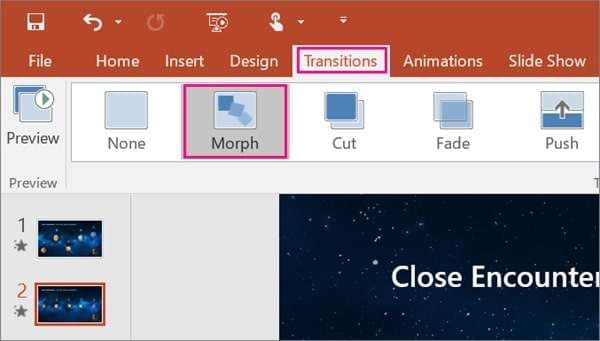
Step 1: In the Slide panel on the right, click on the slide where the object is.
Step 2: Right-click to open the drop-down menu and choose Duplicate Slide.
Step 3: Click on the second slide and change the object’s size and position.
Step 4: Click on Transitions in the menu bar at the top of the PPT window.
Step 5: Click on Morph. That will morph your object from how it originally looked on the first slide into its position on the second.
Is it absolutely necessary to customize your 3D models? While that is entirely up to you, we strongly recommend adding some nuance to 3D objects and animations. It will allow your creativity to shine and make your presentations more unique and engaging to viewers.
Tips for Making Stunning 3D Presentations in PowerPoint

In addition to including 3D objects and animations, you can always do more to improve the appearance of your PowerPoint presentations. The following are our expert tips that can help you make a real impact with your PPT presentations—be they in 3D or not:
- Use 3D object placement to organize information logically;
- Alternate between visuals and text to avoid viewer fatigue;
- Simplify slides using a combination of 3D objects and bullets;
- Less is more – try not to have more than 6 points per slide;
- Be careful not to overstylize your visuals with 3D animations;
- Pick 3D objects that add detail to points and deepen the topic;
- Choose inspirational but neutral imagery that is not distracting.
Ultimately, PowerPoint presentations are all about finding a good measure. Aim to strike a balance between eye-catching and informational on one side and clean and impactful on the other. The key is to tell a lot by saying as little as you can. That’s the true power of visuals.
How to Create PPT Presentations That Attract Millions of Viewers

PowerPoint makes it easy to insert 3D models into presentations, but that’s as far as it will go. If you want to harness their power and create presentations that truly connect to your viewers, you must do the rest yourself. That’s hours of customization and editing.
Is there any way to make this process easier and get more viewers at the same time? The answer is yes! You can use Wondershare Virbo to turn your PowerPoint presentations into irresistible videos and present them to millions of viewers on YouTube, Vimeo, or TikTok.
Videos attract more shares and clicks than any other online format and have a larger viewership than PowerPoint presentations. Instead of spending hours polishing 3D objects, you can enhance your PPTs with animation, background music, and AI presenters.
Try these steps to see everything Virbo can do for your 3D presentations:
Step 1: Open Virbo Video Creator and click Import PPT to turn your presentation into a video.
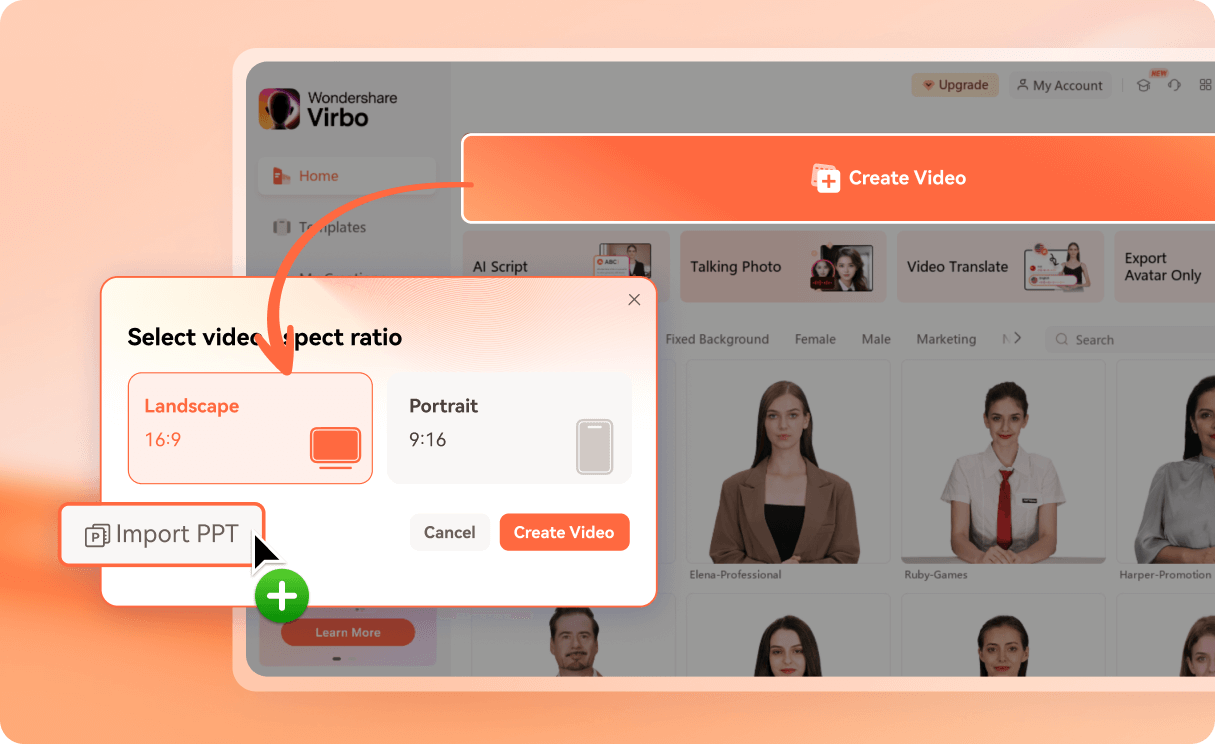
Step 2: Select your PPT file. Virbo will convert your slides and notes into a video with a script.
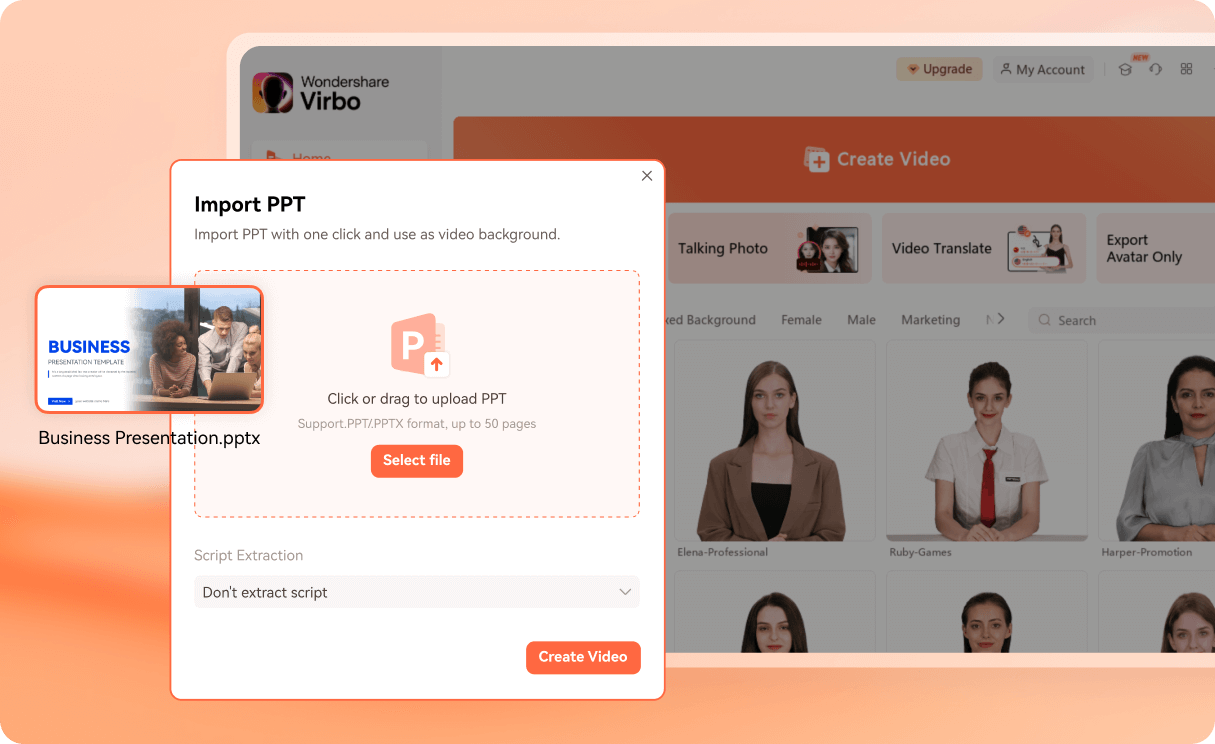
Step 3: Customize your video in a few clicks. Add animation presets, music, and AI avatars.

Step 4: When you’re done, click the Export button to download your MP4 video to your device.

Virbo uses AI text-to-speech technology to help you create professional-looking videos that modern viewers expect to see. You can impress your business partners with lifelike AI narrators that speak in their language.
You can help students understand the topic better by letting them pause, rewind, and skip parts of the presentation, and you can get millions of views online.
Conclusion
PowerPoint has been a reliable presentation maker for decades and for a good reason. You can use it to create engaging 3D presentations with animations that tell the story better than text ever could. It has its own gallery of 3D objects and lets you use imported ones.
But despite these great options, PowerPoint does little to save you time. You still have to spend hours editing 3D objects and creating animations one slide at a time. If you don’t have the time to do this, turn your PPTs into attention-grabbing videos with Wondershare Virbo.