Now we can create photos that feel more real and memorable. A feature called Live Photos can turn your photos into mini videos that bring your memories to life.
Live Photos capture a few seconds of movement and audio. This feature adds extra depth and emotion that regular photos can’t provide. This dynamic photo lets you relive your memories more vividly and engagingly.
Here, we will show you how to make Live Photos with simple steps.
In this article
Part 1. How To Make a Live Photo on iPhone
You may be familiar with Live Photos if you are an iPhone user. Live Photos is a feature introduced by Apple. Live Photos record 1.5 seconds of video and audio before and after you take the picture. This feature makes your photos more dynamic and interesting.
But, not all iPhone models can access this feature. Live Photos is only available on iPhone 6s and later. Here are the steps of how to create a Live Photo on iPhone:
Step 1: Open the Camera App
Unlock your iPhone and open the Camera app.
Step 2: Enable Live Photos
Look for the Live Photos button at the top of the screen. It looks like three concentric circles. If it's yellow, Live Photos is already on. If it's white with a line through it, tap it to turn it on.
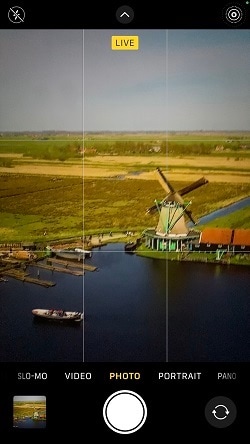
Step 3: Frame Your Shot and Press the Shutter Button
Position your iPhone to capture the scene you want. Then, tap the white shutter button at the bottom of the screen to take your Live Photo. Hold still for a few seconds before and after pressing the shutter button, as Live Photos captures 1.5 seconds of video and audio both before and after you take the picture.
Part 2. How to Make A Photo or Video into A Live Photo
Do you have pictures or videos that you wish to turn into Live Photos? Well, you can! Even though the iPhone's built-in features don't support this directly, you can use third-party apps to turn a regular photo or video into a Live Photo.
Here's how to make a photo or video into a live photo:
1. Using the "IntoLive" App to Make a Photo into A Live Photo
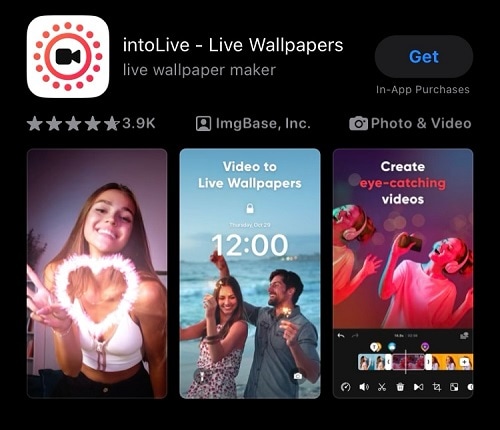
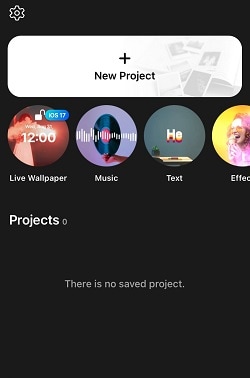
Step 1: Launch the "IntoLive" app after downloading it on the App Store and click “New Project”.
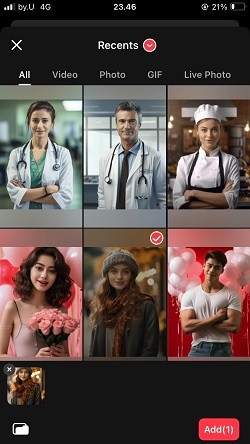
Step 2: Choose the photo you want to convert into a Live Photo. The app allows you to pick a single photo, or multiple photos to create a slideshow or a video.
Step 3: You can edit your chosen media by adding filters or changing the speed for your Live Photo.
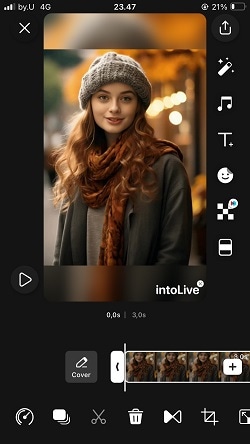
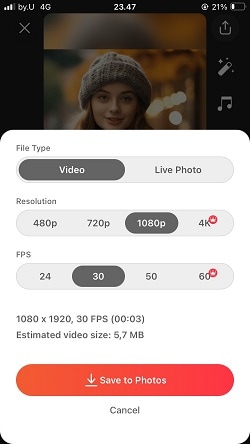
Step 4: Once you’re happy with your adjustments, tap on download button. You can custom the file type, resolution, and FPS. After you done, save the Live Photo to your Photos by tapping “Save Live Photo.”
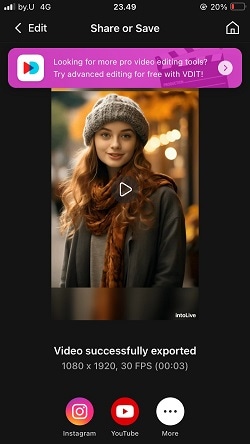
Step 5: Once ready, you can share your Live Photo to your social media directly from the app.
2. Using the "VideoToLive" App to Make A Video into A Live Photo
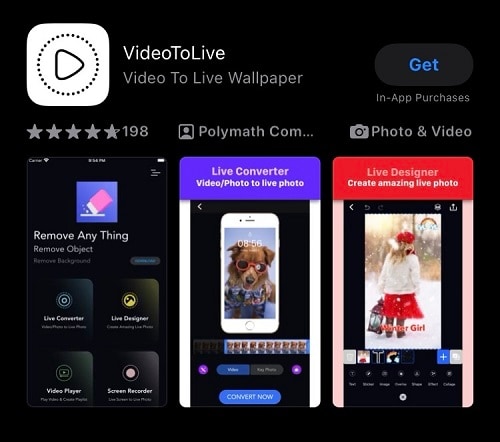
Step 1: Install the "VideoToLive" app from the App Store and launch it once the installation is complete. Then, choose “Live Converter” button.
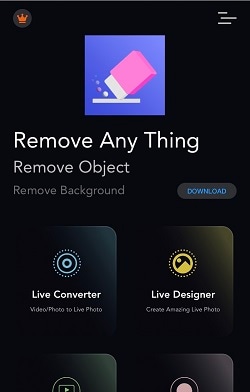
Step 2: Select video you want to turn into a Live Photo, then click “Convert” button.
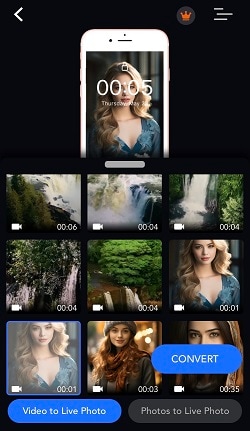
Step 3: Choose the ratio of your video that you want to turn into Live Photo.
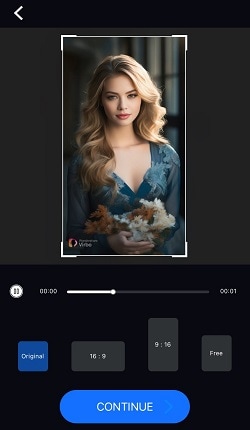
Step 4: Edit the video as needed. Trim it to the desired length, add filters, or adjust other settings. Then, tap “Convert Now”.
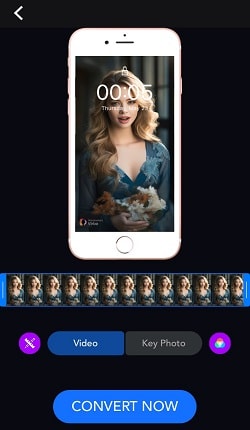
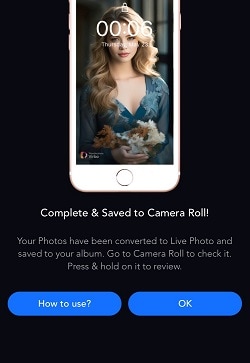
Step 5: Your Live Photo has been saved and you can use it as your wallpaper.
Part 3. How to Make a Live Photo on Android
If you are an Android user and want to make a live photo on Android, you don’t have to worry. While Live Photos is a feature exclusive to iPhones, there are some third-party apps available on the Google Play Store that allow you to achieve a similar effect on an Android phone. One such app is Motionleap.
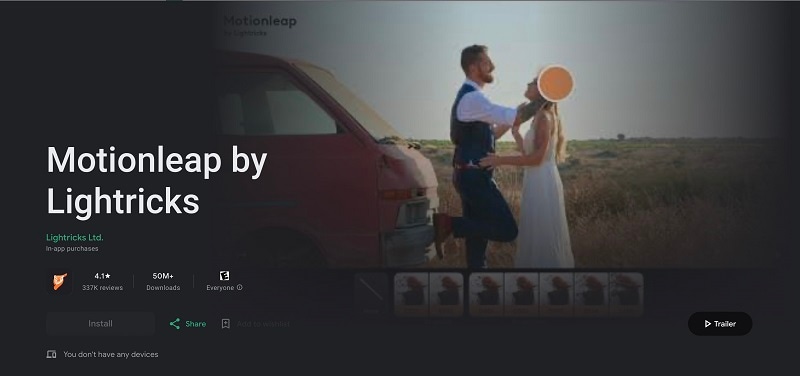
Now, follow our guide on how to create a Live Photo-like effect on Android with Motionleap:
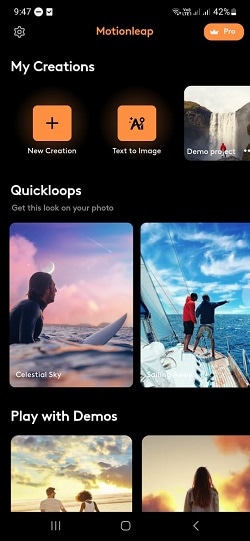
Step 1: Install the Motion Shot app from the Google Play Store and open the app. Then, tap “New Creation” and upload your photo from the gallery.
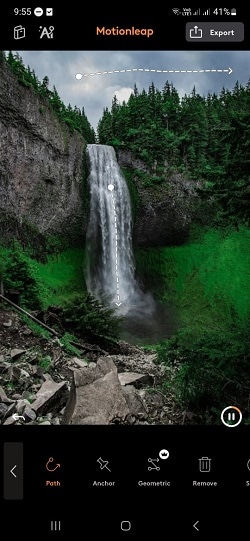
Step 2: Add an animation to the photo using freeform Paths or Anchor points. You can add effects like moving clouds or flowing water. Use the navigation bar for camera controls like zoom and tilt.
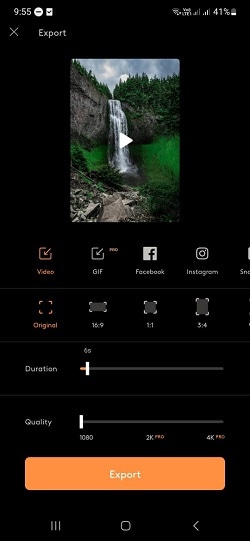
Step 3: Once you're satisfied with the animation, choose the video’s ratio, duration, and quality. Then, click “Export”.
Bonus: How to Make A Photo Talk
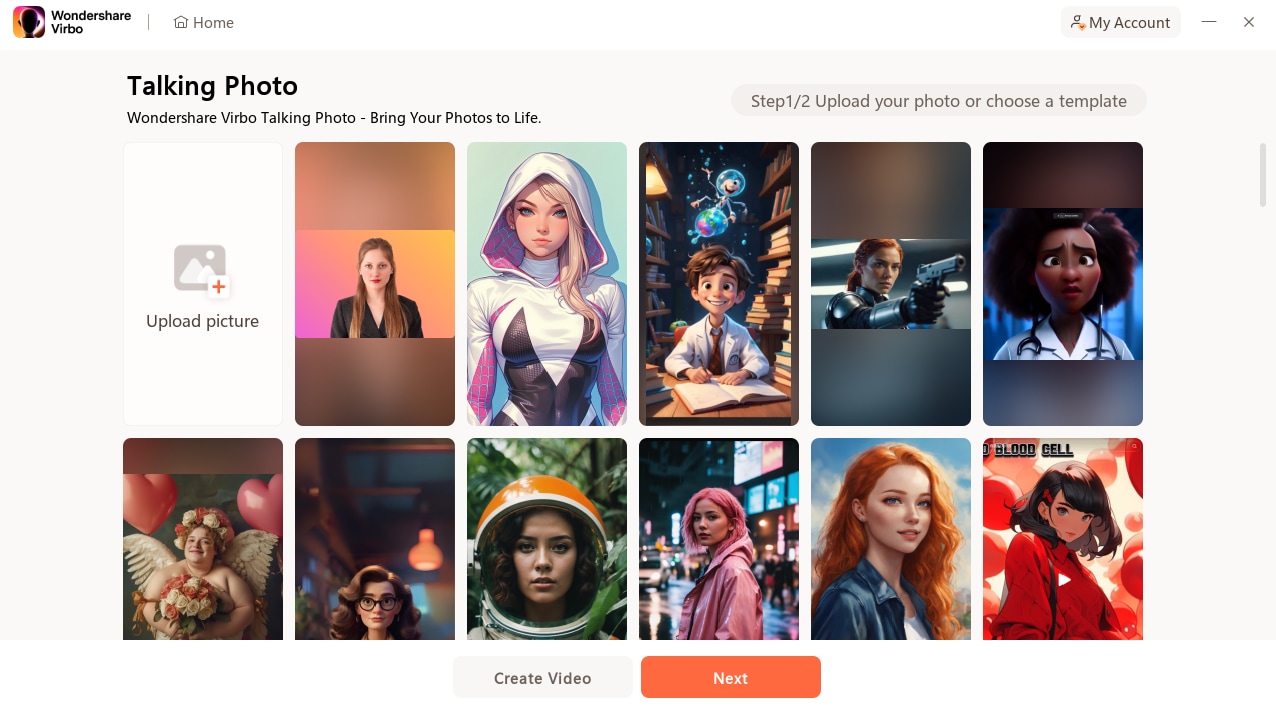
Besides making a Live Photo or a photo that moves, you can also make your photo more interesting by making it talk using tools like Wondershare Virbo. Virbo has a Talking Photo feature that is easy to use and works on your phone, as well as online and on PC.
With this feature, you can do cool things like turning words into speech using its text-to-speech technology or adding your own recordings to your photos. It will then synchronize the mouth movements in your photo with the audio. Moreover, Virbo Talking Photo supports diverse languages, so you can share your talking photos with anyone in the world, regardless of the language or accent you speak.
In summary, Wondershare Virbo Talking Photo offers some great features:
- Text-to-Speech: Turn your photos into talking and moving images using the text-to-speech feature.
- Personalized Recordings: Add your own voice recordings to make your talking photos even more personal.
- Custom AI Avatar: It has a Custom AI Avatar feature to personalize characters for your unique storytelling.
- AI Headshot Maker: It has an AI Headshot Maker to create professional headshots instantly.
- Background Music: Enhance your video by adding background music for an immersive touch.
- Seamless Editing: Edit your videos seamlessly to get the perfect result every time.
- Multiple accents and language options: You can tell stories in multiple accents and languages to reach a global audience with ease.
If you want to try to create a photo talk using Virbo Talking Photo AI, you can follow this guide.
Step 1: Download and install Wondershare Virbo
Start by downloading and installing Wondershare Virbo on your device. You can find it on the Google Play Store, depending on the device you use.
Make Photo Talk Online Try in App Free
Step 2: Open the App and choose Talking Photo
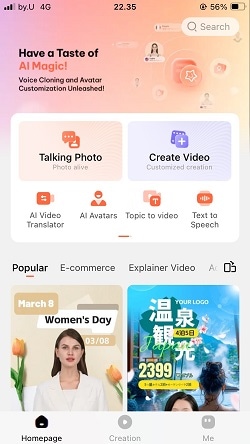
Once the app is installed, open it to get started and then click “Talking Photo.”
Step 3: Select Your Photo
Choose the photo you want to make talk from your device's photo library.

Step 4: Enter Text or Record Your Voice
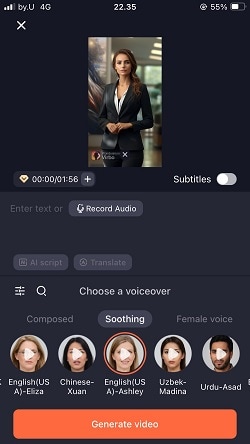
You can type your text or record your voice for your photo. As for recording voice, you can talk into your device's microphone with whatever language and accent you speak. But if you want to use its text-to-speech technology, Virbo’s Talking Photo AI also offers many voiceover options. You can choose the one that suits your preference the most.
Step 5: Preview and Save
After you've added the audio, preview your photo to see how it looks and sounds. If you're happy with the result, save your talking photo to your device's photo library and share it with your family or friends!

Make Photo Talk Online Try in App Free
Conclusion
Making Live Photo is a simple yet captivating way to bring your still images to life. Live Photos help you to add motion and sound to your captured moments. This article can guide you to easily create Live Photos on an iPhone or Android device.
Additionally, you can make your photo talk using Wondershare Virbo’s Talking Photo. This feature offers a versatile and user-friendly platform to make your photos talk and move. Virbo has many key features to help make your photos more lively, such as text-to-speech and personalized recordings. Virbo’s Talking Photo provides the tools you need to bring your image to life.
Make Photo Talk Online Try in App Free


