

Making a video doesn’t always need to be complex. You can use images you already have to create a video or animated images. Turning an image into a video can make your content more engaging than just leaving it as a still one. You can use it for your presentation, website, or social media post.
In this article, we'll walk you through the steps to turn your images into a compelling video. From selecting the right online tool to giving tips on how to enhance your video, we'll cover everything you need to know to create a polished and engaging video using your existing photos. Get ready to take your content to the next level with our easy-to-follow tutorial.
In this article
Part 1. Preparation: Gather Multiple Images to Turn into A Video
Before we get to make images into a video, what we need first is multiple images. These images can come from various sources such as your camera roll, downloaded images, screenshots, or images from stock photo websites like Unsplash or Pexels.
Then, you can decide on which kind of images you want to turn into a video. Not every visually appealing photo can become an engaging video. You need to select images that tell a story, showcase a journey, or highlight special moments. Here are some types of images that can be turned into a video:
- Snapshots of Scenic Landscapes: Beautiful photos of mountains, beaches, forests, and sunsets.
- Candid Moments with Friends and Family: Spontaneous pictures from gatherings, celebrations, and everyday life.
- Product Photos: Detailed shots of products for promotional videos or advertisements.
- Historical Photos: Archival images for creating documentaries or storytelling videos.
- Progression Sequences: Before-and-after photos or step-by-step project updates.

Once you have gathered all the necessary images, organize them chronologically or thematically to help create a cohesive narrative throughout the video. Then, you can proceed to the next step of turning them into a captivating video.
Part 2. How to Turn Images Into A Video Online
Turning your images into a video is now simpler than ever with various online tools. Canva, Kapwing, and Clideo are easy-to-use platforms that help you quickly create engaging videos from your photos. These tools offer options for adding transitions, effects, and music, enabling you to make professional-looking videos without advanced skills. In this section, we'll show you how to use these popular online resources to transform your images into captivating videos.
1. How to use Canva as an online tool that can turn images into a video:
Step 1. Access the Canva website and start a new design
The first thing you need to do is go to the Canva website, or you can download the app and open it. Once you’re on their homepage, start a new design by clicking on the "Create a design" button and pick the "Video" design template.

Step 2. Upload your photos
Start by uploading the photos by clicking on the "Uploads" tab and choosing "Upload Files". Then, drag and drop them onto your layout. Arrange the photos in the order you want them to appear and make sure the photos flow smoothly.

Step 3. Edit your photos
The next step is to edit your videos. You can get creative by using Canva's editing tools on the left side of your screen. By clicking on the "Text" tab, you can add captions by creating text boxes and customizing the font style and color. Don't forget to add transitions between images and include music from pre-licensed stock audio or upload your file. You can do this by clicking on the "Elements" button.

Step 4. Download and convert your edited photos
Once you’ve finished editing your photos, download your video by clicking the "Share" button at the top of the screen. Select "Download" and choose the "MP4 video" format. Your images will now be turned into a video. You can also publish your video directly to your social media accounts from the Canva dashboard by clicking the "Share on social" button.

2. How to use Kapwing as an online tool that can turn images into a video:
Step 1. Head over to Kapwing’s website and upload your images
Start by visiting Kapwing’s website and click on the "Upload image" button. Once you’re in their editing interface, upload your images by choosing "Click to upload".

Step 2. Select duration and edit your photos
Next, select your images and go to the "Images" tab, then click on the "Duration" button to choose how many seconds each photo will be displayed. You can enhance your photos by adding subtitles, transcripts, and other elements using the editing tools on the left side of your screen. If you've uploaded multiple images, arrange them in the correct order on the timeline for a perfect slideshow.

Step 3. Download you video
Once you’re happy with the result, you can download it by simply clicking on the "Export Project" button and your final video will be downloaded in the format of an MP4 file.

3. How to use Clideo as an online tool that can turn images into a video:
Step 1. Browse to Clideo website and upload your photos
To begin, visit the Clideo website and click on the "Get Started" button. Once you've opened a new project, upload your pictures by selecting the "+" button located in the upper left corner of your screen. Your photos will then be automatically added to the video editing timeline.

Step 2. Turn your image sequence into a video
Next, you can transform your photos into a video by organizing them in chronological order within the video timeline, ensuring smooth transitions between each image. To enhance your video, incorporate music by navigating to the "Audio" tab or adjust the aspect ratio in the "Canvas" tab. Moreover, you can text, images, or other elements available in Clideo’s navigation bar.

Step 3. Download your video
You can preview your newly created video to ensure it meets your expectations. Once you're content with the result, download it by clicking on the "Export" button. Your images have now been transformed into a video and saved to your computer in MP4 format.

Part 3. Tips to Enhance Your Video
Now that you know how to use online tools to turn your images into a video, you can make your video even better with dynamic elements. There are many ways that you can add to help convey your message and keep your audience interested. In this section, we'll share simple tips to enhance your video with these features, ensuring your content stands out and resonates with viewers.
Here are some tips on how to effectively use text overlays, transitions, background music, and voiceovers or narration:
- Text Overlay: Text overlays can highlight key points, provide context, or add captions to dialogue. Use clear, legible fonts and ensure the text contrasts well with the background.
- Transitions: Use transitions like fades, wipes, or slides to seamlessly move from one clip to the next. Avoid overusing transitions; stick to a few consistent styles to keep your video cohesive and polished.
- Background Music: Choose music that complements the content and evokes the desired emotional response. Ensure the music volume is balanced with other audio elements so it doesn’t overpower dialogue or voiceovers.
- Voiceover or Narration: Use a clear, expressive voice that matches the tone of your content. Script your narration to ensure it is concise and aligns with the visuals.
Bonus. How to Turn Your Photo into A Video by Making It Talk
There’s an easier and more creative way to turn your photo into a video, and that's by making it talk. Some advanced online tools can help you bring your photos to life by adding lip-synced speech and movement. One of those tools is the talking photo feature by none other than Wondershare Virbo.
Wondershare Virbo's talking photo feature is a powerful and creative tool that transforms static images into engaging video content. By using this tool, you can create fun and engaging content by turning your photos into talking avatars for social media posts, or personal messages. Plus, you can also make learning more interactive by creating talking historical figures or making compelling promotional videos for your business or products.
Virbo moves beyond simple talking animations by incorporating natural facial expressions and upper body movements, making characters appear more realistic and expressive. These enhancements elevate the authenticity of your videos, enabling you to create compelling and lifelike content effortlessly.
Here is how to make a talking photo video:
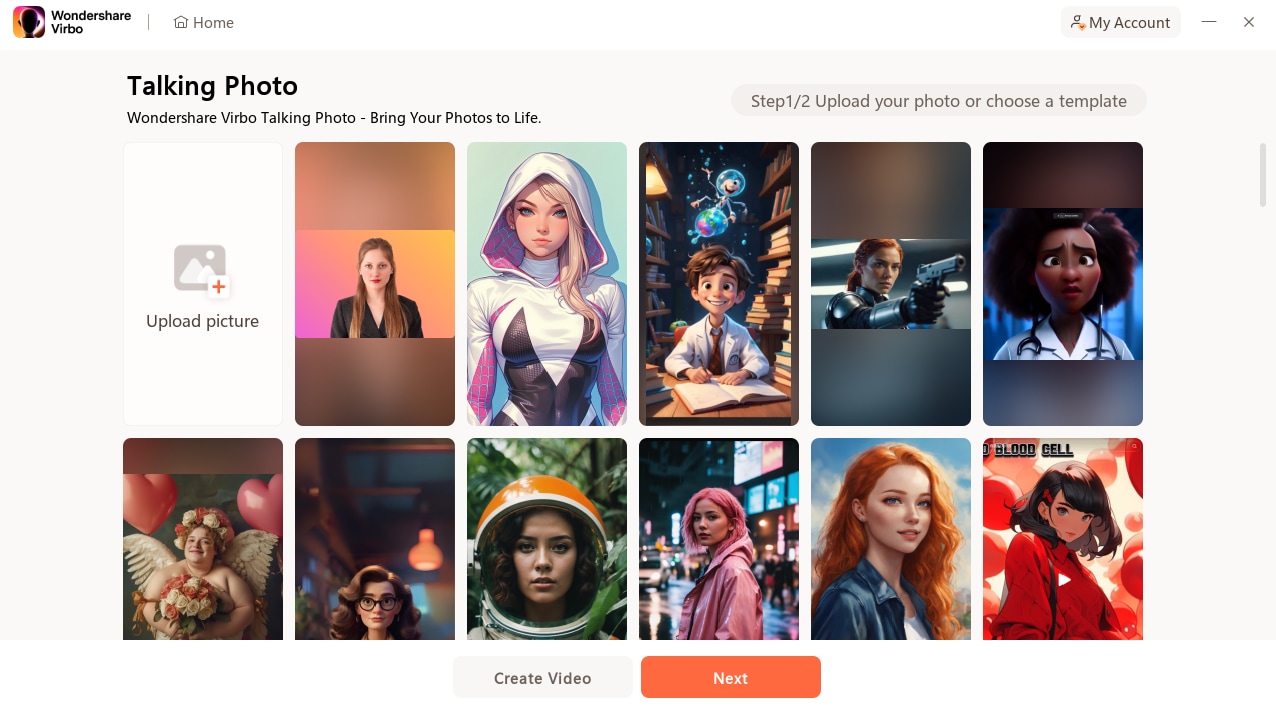
Step 1. Choose the talking photo feature in Wondershare Virbo
Wondershare Virbo is available for both PC and mobile devices. You can download Wondershare Virbo on your phone or computer. After downloading, launch it and choose the "Talking Photo" feature.
If you prefer using it online, you can also head over to Wondershare Virbo’s online tool and click on the "Talking Photo" button.

Step 2. Upload photo
When you enter Virbo's talking photo feature, you'll find many templates designed to fit different themes and feelings. To upload your photo, just select the "Upload Photo" button. Then, select your photo and click "Next."

Step 3. Input your text and set a voiceover
Now, it’s time to add the voice. You have two ways to do this. First, you can type your message directly into the "Input Text" tab. Or, you can upload your voice using the "Audio Script" tab, which adds a personal touch to your message.

Once your text or audio is ready, you can adjust details like language, playback speed, pitch, and volume to make sure your message sounds just right. You can also choose background music from our selection or upload your own. Adding subtitles is easy too; just click the "Subtitles" option.
Step 4. Create video
After editing your photo, it's time to bring it to life. Click "Create Video," and Virbo will quickly turn it into a talking photo. Find it in "My Creations," where you can preview and download it as a video by simply selecting "Download Video".

Conclusion
Creating engaging video content from your images has never been easier. With user-friendly online tools like Canva, Kapwing, and Clideo, you can transform your still photos into dynamic videos that captivate your audience. Moreover, you can further enhance your content by incorporating text overlays, transitions, background music, and voiceovers or narration.
For an even more creative approach, consider using Wondershare Virbo's talking photo feature. This powerful tool allows you to add lip-synced speech and movement, bringing your photos to life in a fun and engaging way. With Wondershare Virbo, you have everything you need to take your content to the next level.